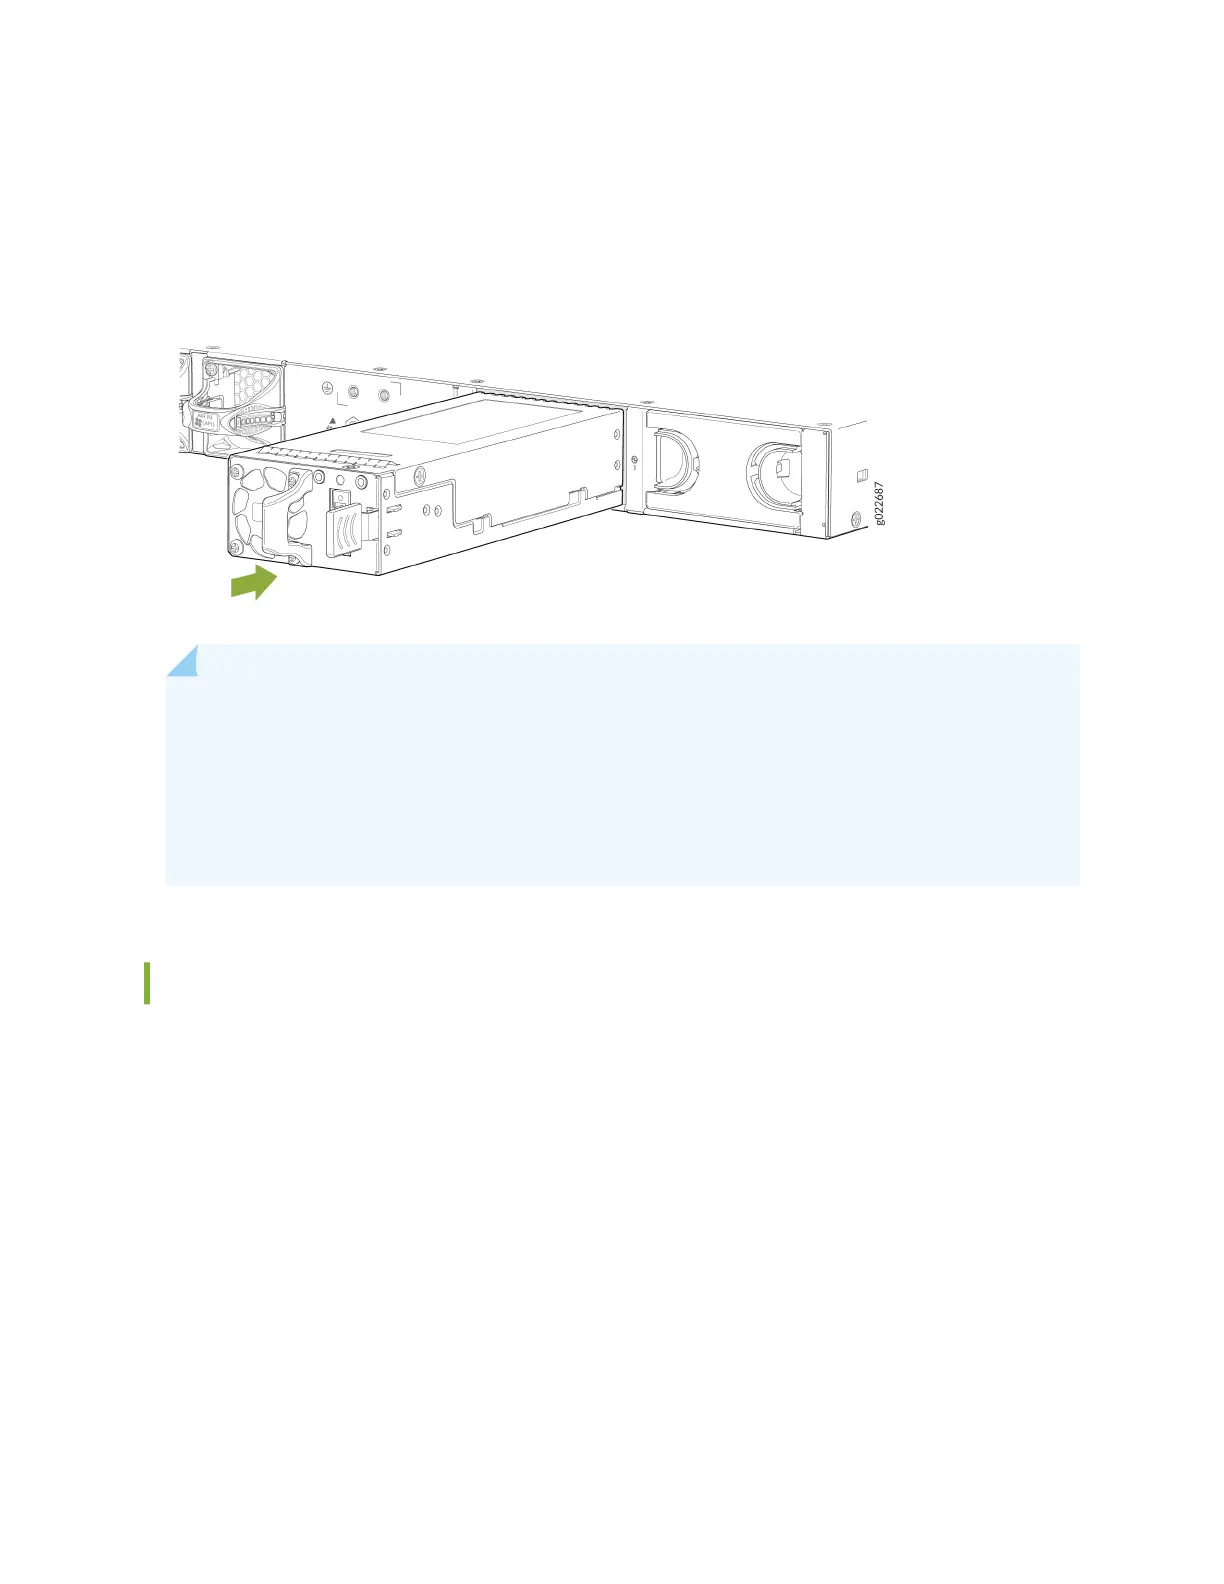
5. Using both hands, place the power supply in the power supply slot on the rear panel of the switch.
Slide the power supply in unl it is fully seated and the ejector lever clicks into place.
Figure 103: Install a DC Power Supply in an EX4100 Switch
NOTE: If you replace exisng hardware components with a dierent type of component, and if
you have a Juniper J-Care service contract, this note applies to you. You must register any
addion, change, or upgrade of hardware components at hps://www.juniper.net/customers/
support/tools/updateinstallbase/. Failure to do so can result in signicant delays if you need
replacement parts. This note does not apply if you replace exisng components with the same
type of component.
Remove a DC Power Supply from an EX4100 Switch
Before you remove a power supply from an EX4100 switch, ensure that you have taken the necessary
precauons to prevent electrostac discharge (ESD) damage (see
Prevenon of Electrostac Discharge
Damage
).
Ensure that you have the following parts and tools available to remove the power supply from the
switch chassis:
• ESD grounding strap
• Phillips (+) screwdriver, number 2 (not provided)
• Sloed (-) screwdriver
• Anstac bag or an anstac mat
188
 Loading...


