68P81083C20-D December 6, 2004
Test Equipment, Service Aids and Tools: Field Programming 3-5
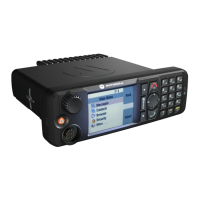
3. Place the control head directly in front of the chassis with the control head and chassis sides
aligned to each other. The two 18 pin connectors MUST also be aligned. This means that the
control head is upside-down on the bench.
4. With the colored side of the control head extender cable facing upward all the way between
the control head and the chassis connect the cable to both control head and chassis 18 pin
connectors. After the cable is connected the control head can be uprighted.
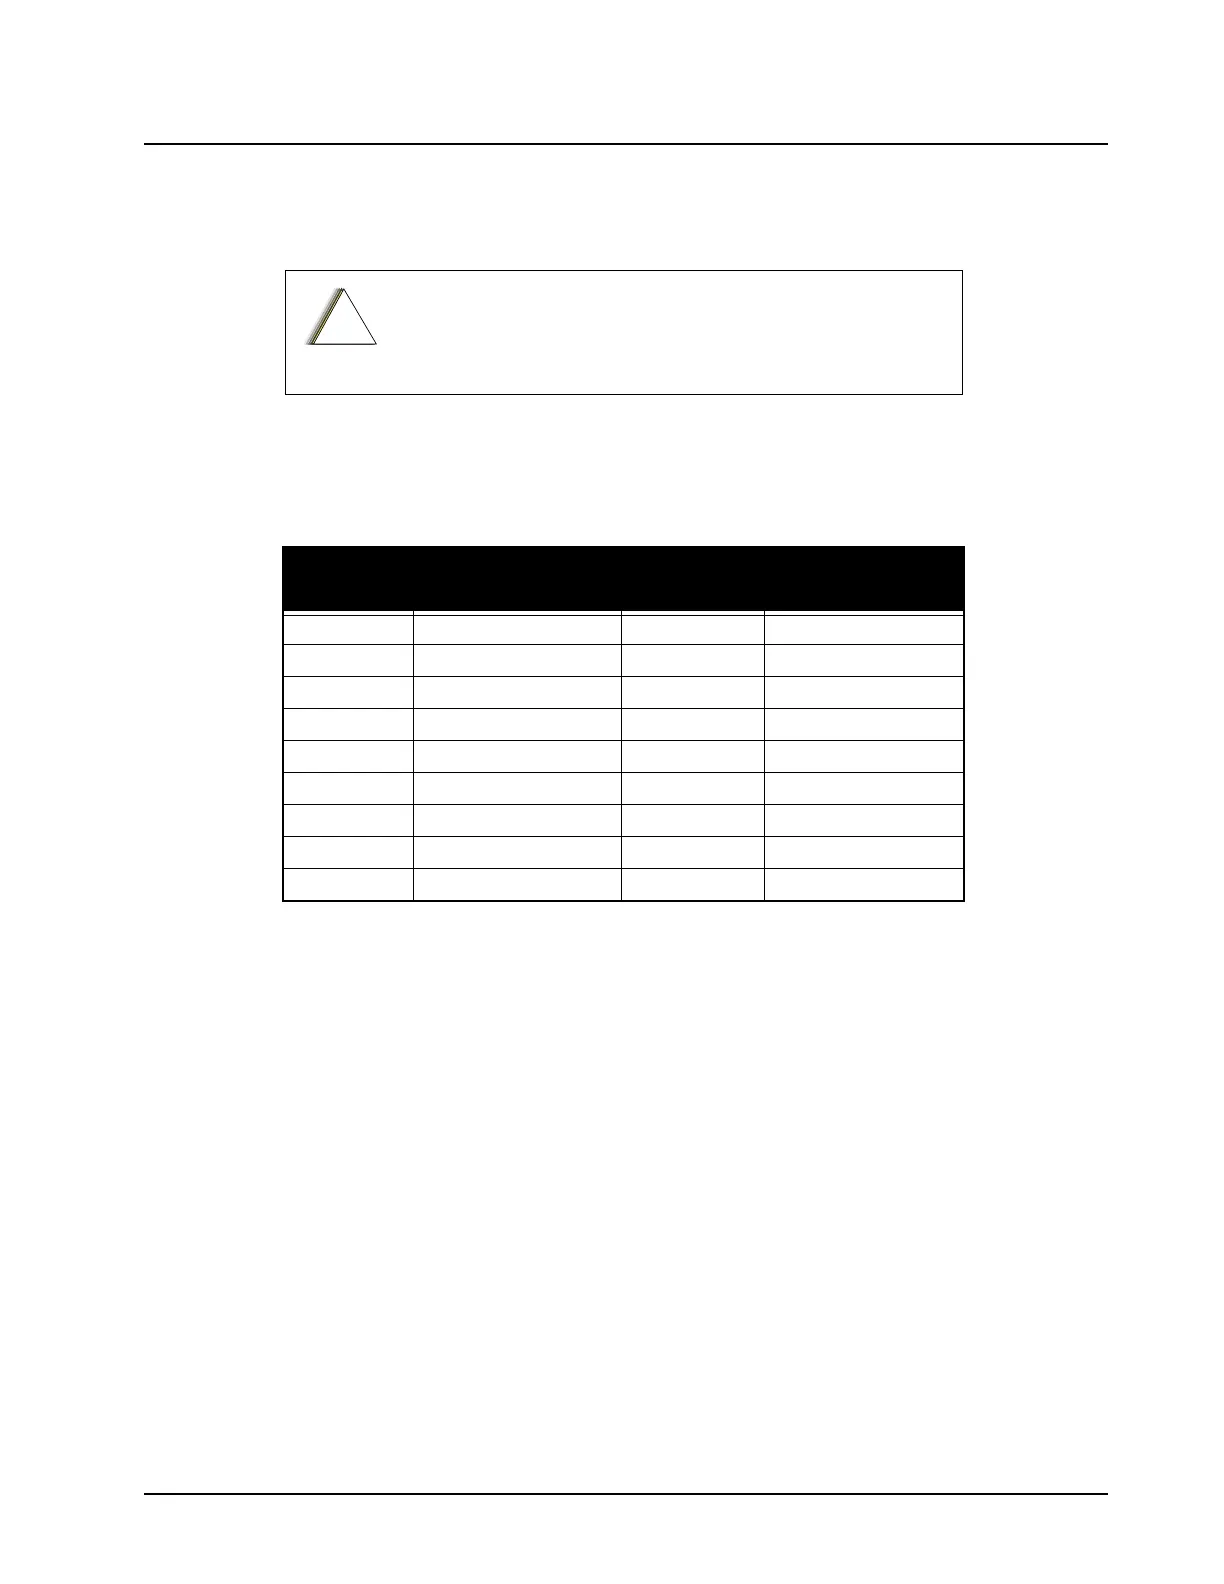
If the cable is plugged in upside down the control head will
burn out.
Table 3-4. Control Head Connector Pin Signals
PIN
NUMBER
CONTROLLER
SIGNAL
PIN NUMBER
CONTROLLER
SIGNAL
1 INTERNAL SPKR+ 10 DVP WE
2 SPKR– 11 KEY/FAIL
3 RESET 12 KID
4 SB9600_BUS– 13 DIGITAL_GND
5 not used 14 SB9600_BUSY
6 not used 15 SB9600_BUS+
7 ANALOG_GND 16 not used
8 HANDSET_AUDIO 17 A+
9 MIC/ON_OFF 18 SW_B+
!
a u t i o
 Loading...