9.33
Chassis
9
Left Bulkhead Clip Installation
1. Verify the bulkhead clip and engine side support
brace are thoroughly cleaned and all residual
adhesive is removed from both parts.
2. Gather together the three T40 fasteners and nuts, and
two T4
0 engine mount screws that secure the
bulkhead clip to the engine side support brace.
3. The next assembly step is applying the adhesive.
Th
oroughly read and understand the Adhesive
Applicator Tool and Adhesive Application sections
before proceeding.
4. Apply the adhesive to the front, left engine side
sup
port brace as outlined in the Adhesive Application
section.
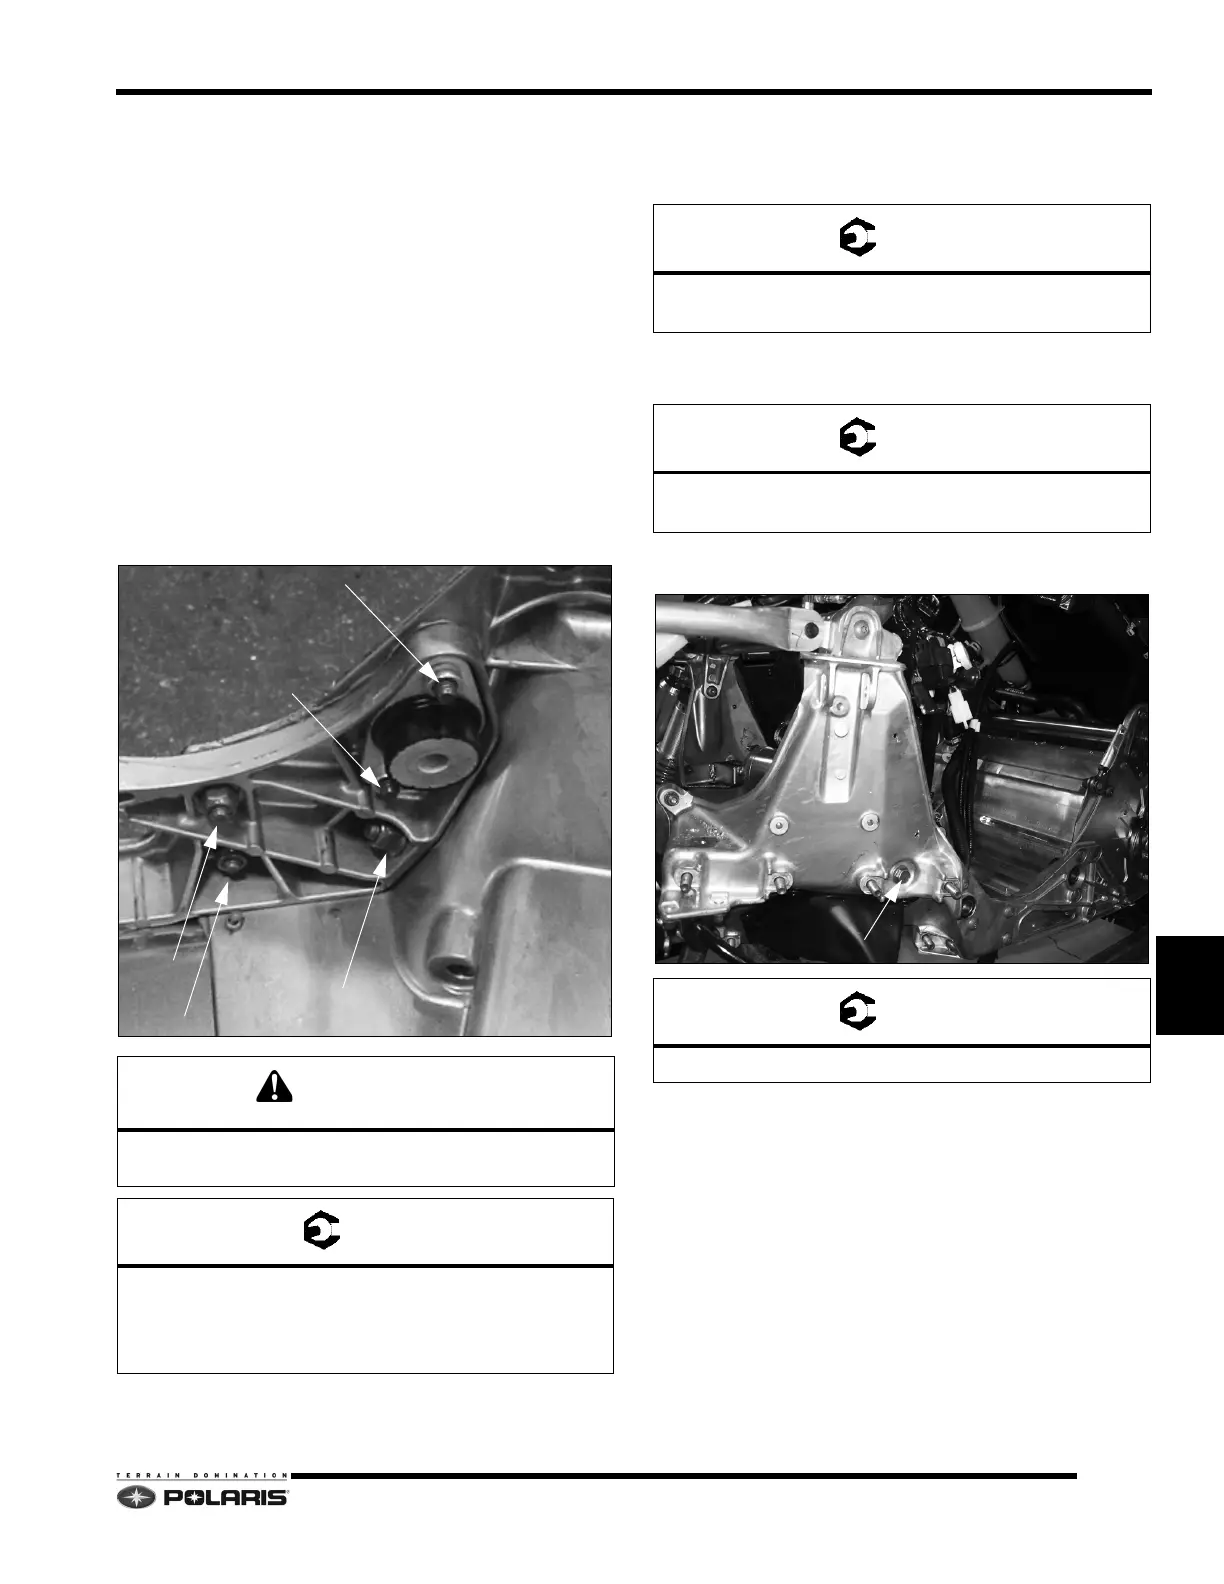
5. Install the bulkhead clip. Install and torque the T40
scr
ews that attach the clip to the side support brace.
6. Torque fasteners to specification.
7. Reinstall the bulkhead clip
fasteners including lower
heat exchanger mount screw/nut. Torque nuts to
specification.
8. Reinstall the over structure-to-bulkhead screws.
T
orque screws to specification.
9. Reinstall the cross shaft fastener. Torque to
specification.
The fasteners must be torqued within the adhesive
working time of 6 to 10 minutes.
Bulkhead Clip-to-Side Brace Fasteners:
26 ft-lbs (35 Nm)
Engine Mount Fasteners: 22 ft-lbs(30 Nm)
Bulkhead Clip Fasteners:
26 ft-lbs (35 Nm)
Over Structure-to-Bulkhead Fasteners:
22 ft-lbs (30 Nm)
Cross Shaft Fasteners: 35 ft-lbs (47 Nm)
 Loading...


