9.40
Chassis
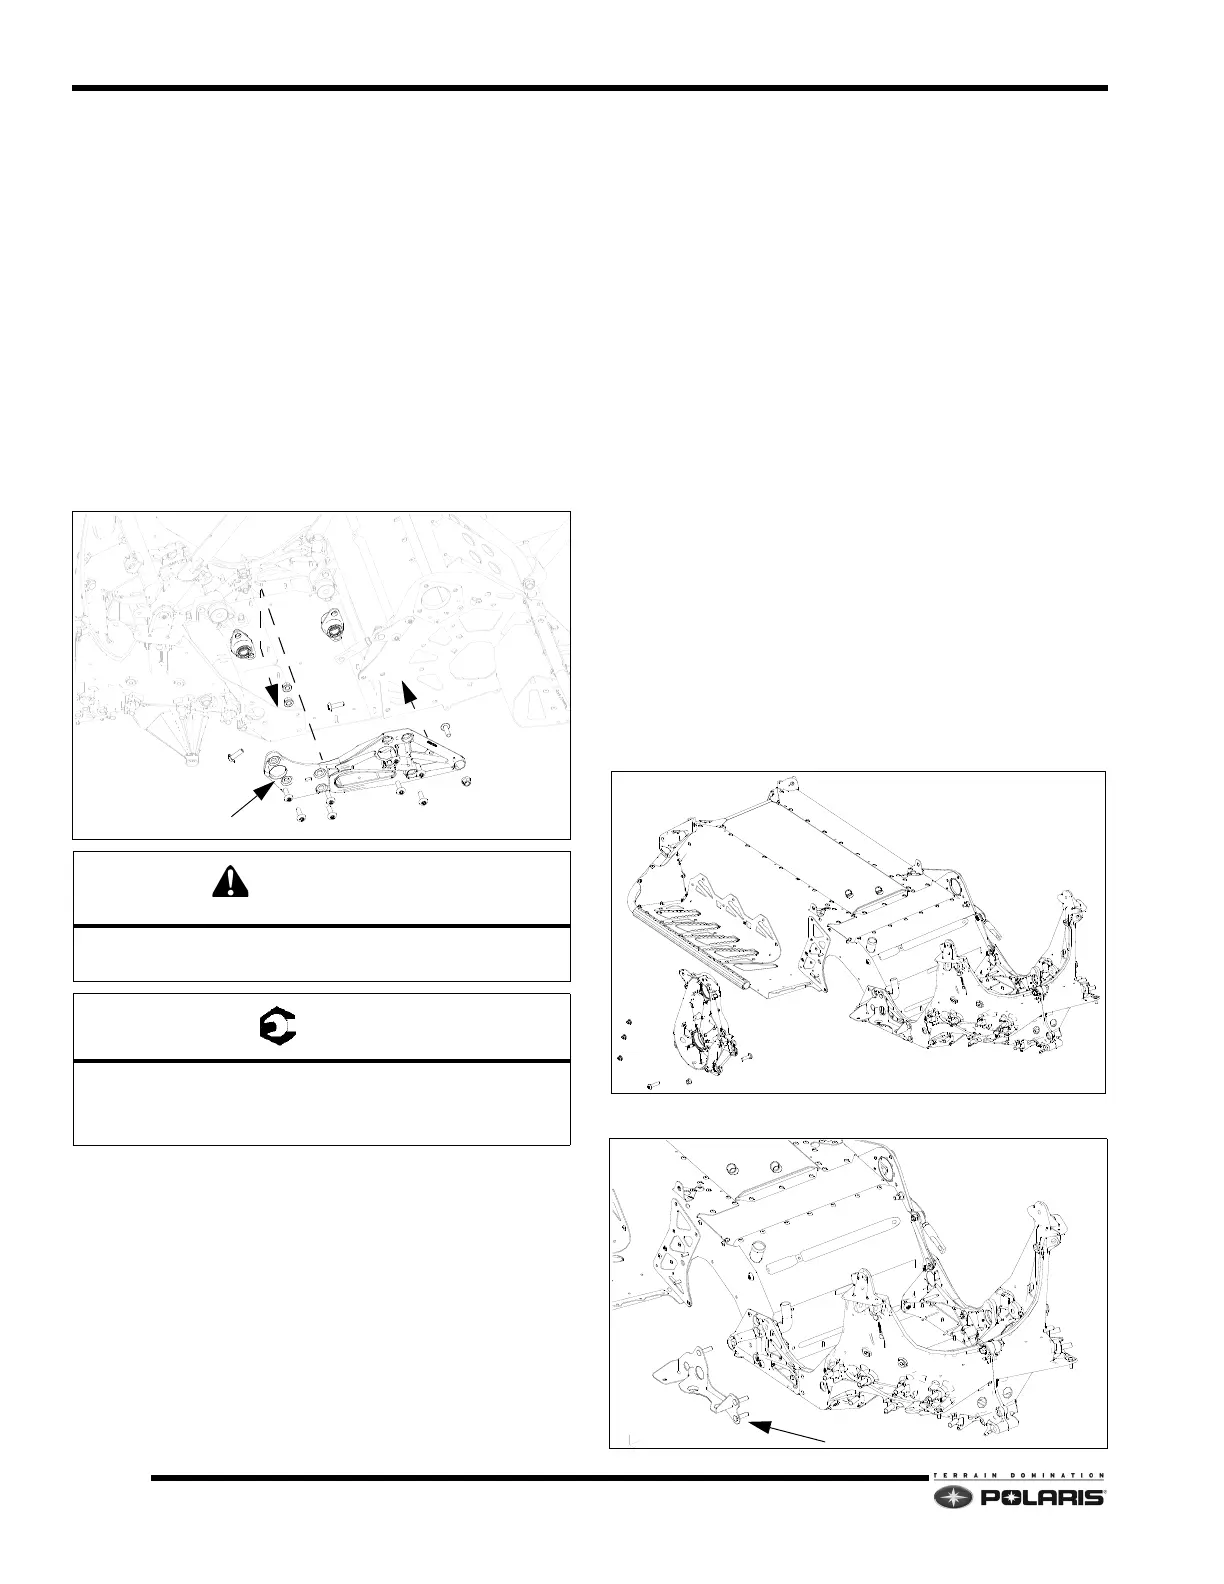
Left Support Brace Installation
1. Verify the bulkhead clip, side brace, and tunnel are
thoroughly cleaned and all residual adhesive is
removed from the parts.
2. Gather together the T40 screws and nuts, and engine
mo
unts.
3. The next assembly step is applying the adhesive.
Th
oroughly read and understand the Adhesive
Applicator Tool and Adhesive Application sections
before proceeding.
4. Apply the adhesive to the front and rear of the left side
b
race as outlined in the Adhesive Application section.
5. Install the brace. Torque fasteners to specification.
Note
the screw on the inside of the brace mounting the
brace to the bulkhead cooler.
6. Install a new bulkhead floor plate.
7. Reinstall the left side fender using new rivets.
8. Install the following components:
• Right/left engine compartment door
•Hood
• Exhaust pipe/silencer
• Oil tank/clutch cover assembly
• Driven clutch
• Airbox assembly
• Engine assembly
NOTE: Allow the adhesive to cure for 24 hours at 68°
F (
20° C) before placing the snowmobile back into
service.
Right Support Brace Removal
1. Remove the following components:
• Right/left engine compartment door
•Hood
• Nosepan/bumper
• Exhaust pipe/silencer
• Exhaust silencer bracket
• Chaincase components/chaincase
• Oil tank/clutch cover assembly
• Airbox assembly
• Engine assembly
• Bulkhead floor plate
• Right side front suspension components
• Fuel tank (remove fuel hoses and gasoline from
ta
nk)
2. Drill out the rivets securing the right fender to the
bulkhead and
chassis.
3. Disassemble the chaincase.
Remove the chaincase
from the tunnel and brace.
NOTE: 2012-current models feature bonded
cha
incases.
4. Remove the exhaust silencer bracket.
The fasteners must be torqued within the adhesive
working time of 6 to 10 minutes.
Bulkhead Clip-to-Brace Fasteners: 26 ft-lbs (35 Nm)
Brace-to-Tunnel Fasteners: 26 ft-lbs (35 Nm)
Brace Engine Mount Fasteners: 22 ft-lbs(30 Nm)
 Loading...


