Item Setting Description
Density Optional
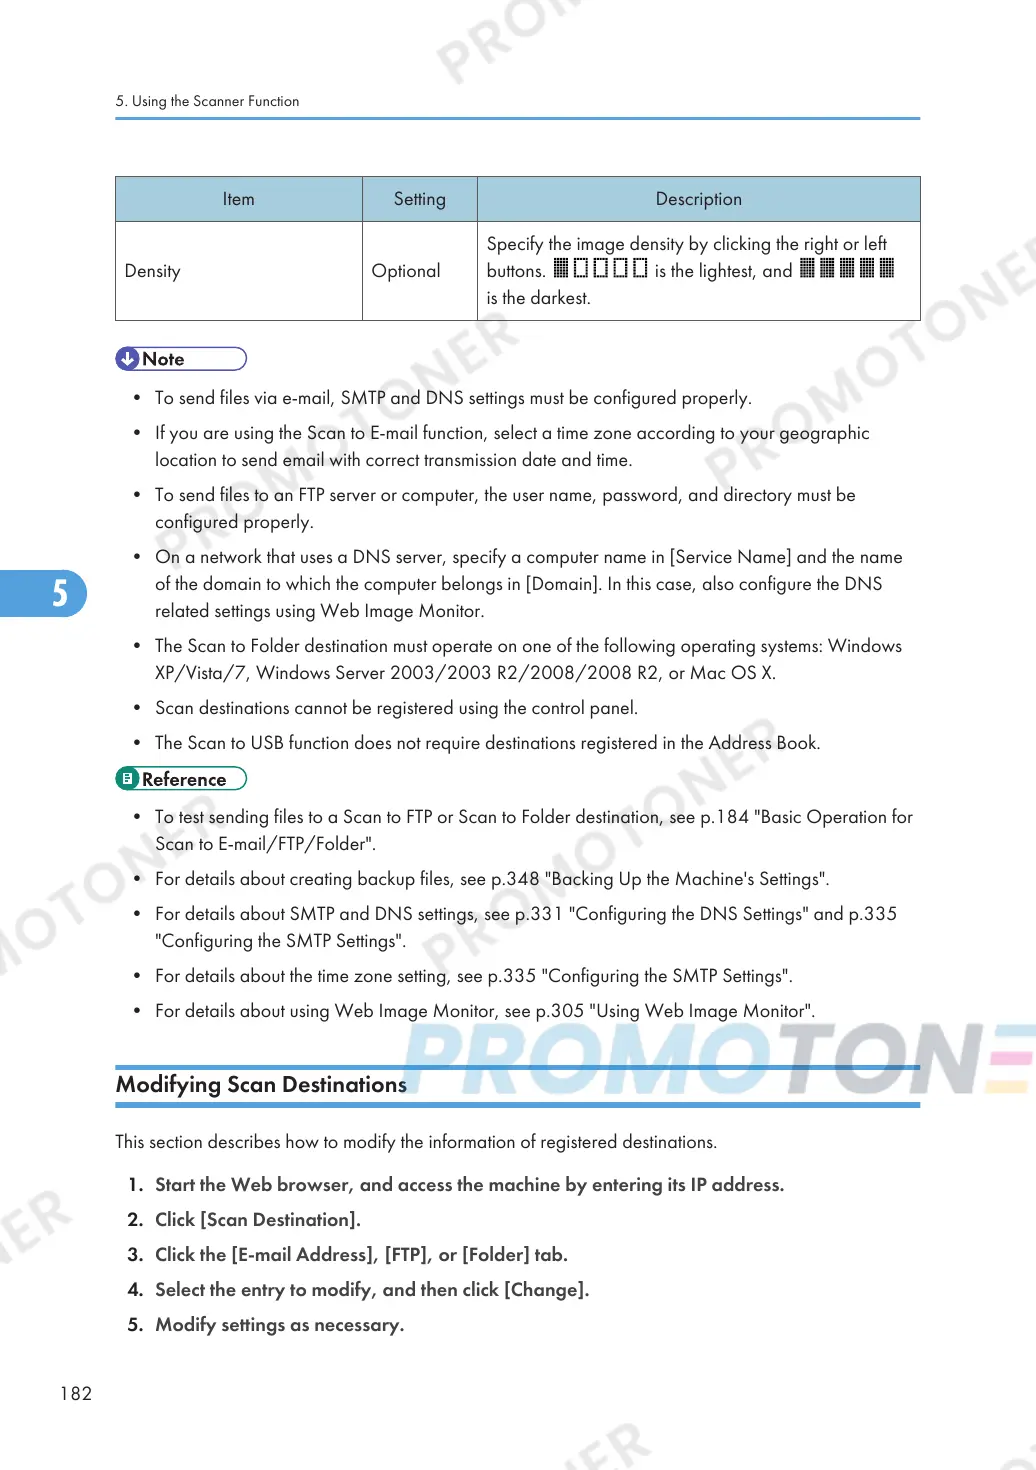
Specify the image density by clicking the right or left
buttons. is the lightest, and
is the darkest.
• To send files via e-mail, SMTP and DNS settings must be configured properly.
• If you are using the Scan to E-mail function, select a time zone according to your geographic
location to send email with correct transmission date and time.
• To send files to an FTP server or computer, the user name, password, and directory must be
configured properly.
• On a network that uses a DNS server, specify a computer name in [Service Name] and the name
of the domain to which the computer belongs in [Domain]. In this case, also configure the DNS
related settings using Web Image Monitor.
• The Scan to Folder destination must operate on one of the following operating systems: Windows
XP/Vista/7, Windows Server 2003/2003 R2/2008/2008 R2, or Mac OS X.
• Scan destinations cannot be registered using the control panel.
• The Scan to USB function does not require destinations registered in the Address Book.
• To test sending files to a Scan to FTP or Scan to Folder destination, see p.184 "Basic Operation for
Scan to E-mail/FTP/Folder".
• For details about creating backup files, see p.348 "Backing Up the Machine's Settings".
• For details about SMTP and DNS settings, see p.331 "Configuring the DNS Settings" and p.335
"Configuring the SMTP Settings".
• For details about the time zone setting, see p.335 "Configuring the SMTP Settings".
• For details about using Web Image Monitor, see p.305 "Using Web Image Monitor".
Modifying Scan Destinations
This section describes how to modify the information of registered destinations.
1. Start the Web browser, and access the machine by entering its IP address.
2. Click [Scan Destination].
3. Click the [E-mail Address], [FTP], or [Folder] tab.
4. Select the entry to modify, and then click [Change].
5. Modify settings as necessary.
5. Using the Scanner Function
182

 Loading...