Configuring the Machine
This section describes configuring the settings required to use the machine on a network and as a fax
machine.
Configuring the IPv4 Address Settings
The procedure for configuring network settings differs depending on whether IPv4 address information is
assigned automatically by the network (DHCP), or manually.
Setting the machine to receive an IPv4 address automatically
• A DHCP server is required on the network for the machine to receive an IPv4 address
automatically.
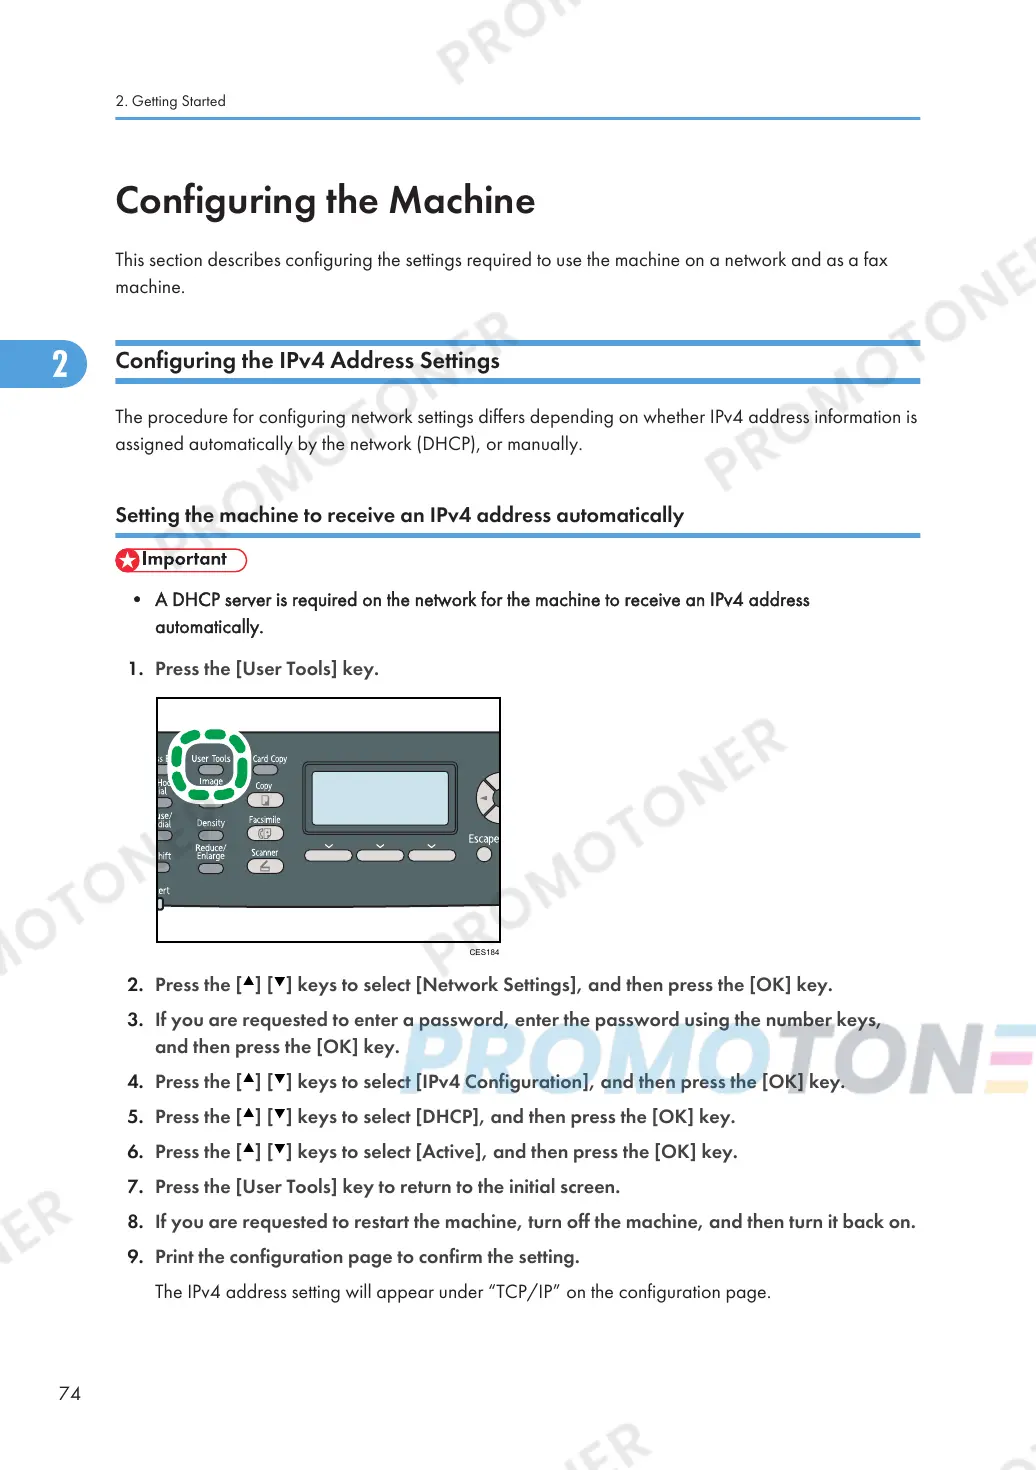
1. Press the [User Tools] key.
2. Press the [ ] [ ] keys to select [Network Settings], and then press the [OK] key.
3. If you are requested to enter a password, enter the password using the number keys,
and then press the [OK] key.
4. Press the [ ] [ ] keys to select [IPv4 Configuration], and then press the [OK] key.
5. Press the [ ] [ ] keys to select [DHCP], and then press the [OK] key.
6. Press the [ ] [ ] keys to select [Active], and then press the [OK] key.
7. Press the [User Tools] key to return to the initial screen.
8. If you are requested to restart the machine, turn off the machine, and then turn it back on.
9. Print the configuration page to confirm the setting.
The IPv4 address setting will appear under “TCP/IP” on the configuration page.
2. Getting Started
74

 Loading...