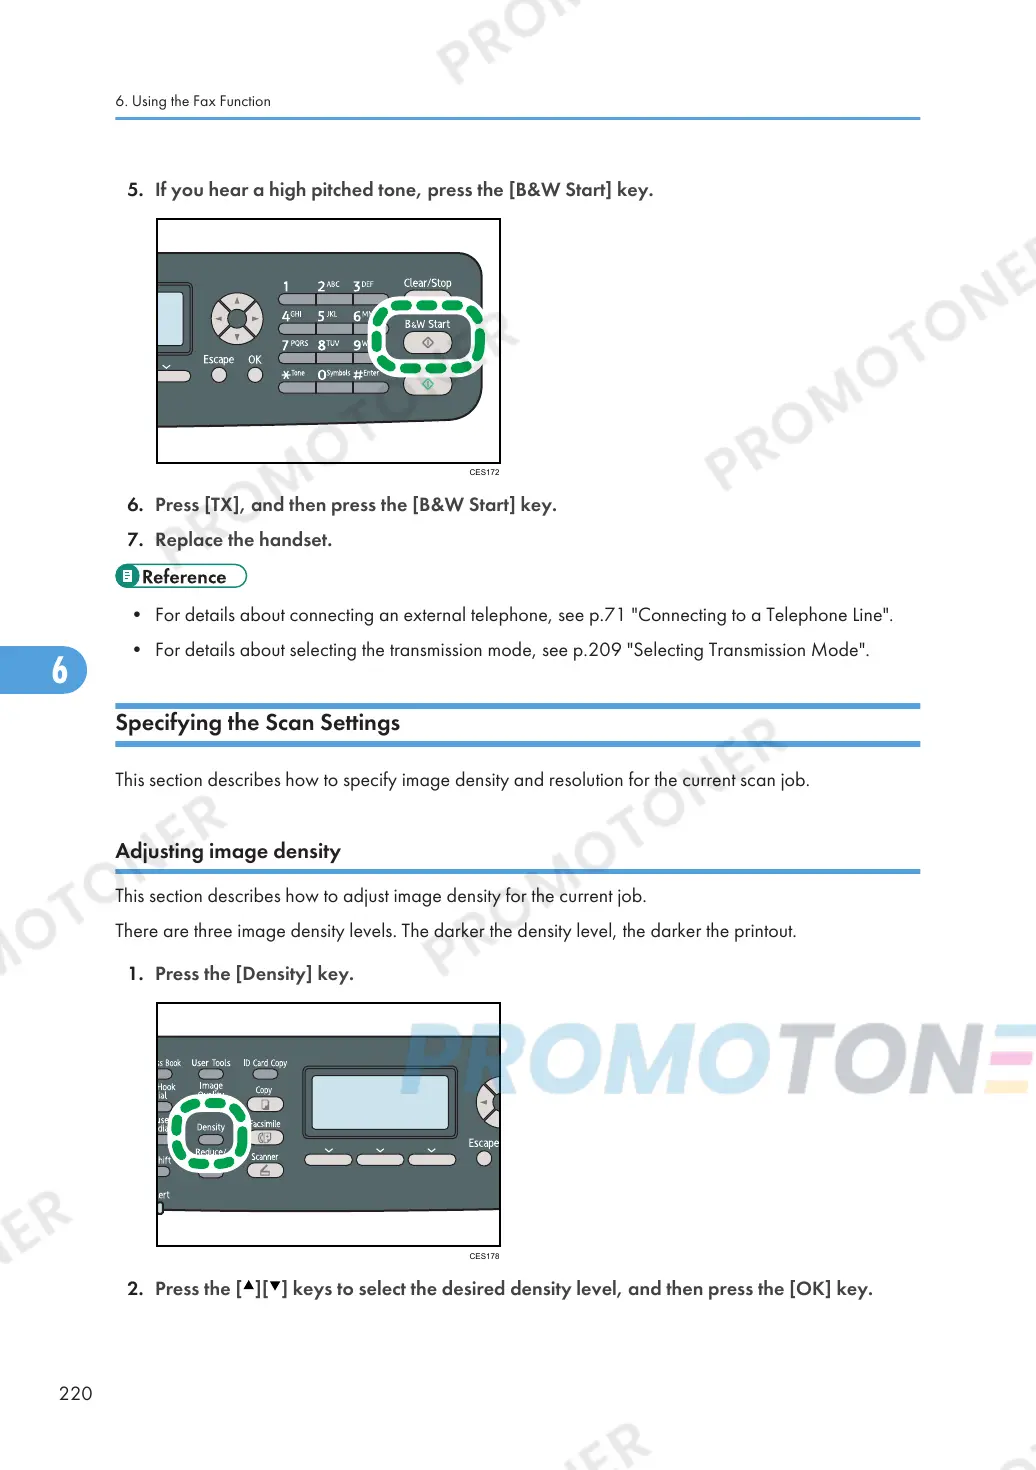
6. Press [TX], and then press the [B&W Start] key.
7. Replace the handset.
• For details about connecting an external telephone, see p.71 "Connecting to a Telephone Line".
• For details about selecting the transmission mode, see p.209 "Selecting Transmission Mode".
Specifying the Scan Settings
This section describes how to specify image density and resolution for the current scan job.
Adjusting image density
This section describes how to adjust image density for the current job.
There are three image density levels. The darker the density level, the darker the printout.
1. Press the [Density] key.
2. Press the [ ][ ] keys to select the desired density level, and then press the [OK] key.
6. Using the Fax Function
220

 Loading...