• The "Photo" resolution is not available for Internet Faxes. Faxes will be sent using "Detail" resolution
if "Photo" resolution has been specified.
• If the faxes are received on a computer, a viewer application needs to be installed in order to view
the documents.
• For details about network settings, see p.328 "Configuring the Network Settings".
Basic Operation for Sending a Fax
This section describes the basic operation for sending a fax.
• The original in the ADF takes precedence over the original on the exposure glass if you place
originals both in the ADF and on the exposure glass.
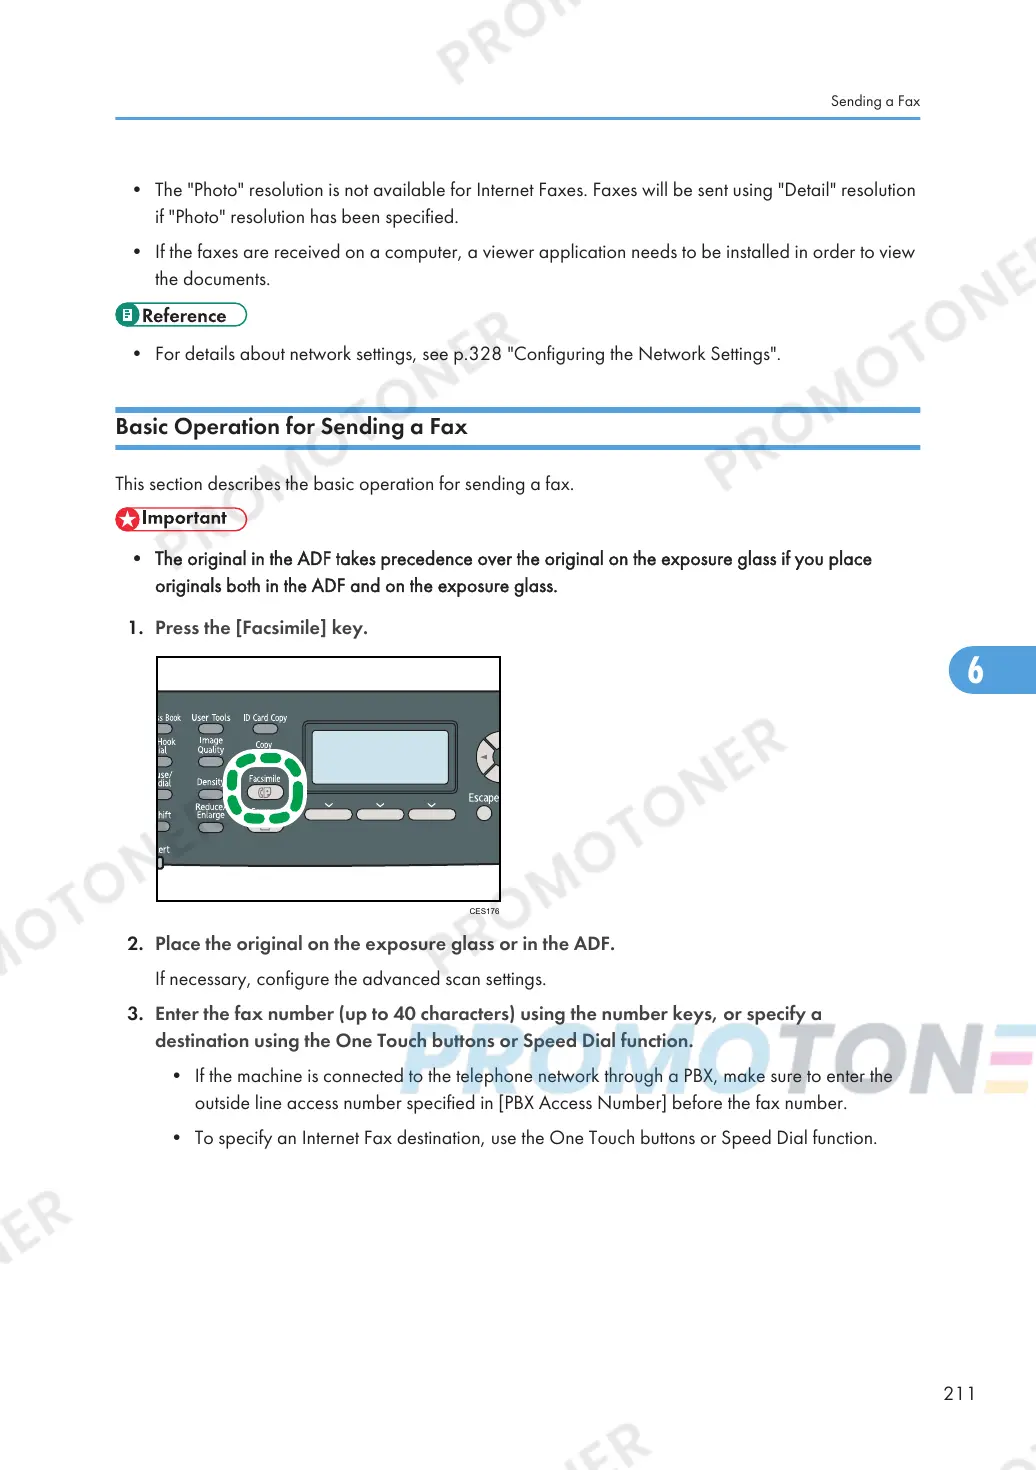
1. Press the [Facsimile] key.
2. Place the original on the exposure glass or in the ADF.
If necessary, configure the advanced scan settings.
3. Enter the fax number (up to 40 characters) using the number keys, or specify a
destination using the One Touch buttons or Speed Dial function.
• If the machine is connected to the telephone network through a PBX, make sure to enter the
outside line access number specified in [PBX Access Number] before the fax number.
• To specify an Internet Fax destination, use the One Touch buttons or Speed Dial function.
Sending a Fax
211

 Loading...