• For details about installing printer drivers for USB connection, see the instructions provided on the
driver CD-ROM.
Connecting with a Digital Camera Using a USB Cable
This machine supports direct printing, which allows you to print images taken with a digital camera by
connecting the camera directly to the machine. The following describes how to connect the machine to a
digital camera.
• Use the USB cable bundled with your digital camera.
• Make sure your digital camera supports PictBridge.
1. Confirm that both the machine and the digital camera are turned on.
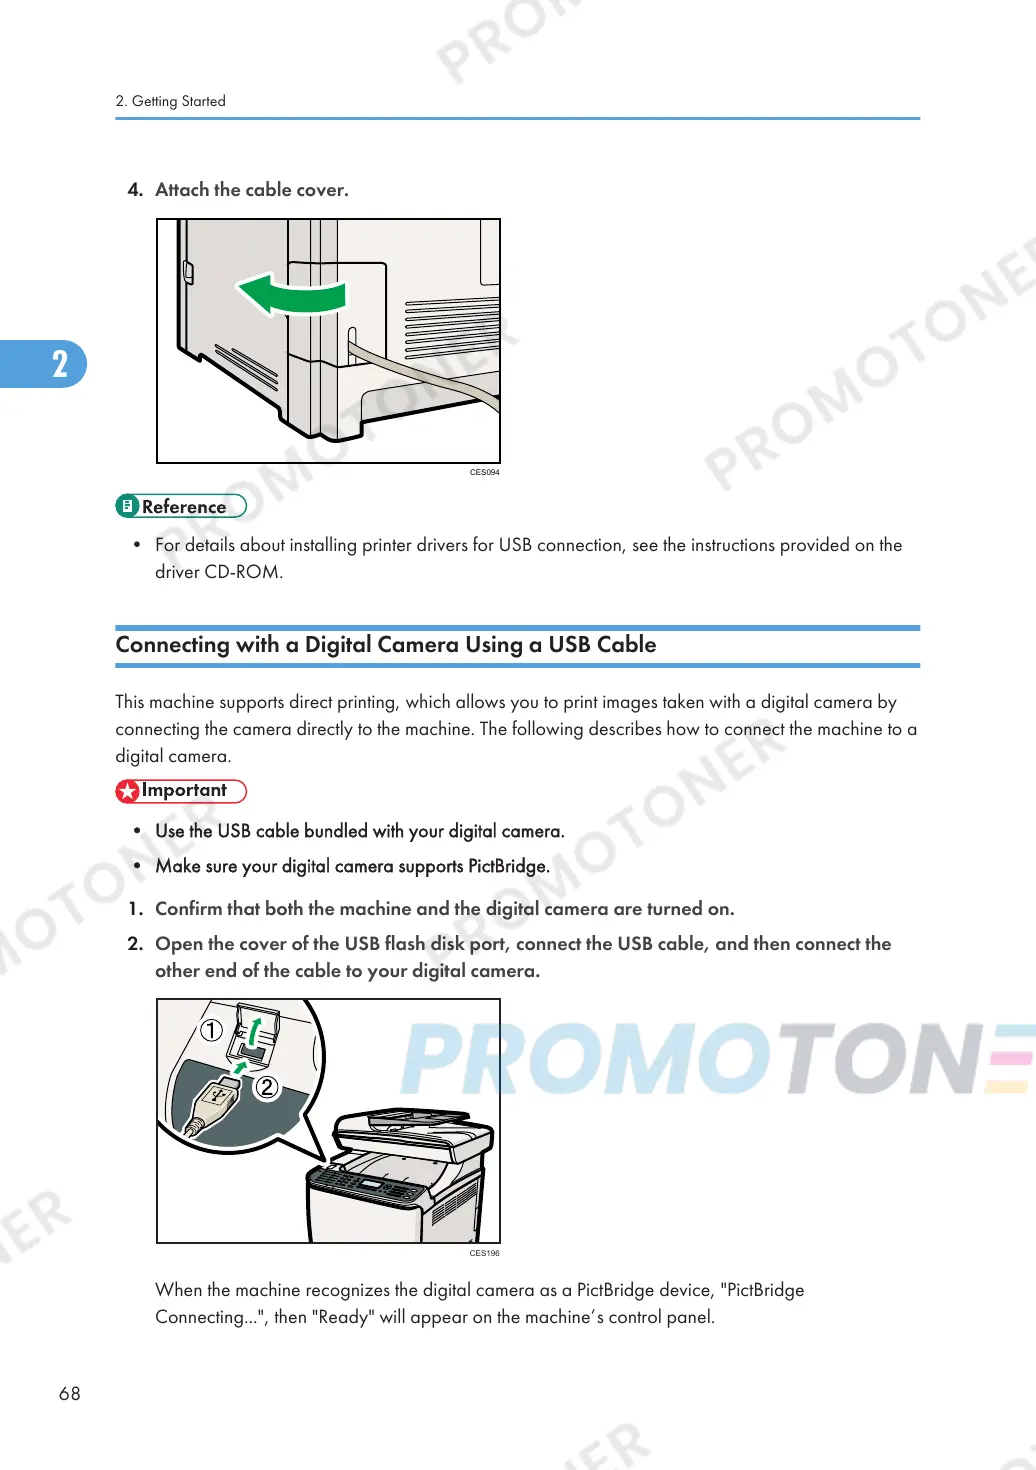
2. Open the cover of the USB flash disk port, connect the USB cable, and then connect the
other end of the cable to your digital camera.
When the machine recognizes the digital camera as a PictBridge device, "PictBridge
Connecting...", then "Ready" will appear on the machine’s control panel.
2. Getting Started
68

 Loading...