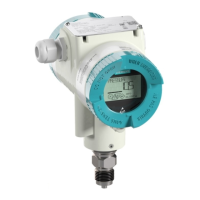
Figure 6-5 SIMOTION P320-4 with changed position of the SYNC I/O connecting cable
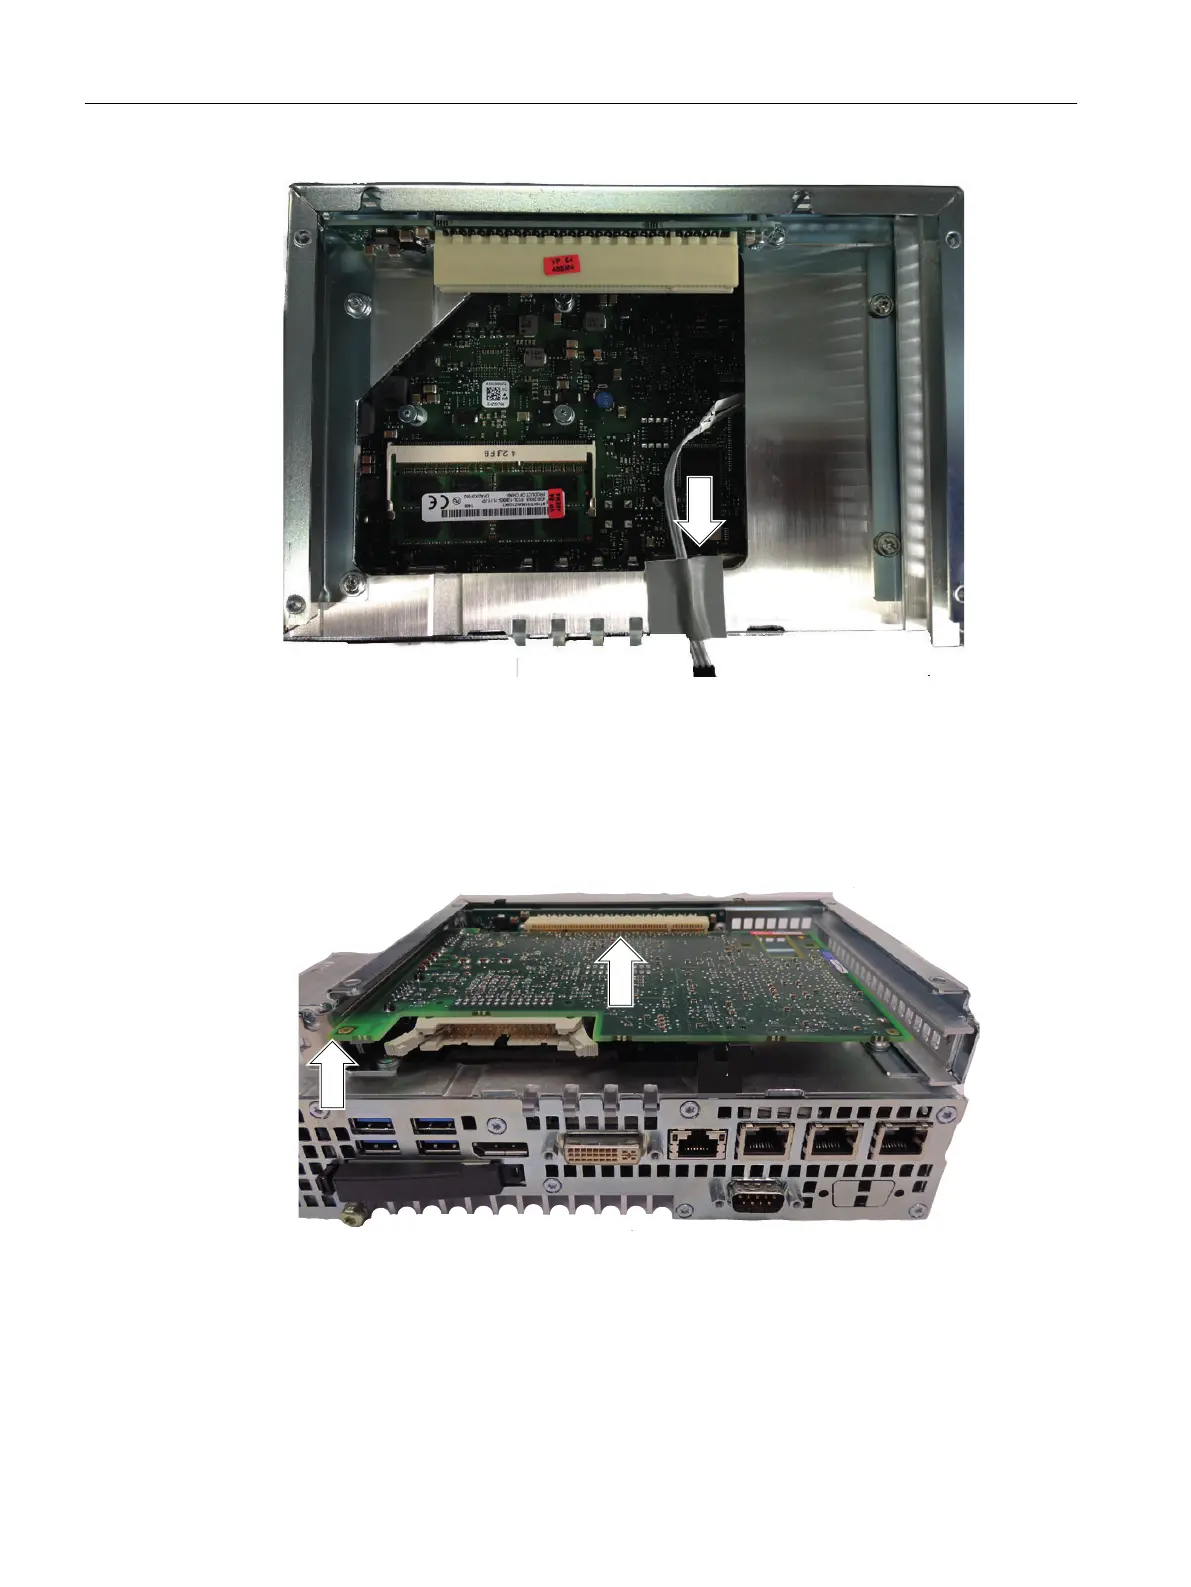
3. Remove the slot plate on the left side to expose the cutout for the interfaces of the
IsoPROFIBUS board.
4. The IsoPROFIBUS board is inserted in the next step:
Slide the IsoPROFIBUS board on the left into the guide rail of the previously removed slot
plate and push it backward guided by the rail.
Figure 6-6 Inserting the IsoPROFIBUS board
5. The IsoPROFIBUS board is inserted into the rear PCI slot by applying slight pressure.
Connection
6.5 Connecting PROFIBUS
SIMOTION P320-4 E / P320-4 S
106 Commissioning and Hardware Installation Manual, 11/2016
 Loading...