7 Working with Images
Basic User Manual 99
1. Position the B-mode image to the desired scan position.
2. Press the Pan key on the key panel to enter the inactivated Panoramic Imaging mode.
3. Press the Update button on the control panel to enter the real-time panoramic
imaging.
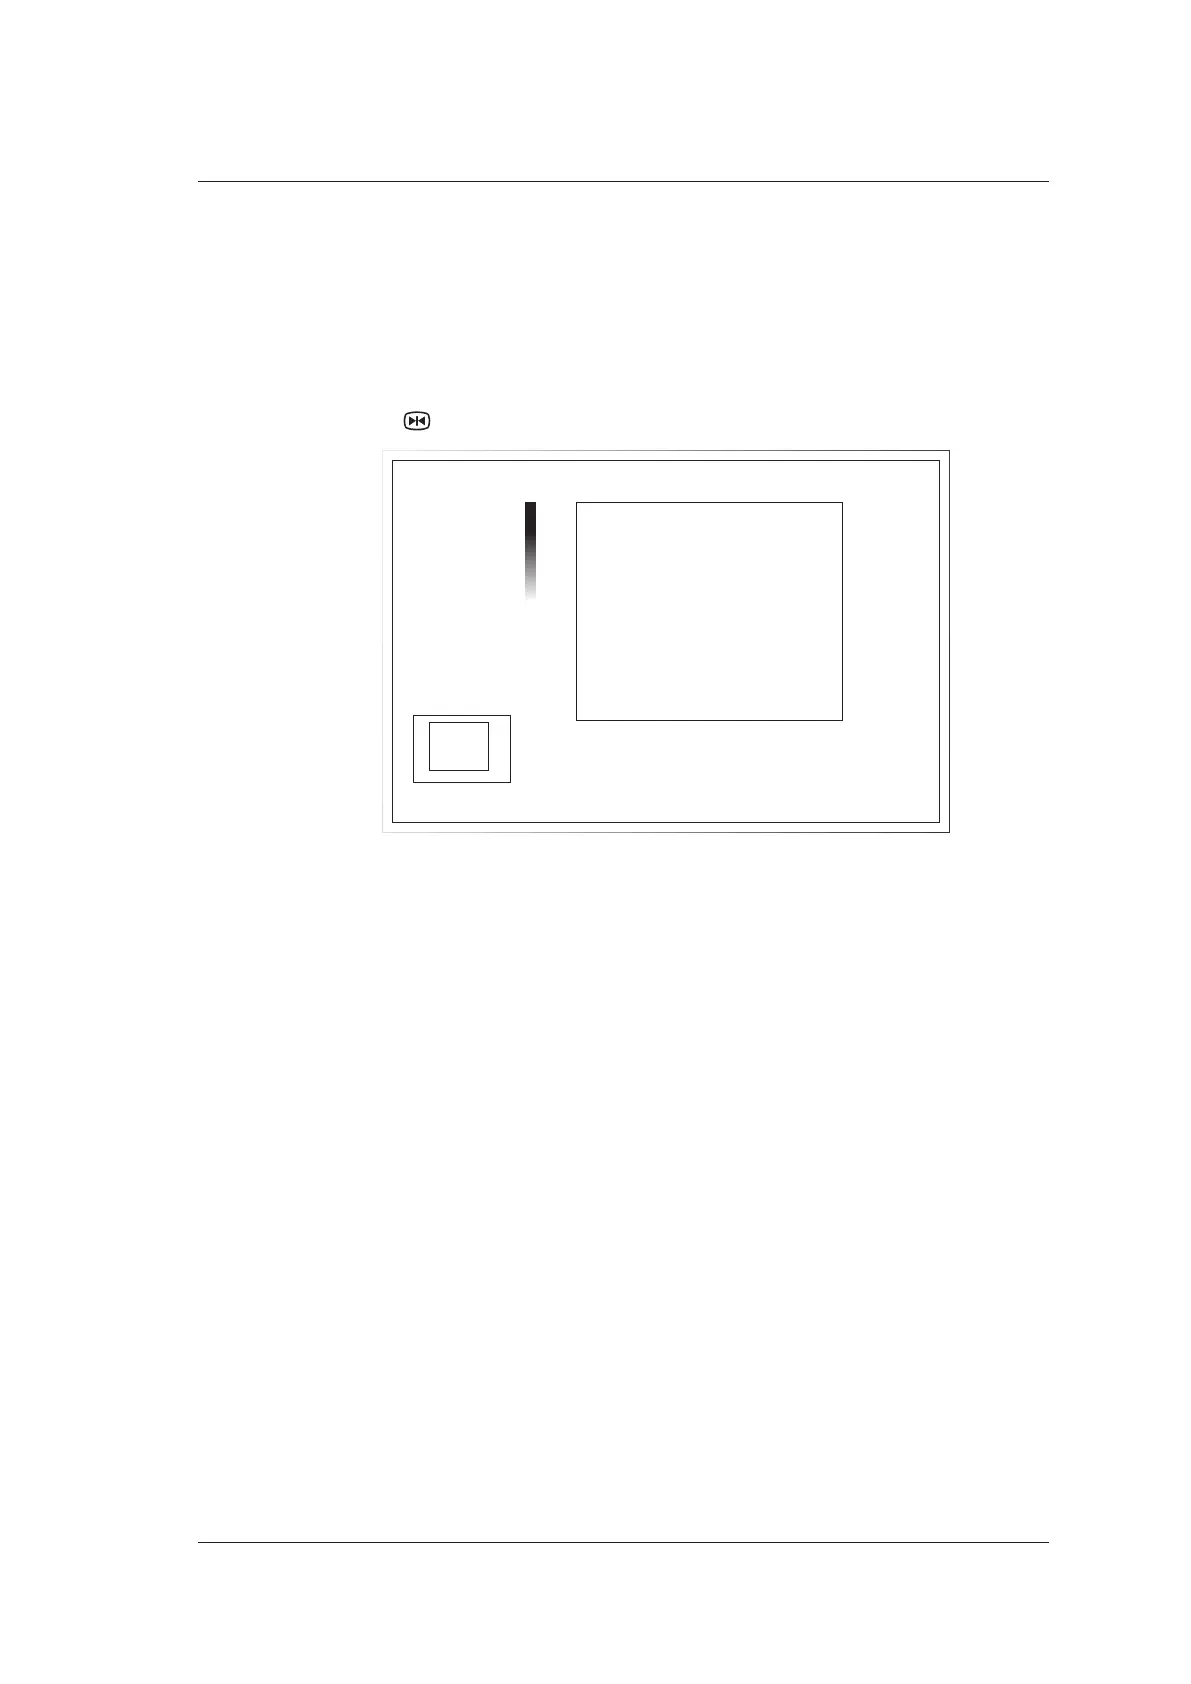
4. Perform the scan and the screen will display the real time joint image.
5. Press the button to display the panorama or
thumbnail
.
FR
D
DR
PWR
F
GN
μS
B
Z
7.5
14.0
50
75
7.5-10.5
50
3
1.4
Figure 7-3 Real-Time Panoramic Imaging Screen
6. Work with the image.
a. Zoom in/out the Image
Select
Zoom
menu and rotate the corresponding function key to zoom in or out the
image, and a thumbnail is displayed in the lower left corner of the screen. Use the
trackball to position the interest area.
b. Select Rotate menu and rotate the corresponding function key to rotate the image.
c. Select Overview menu and rotate the corresponding function key to restore the
image to the default setting.
d. Make measurements, annotations and body marks.
7. Press the B button to return to B real-time mode image.
7.2 Magnifying an Image
7.2.1 Filling the Full Screen
You can magnify the imaging area to fill the full screen in the real-time or frozen mode.

 Loading...


