8 Managing Images/Data
110 Basic User Manual
8.2.2 Retrieving an Image
Perform the following steps.
1. Select the Patient key > Patient List > Patient View to enter the Patient View
screen.
2. Select the desired patient, and then click View to enter the Exam View screen.
3. Select the desired exam, and click View Image to retrieve the image.
8.3 Backing up Data
All data is saved to the system by default. To avoid data loss due to unexpected system
breakdown or software update, it is strongly recommended you back up data to a USB
drive or DICOM server. For details about DICOM server backup, please refer to Section 9.2
DICOM Storage.
NOTE:
• Complete all exams before backing up the data.
• Please use a legally marketed USB drive ( FAT, FAT32 and NTFS format) to back
up the data.
Perform the following steps.
1. Connect a USB drive to the system.
2. Select Patient key to enter Patient List.
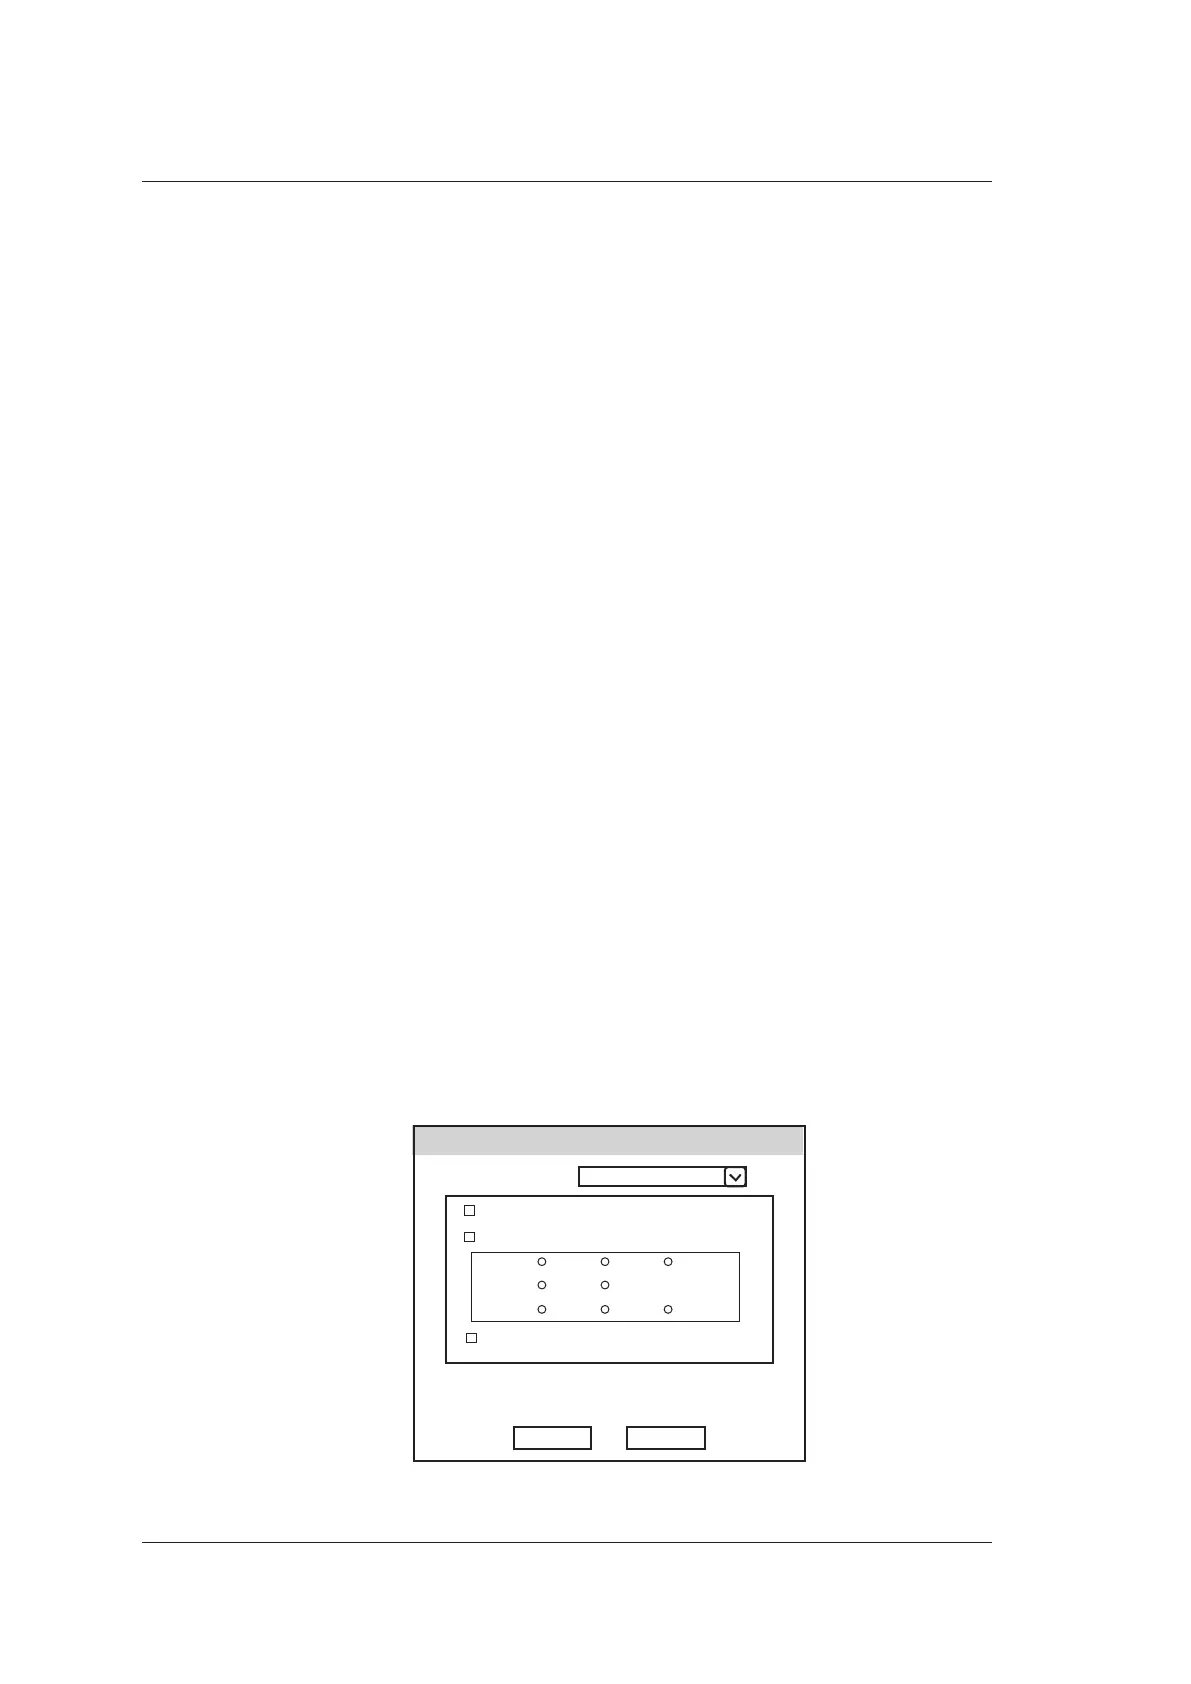
3. Select the Patient List > Patient View to select desired patients, and click Export
Screen. Then select a USB drive from the drop-down list of USB devices and
exported image format.
If you select PC image format, you can also select the exported image, cine or report
format.
Export
USB devices:
System
Images:
Cines:
Report:
BMP JPG TIF
Select File Size:
Disk Free Size:
CancelExport
AVI WMV
PDF TXT HTML
PC Format
DICOMDIR
4. Click Export to back up the selected patient data to the USB.

 Loading...


