5C-5 Clutch:
• Install the collar (3) onto the primary driven gear
assembly.
• Install the clutch sleeve hub assembly into the primary
driven gear assembly.
• Install the primary driven gear assembly together with
the clutch wheel.
• Install the washer and clutch sleeve hub nut.
NOTE
The convex side of the washer faces outside.
• Tighten the clutch sleeve hub nut to the specified
torque with the special tool.
Tightening torque
Clutch sleeve hub nut (a): 100 N·m (10.0 kgf-m,
72.5 lb-ft)
Special tool
(A): 09920–53730 (Clutch sleeve hub holder)
• Stake the clutch sleeve hub nut with a center punch.
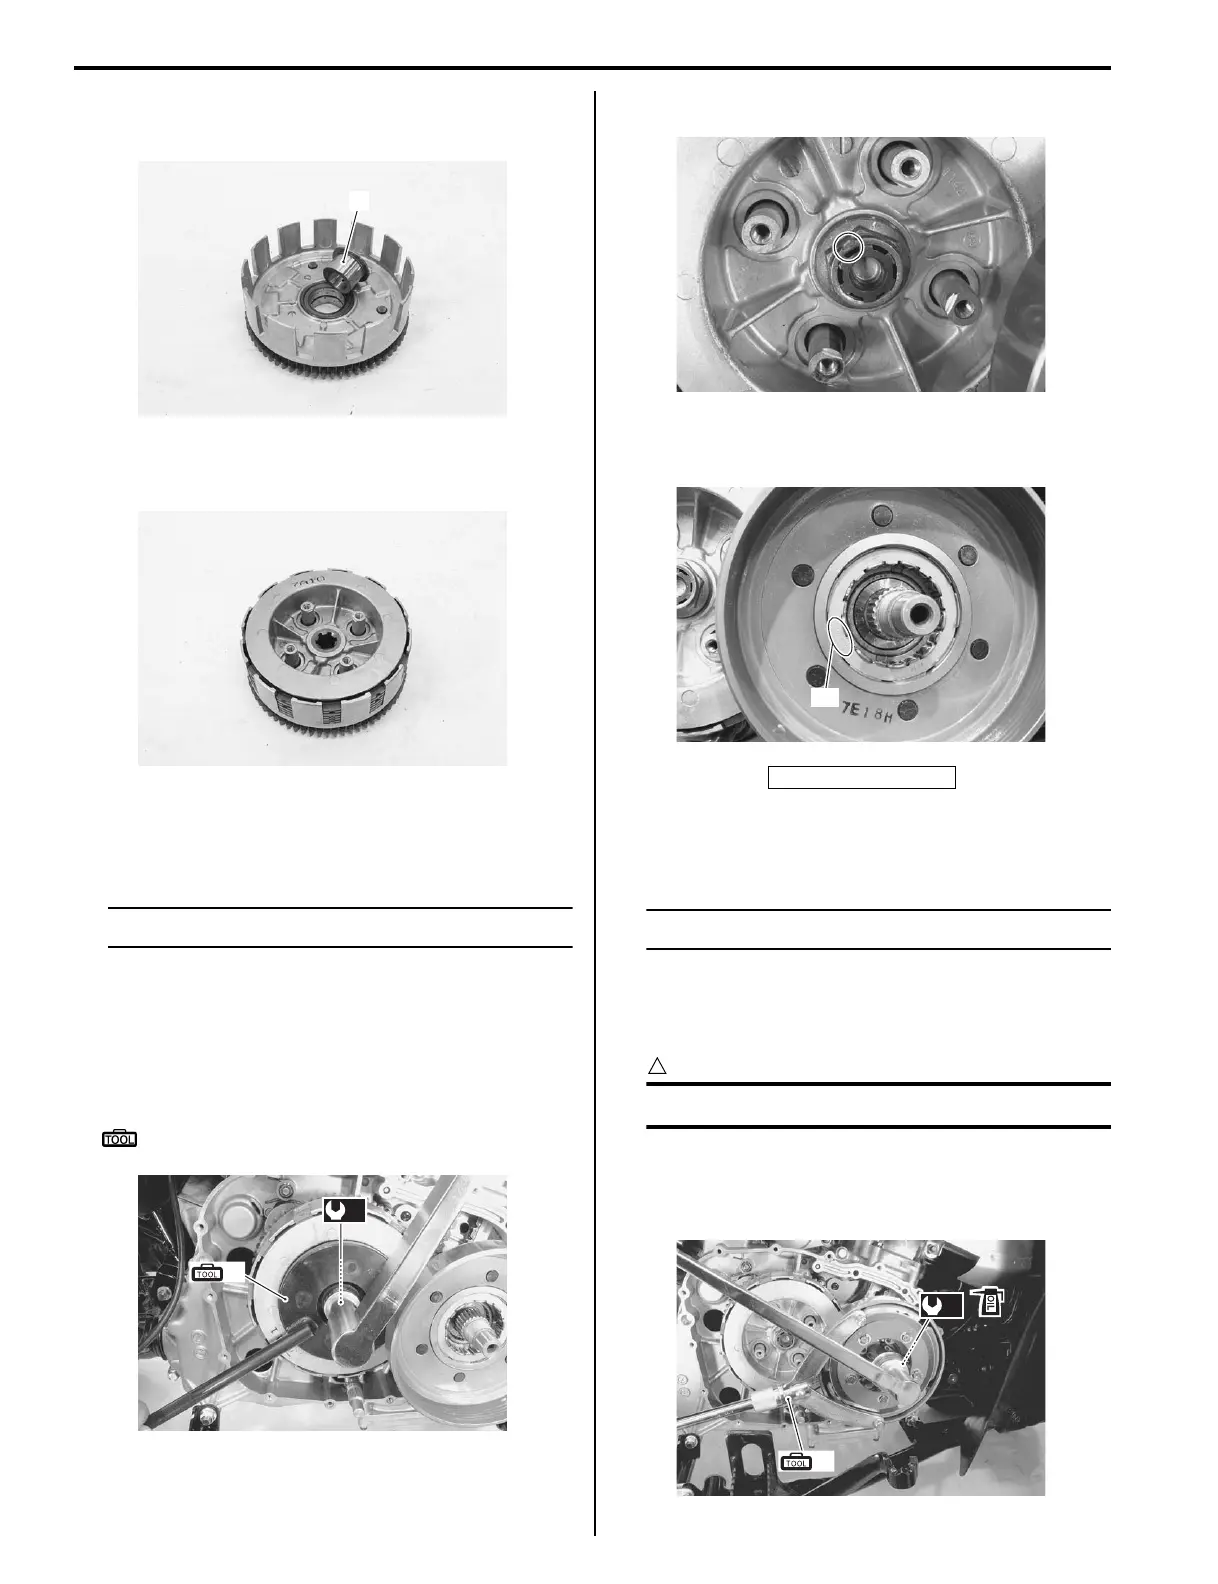
• Install the one-way clutch with the “OUT SIDE” letters
“A” outside.
• Install the clutch shoe assembly.
• Install the washer.
NOTE
The convex side of the washer faces outside.
• Apply engine oil to the clutch shoe nut and install it.
• Hold the clutch shoe with the special tool and tighten
the clutch shoe nut to the specified torque.
CAUTION
!
The clutch shoe nut has left-hand threads.
Tightening torque
Clutch shoe nut (b): 145 N·m (14.5 kgf-m, 105.0
lb-ft)
3
I827H1530014-01
I827H1530015-01
(A)
(a)
I827H1530016-01
“A”: OUT SIDE
I827H1530017-01
“A”
I827H1530018-01
(B)
(b)
I827H1530019-01

 Loading...


