Mainframe removal and installation procedures
Front Panel assembly
1. Assemble equipment and locate the Front Panel assembly:
a. You need a screwdriver with a #2 Phillips tip (See Table 2-5 on
page 2-20.).
b. Locate the Front Panel assembly in the locator diagram. (See Figure 2-6
on page 2-22.)
2. Remove the top cover: (See page 2-25, Top cov er.)
3. Orient the
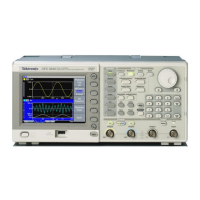
instrument: Set the TG8000 so its bottom is down on the work
surface and its front is facing you.
4. Remove th
e Front Panel assembly: (See Figure 2-10.)
CAUTION. To prevent damage to the USB connector, care must be used when
removing the Front Panel assembly. It is recommended that you remove the
screws from the bottom of the instrument before you turn the instrument over to
remove the side screws. This will prevent the Front Panel ass embly from moving
and damaging the USB connector.
a. Set the TG8000 so that its top is down on the work surface and its front is
facing you.
b. Use a screwdriver with a #2 Phillips tip to remove the four screws securing
the Front Panel assembly to the bottom of the mainframe.
c. Turn the TG8000 over so that its bottom is down on the work surface
and its front is facing you.
d. Use a screwdriver with a #2 Phillips tip to remove the two screws securing
the Front Panel assembly to the side of the chassis (one screw on each
si
de).
e. Unplug the cables at J711 and J725 on the Main board.
f. Grasp the Front Panel assembly and carefully pull it forward over the
USB connector so that you do not damage the connector.
5. Reinstallation: Perform steps 2 through 4 in reverse order to reinstall the
Front Panel assembly. Torque all screws to 5.5 in/lbs.
2–26 TG8000 Multiformat Test Signal Generator Service Manual
 Loading...