16.2. Robot Arm Installation
Description Install and power on the robot arm and Control Box to start using PolyScope.
See Hardware Installation Manual for detailed installation instructions.
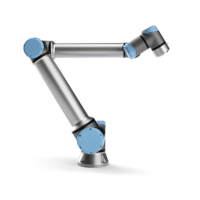
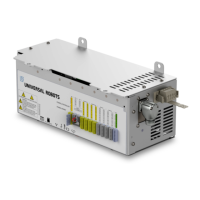
Install the robot You have to assemble the robot arm, Control Box and Teach Pendant to be able to
continue.
1. Unpack the robot arm and the Control Box.
2. Mount the robot arm on a sturdy, vibration-free surface.
Verify the surface can withstand at least 10 times the full torque of the base joint
and at least 5 times the weight of the robot arm.
3. Place the Control Box on its Foot.
4. Connect the robot cable to the robot arm and the Control Box.
5. Plug in the mains, or main power cable, of the Control Box.
WARNING
Failure to secure the robot arm to a sturdy surface can lead to injury
caused by the robot falling.
•
Ensure the robot arm is secured to a sturdy surface
Turning the
control box on/off
The Control Box mainly contains the physical electrical Input/Output that connects the
robot arm, the Teach Pendant and any peripherals. You must turn on the Control Box to
be able to power on the robot arm.
UR10e 116 User Manual
Copyright © 2009–2024 by UniversalRobotsA/S. All rights reserved.

 Loading...


