RJ-901C/RJ-900C Maintenance Manual 4 Parts Replacement
4-27
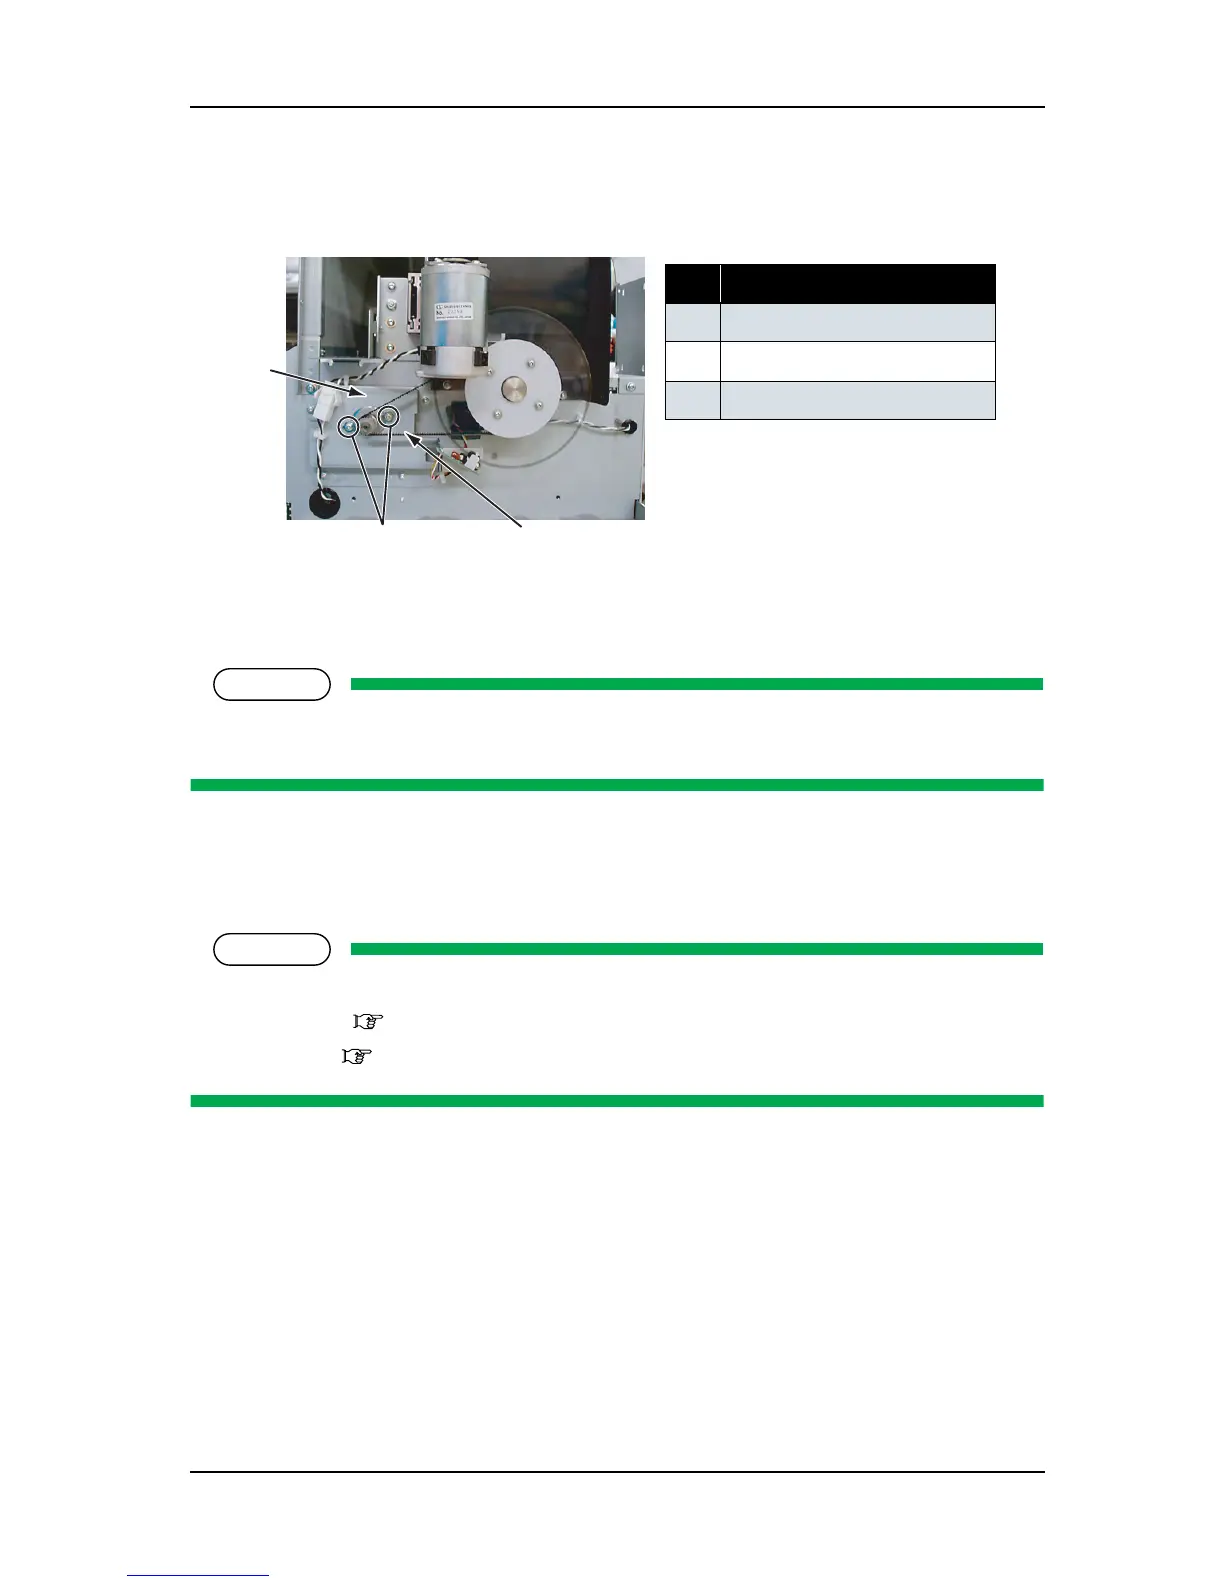
2. Remove the screw retaining the PF motor to the PF bracket (M4 × 8 pan-head screw with spring washer
and flat washer: 2pcs).
3. Replace the PF motor assembly.
4. To reassemble the unit, reverse the removal procedure.
NOTE
Move the PF speed reduction pulley with your hand to check if the PF speed reduction belt is equally
balanced on the pulley center section of the PF motor assembly.
5. Perform adjustments by following the instructions in "7.2 Adjustment Item" p.7-3.
4.4.2 Replacing PF_ENC Assembly
NOTE
Before replacing parts in the PF_ENC assembly, remove the following covers.
•L side cover: "4.2.3 Removing L Side Cover" p.4-9
• Rear cover: "4.2.7 Removing Media Guide R2" p.4-14
1. Remove the PF_ENC assembly connectors from the main board assembly.
2. Take the PF_ENC assembly cable off the clamp, then pull it out through the L frame cable inlet.
No. Part name
1 PF bracket:
2
PF motor screw
3 PF speed reduction belt
1
2
3
 Loading...