Layout Adjustment
ColorQube 9301/9302/9303 Multifunction Printer
User Guide
18
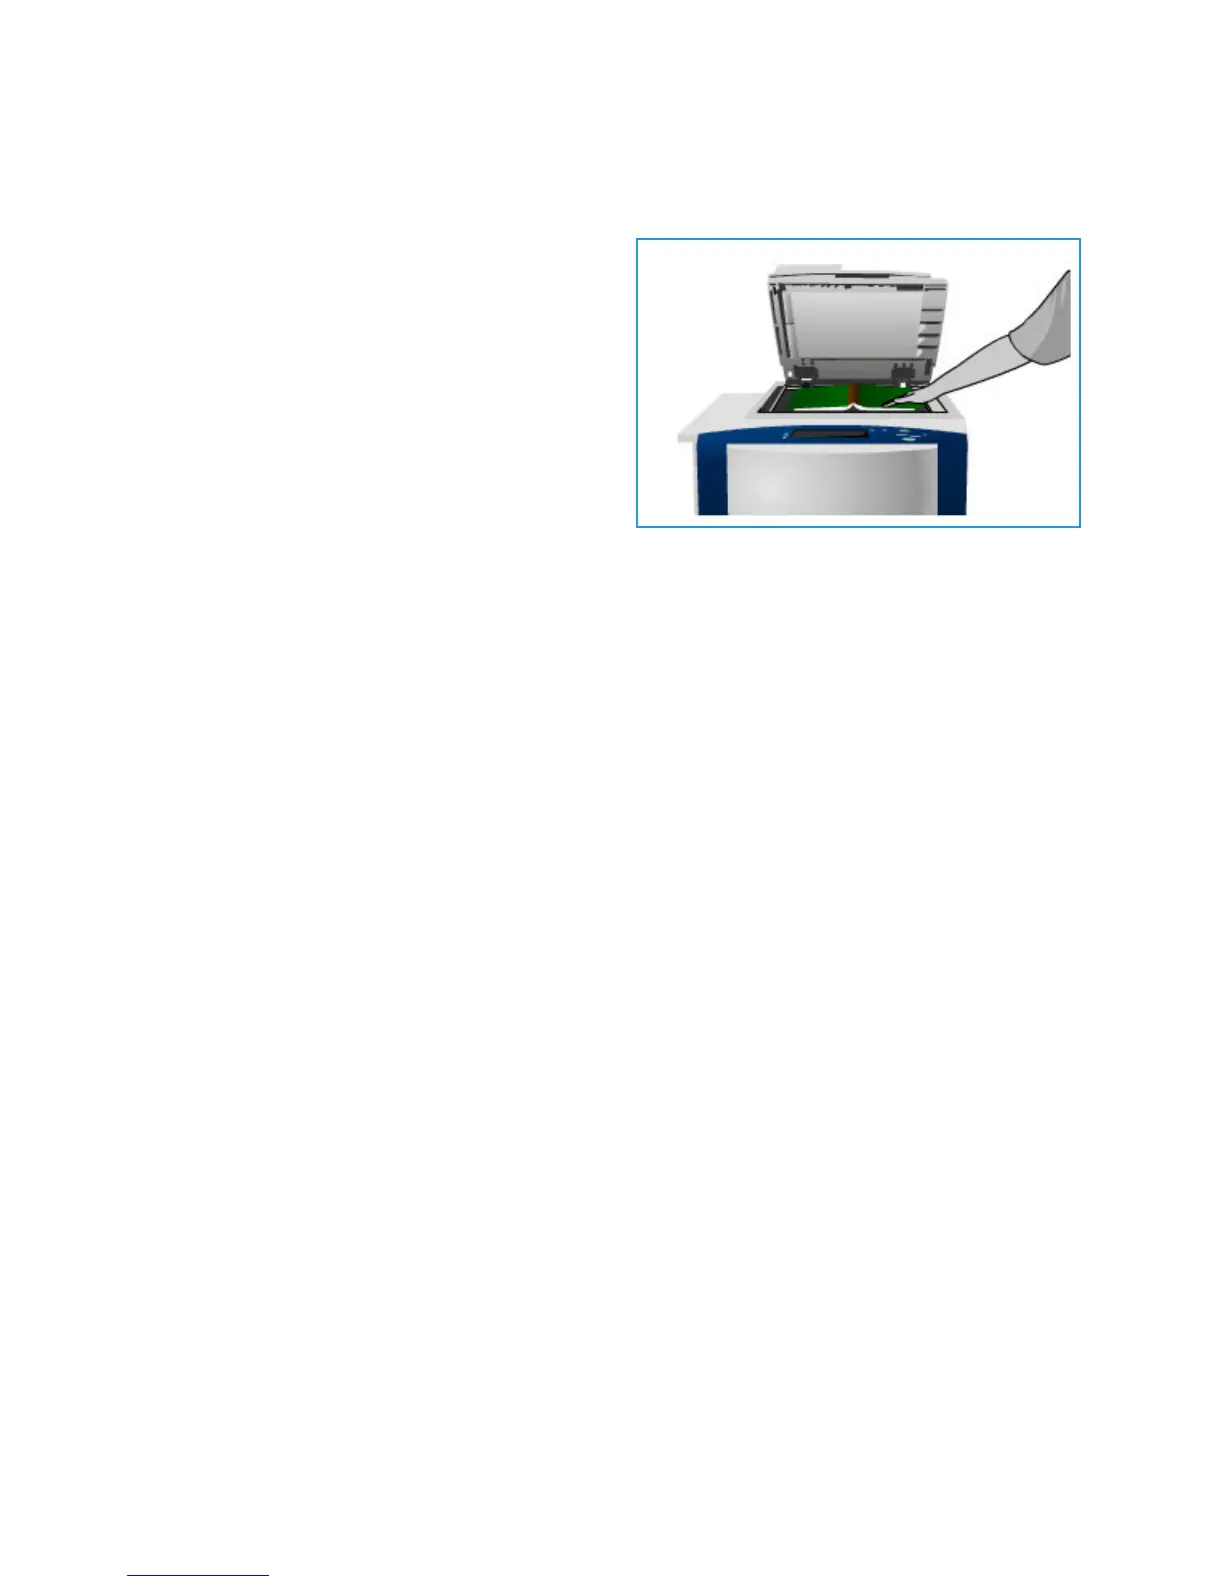
Book Copying
CAUTION: Do not close the automatic document feeder when scanning bound originals.
This feature enables you to specify page or pages of
a book are sca
nned. The book original is placed face
down on the document glass with the spine of the
book lined up with the marker on the rear edge of
the glass. Align the top of the bound original against
the rear edge of the document glass.
The printer identifies the size of the original during
scanning. If the pages have a black- or dark-colored
border, the printer assumes that the pages are
smaller than they really are. To overcome this, use
the Custom Scan Area feature in Original Size to
type the exact size of the page. Refer to Original Size on page 17.
• Off is
used to clear any scan settings.
• Both P
ages is used to scan both pages; the left page of the book scans first. Use the arrow
buttons to specify a value, 0–50 mm (0–2 in.), to be deleted from the center of the book in order
to delet
e the unwanted marks reproduced from the gutter of the book.
• Left P
age Only is used to scan the left page only. Use the arrow buttons to specify a value,
0–25 mm (0–1 in.), to be deleted from the right side of the page in
order to delete the unwanted
marks reproduced from the gutter of the book.
• Right P
age Only is used to scan the right page only. Use the arrow buttons to specify a value,
0–25 mm (0 –1 in.), to be deleted from the left side of the page in or
der to delete the unwanted
marks reproduced from the gutter of the book.
Select OK
to save the selections and exit.
Image Shift
Image Shift allows you to move the position of the image on the output page. The options are:
• Au
to Center automatically centers the scanned image on the output paper. To work effectively,
the original should be smaller than the selected output media, or alternatively, the image should
be reduced.
• Mar
gin Shift moves the image up / down or left / right on the page to give a bigger or smaller top
and left margin. Enter the shift required by selecting a field or use the arrow buttons.
This shift is entered in 1-mm (0.1 in.) increments up to 50 mm (2.0 in.).
When copying 2-sided, there are two options:
• Adjust the margin of side two, independently of side one.
• Create a mirror image of side one to provide a binding margin.
• Pre
sets provide access to commonly used shift settings and are customized by the system
administrator by using Tools.
 Loading...


