CHASSIS
7 -56
Pegaso 650 I.E.
492%3
7.4.1 TYRE DISASSEMBLY
Carefully read 0.5.1 (PRECAUTIONS AND GENERAL
INFORMATIONS) and 2.30 (TYRES).
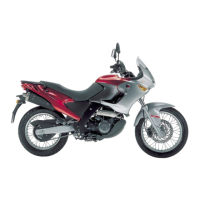
◆ Unscrew and remove the closing cap (1).
◆ Deflate the inner tube completely.
◆ Unscrew and remove the valve lock ring (2).
NOTE Mark the tyre with chalk, to show its position
with respect to the rim and to the rotation direction.
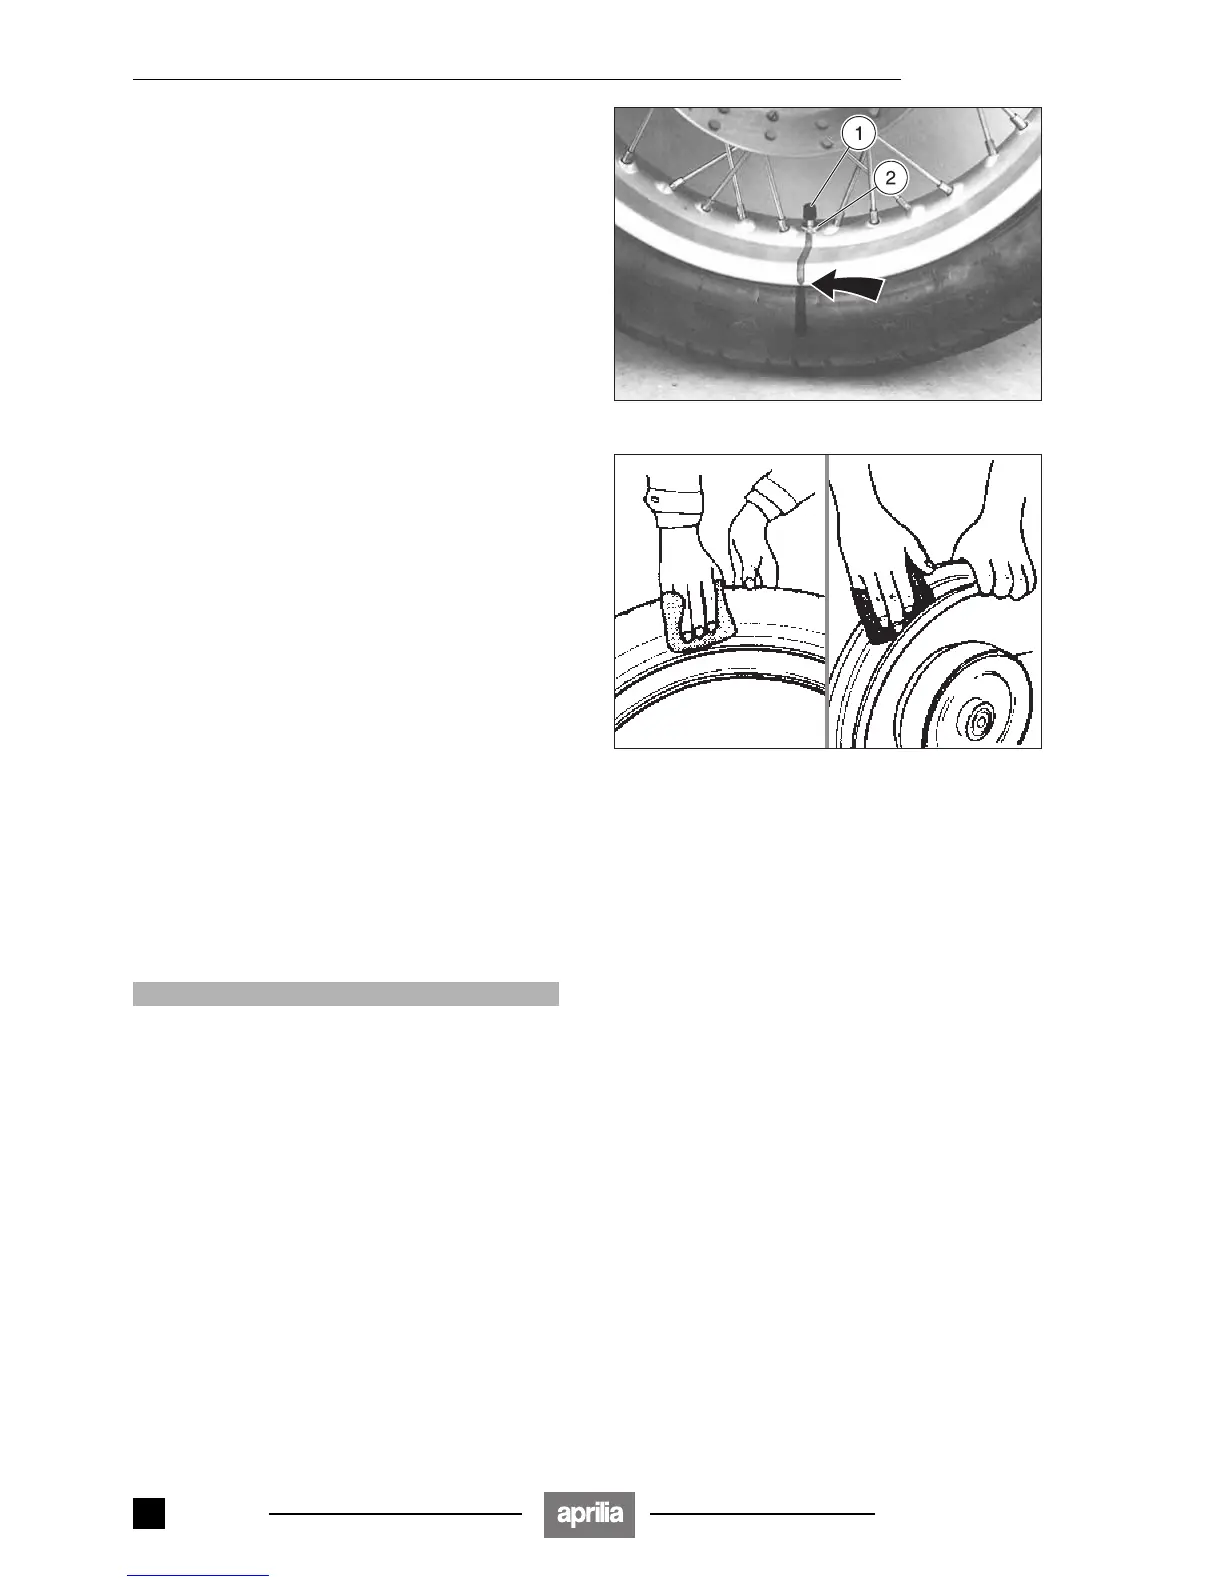
◆ Proceed to the disassembly of the tyre using special
equipment and following specific procedures.
7.4.2 CHECKING THE COMPONENTS
RIM
Before checking the rim, eliminate all rubber or rust resi-
dues.
If one or more of the listed defects are present, change
the rim.
– Deformation or cracking;
– Marks/lines or defects.
For further information, see 7.2.2 (CHECKING THE
FRONT WHEEL COMPONENTS).
TYRE
Thoroughly check the tyre after removing it. If one or
more of the listed defects are present, do not repair the
tyre, but change it.
– Hole or crack exceeding 5 mm in diameter or length;
– Mark or cracking on the side;
– Tread depth less than 2 mm;
– Ply unglued;
– Separated tread;
– Deformation or wear of tread not uniform;
– Marks/lines on the bead;
– Damage due to skidding (flattened areas);
– Anomalies in the inner seal.
aCAUTION
When repairing a punctured tyre, follow the instruc-
tions and use only the components recommended for
repairing.
For further information, see 2.30 (TYRES).
Release 00/2002-02
- 00
 Loading...