2. To access the Multiple Interface table so that you can configure multiple network
interfaces, click the Multiple Interface Table button, located under the Multiple
Interface Settings group; a confirmation message box appears:
Figure 11-3: Confirmation Message for Accessing the Multiple Interface Table
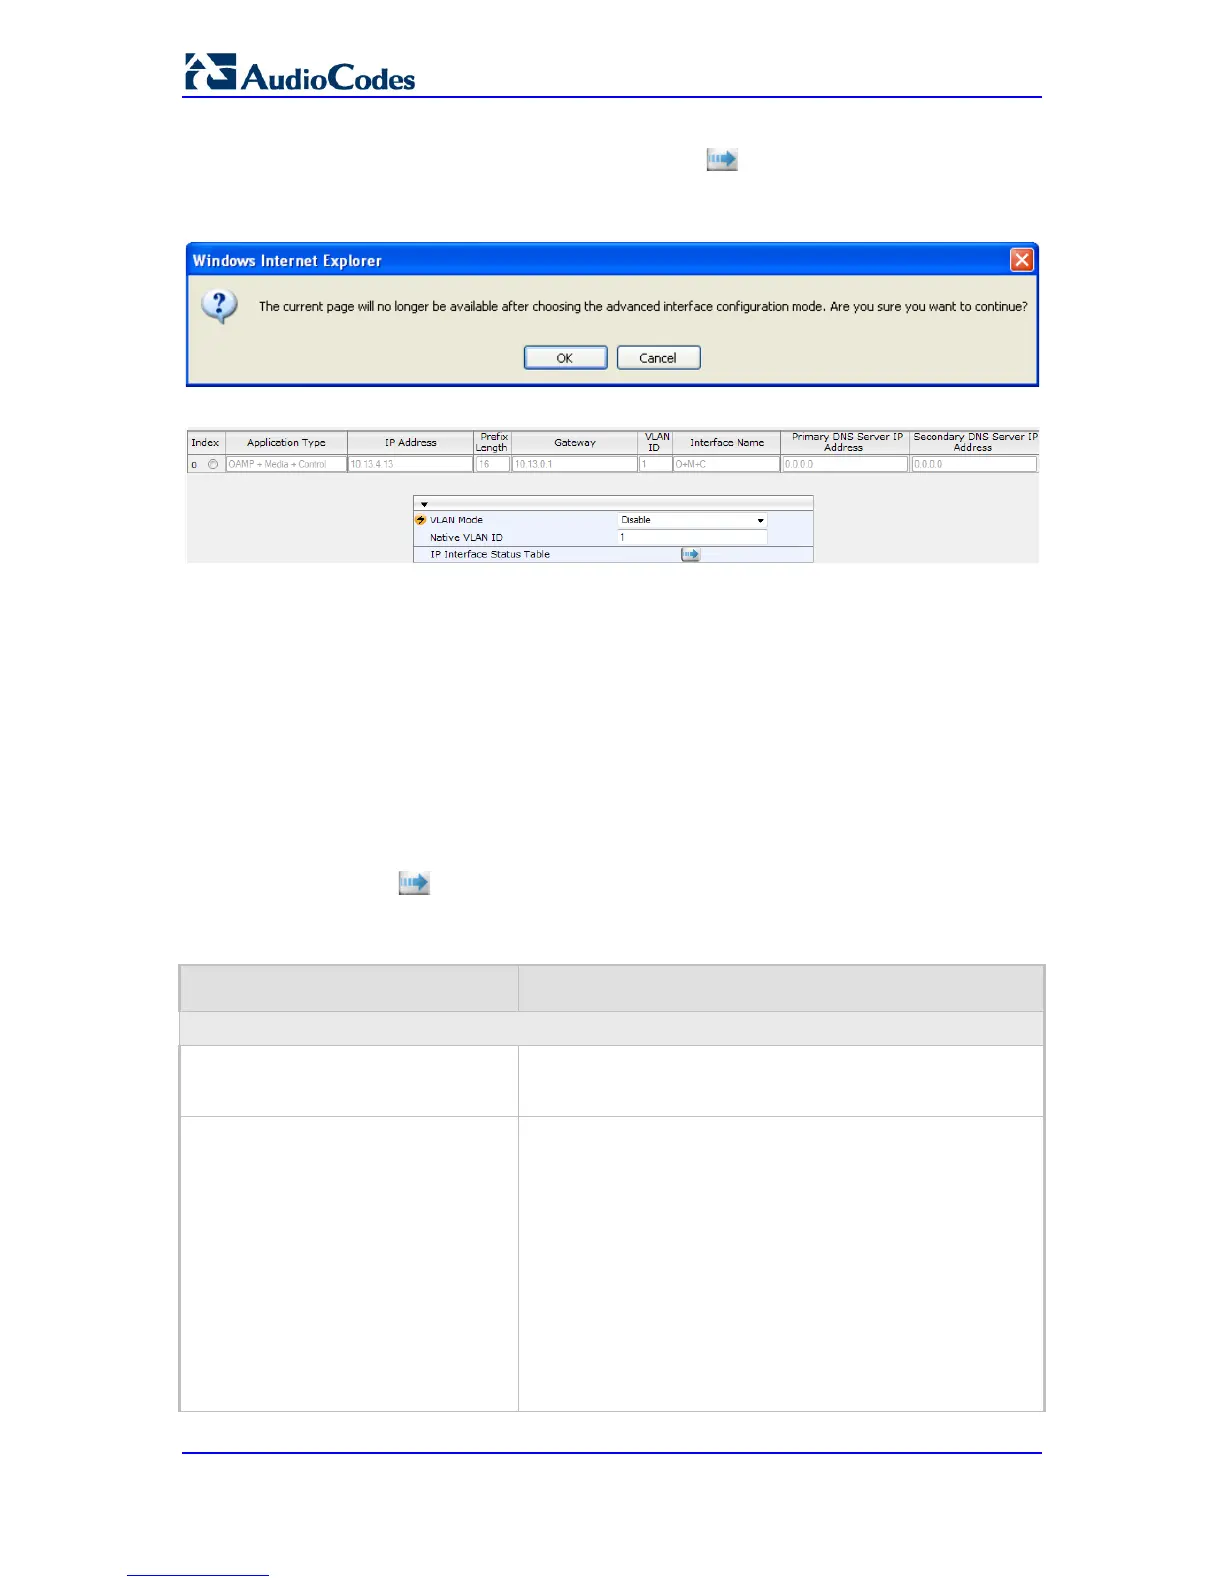
3. Click OK; the Multiple Interface Table page appears:
4. In the 'Add Index' field, enter the desired index number for the new interface, and then
click Add Index; the index row is added to the table.
5. Configure the interface according to the table below.
6. Click the Apply button; the interface is added to the table and the Done button
appears.
7. Click Done to validate the interface. If the interface is not valid (e.g., if it overlaps with
another interface in the table or if it does not adhere to the other rules as summarized
in 'Multiple Interface Table Configuration Summary and Guidelines' on page 111), a
warning message is displayed.
8. Save the changes to flash memory and reset the device (see 'Saving Configuration' on
page 324).
To view configured network interfaces that are currently active, click the IP Interface
Status Table button. For more information, see Viewing Active IP Interfaces on page
353.
Table 11-1: Multiple Interface Table Parameters Description
Parameter Description
Table parameters
Index
[InterfaceTable_Index]
Table index row of the interface.
The range is 0 to 15.
Web: Application Type
EMS: Application Types
[InterfaceTable_ApplicationTypes]
Defines the applications allowed on the interface.
[0]
Provisioning (OAMP) applications (e.g., Web, Telnet,
SSH, and SNMP).
[1] Media = Media (i.e., RTP streams of voice).
[2] Control = Call Control applications (e.g., SIP).
[3] OAMP + Media = OAMP and Media applications.
[4] OAMP + Control = OAMP and Call Control
applications.
[5] Media + Control = Media and Call Control
applications.

 Loading...