6. Lamps and lamp houses
Image 6-41
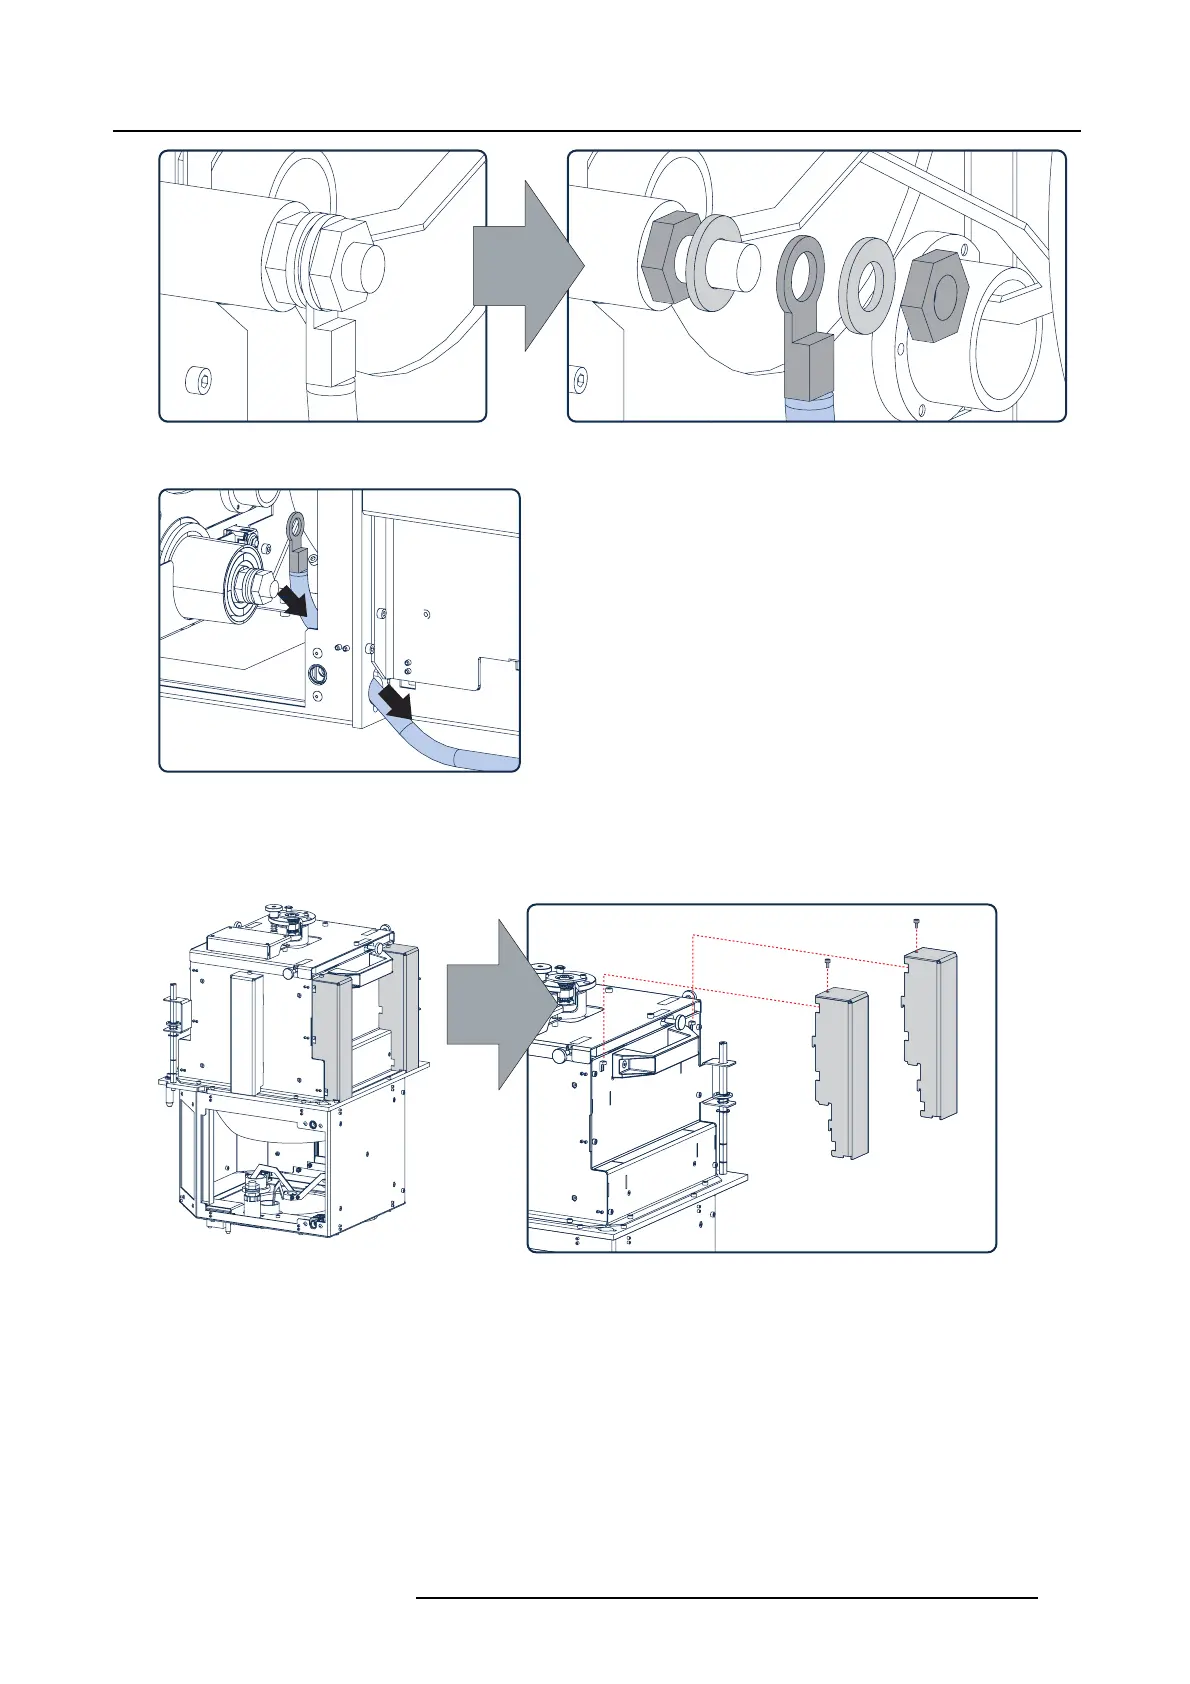
3. Guide the cathode wire through the hole out of the lam p house.
Image 6-42
4. Place the lamp house upon the anode side as illustrated and r emove the bottom profiles. Use a 2,5 mm Allen wrench to release
the hexagon socket head cap screws of the bottom p rofiles.
Caution: Do not dam age the UV block er or the blue electrical socket of the lamp hous e.
Tip: Let the three spacers of the UV blocker rest upon a clean flat surface (e.g. a thick book).
Image 6-43
5. Remove the cathode side of the lamp house by releasing 8 hexagon socket head cap sc rews (reference 6, two screws per side)
as illustrated in image 6-44. Use a 2,5 mm Allen w rench.
6. Remove the reflector assem
bly of t he lamp house by releasing 8 hexagon socket head cap screws (reference 7, two screws per
side) as illustrated. Use a 2,5 mm Allen wr ench. Note that these sc rews are longer than those screws which you rem oved in the
previous step.
R5905043 DP2K-12C/11CX 19/02/2018
119
 Loading...


