6. Lamps and lamp houses
6.4 Installation of the Xenon lamp
WARNING: DO NOT PERMIT UNAUTHORIZED PERSONNEL TO PERFORM OR ATTEMPT ANY PHASE OF
XENON LAM P HA NDLING OR SERVICE. ONLY TRAINED AN D Q UALIFIED TECHNICAL SERVICE PERSONNEL
ARE ALLOW ED TO HAN DLE THE XEN ON LAMP.
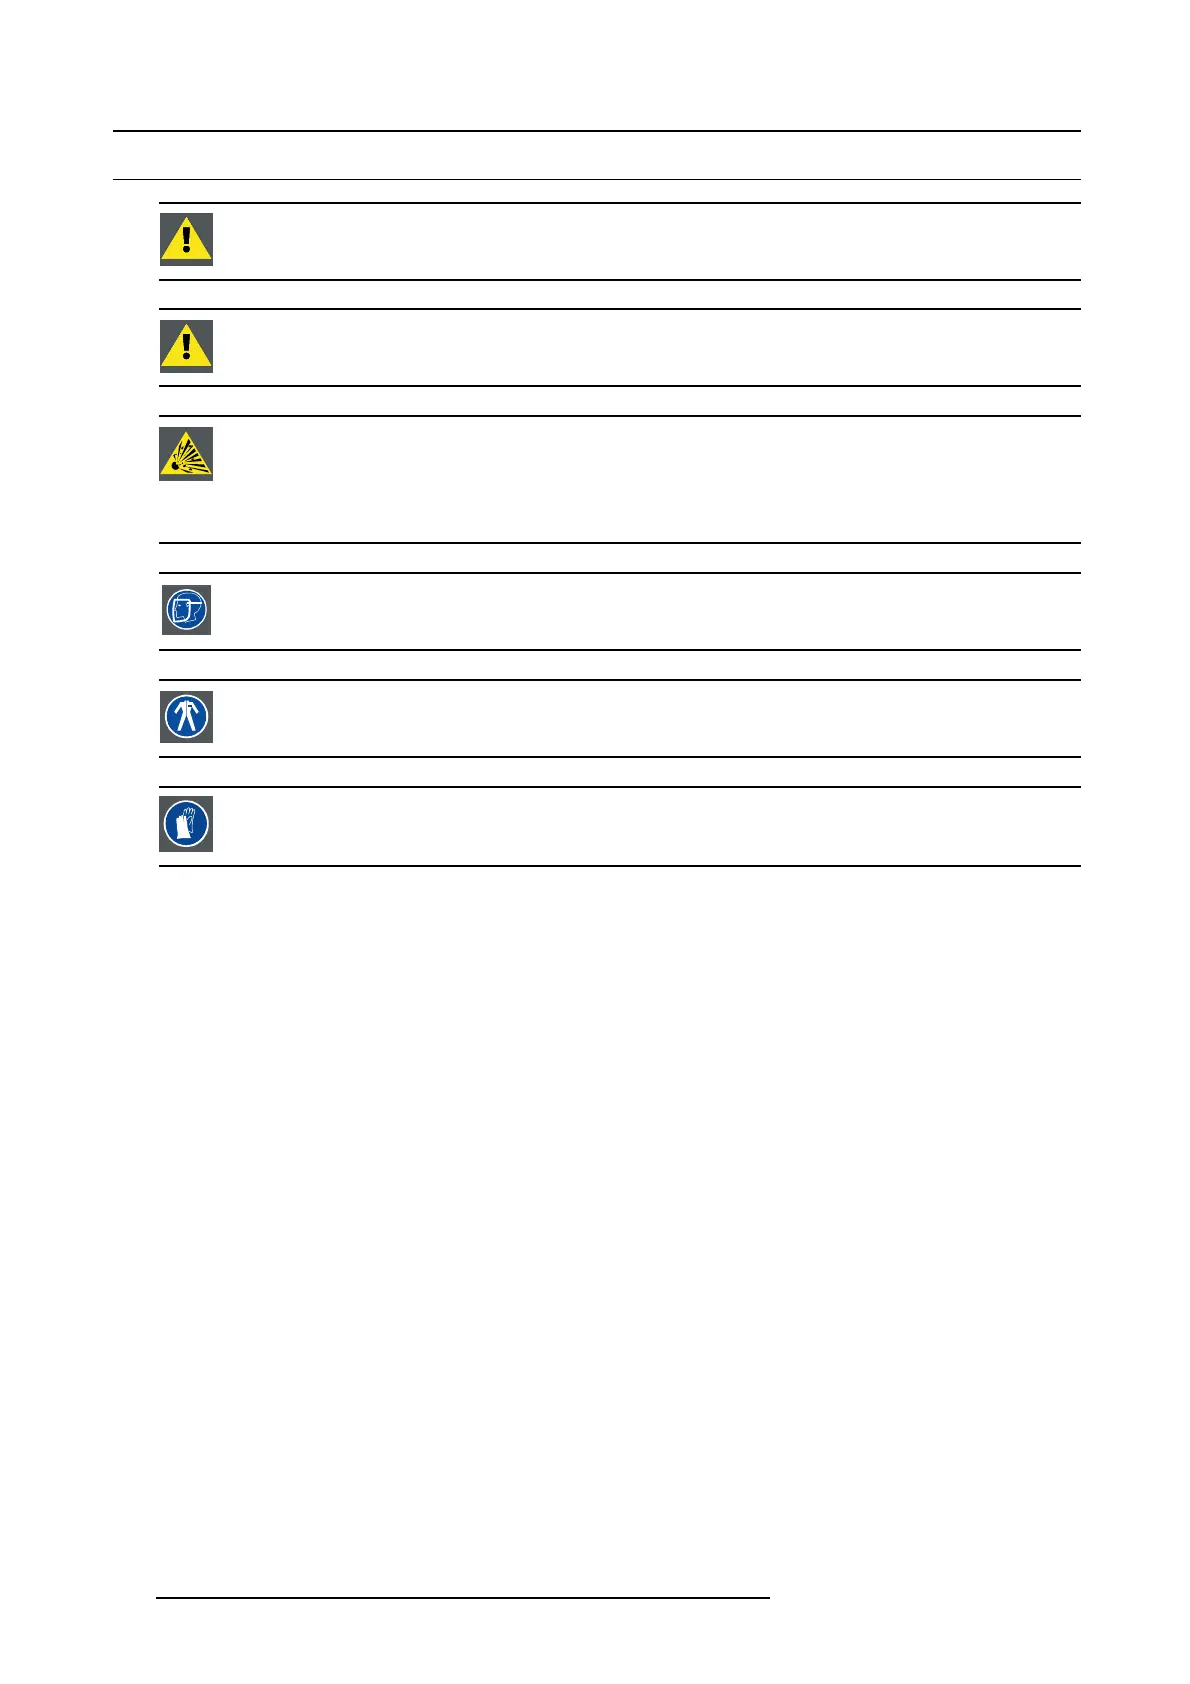
WARNING: This procedure may only be performed by qualified technical service p ersonnel.
CAUTION: Xenon com pact arc lamps are highly pressurized. Wh en ignited, the norm al operating temperature
of the bulb increases the pressu re to a level at which the bulb may explode if not handled in strict accordance
to the manufacturer ’s instructions. The bulb is stable at room temperature, but may still explode if dropped or
otherwise mishandled . When ever the lamp house, containing a xenon lam p, has to be dismantled or whenever
the protective container or clo th has to be removed from the xenon lamp, authorized protective clothing MUST
be w orn!
WARNING: A lways wear face protection (full face shield) when handling xenon lamp s.
WARNING: Alw ays wear protective clothing (welder’s jacket) when hand ling x enon lamp s.
WARNING: Alwa ys wear clean leather gloves with wrist protectors when handling xen on lamps.
Necessary tools
• 17 mm open ended wrench.
• Torque wrench with 17 mm hexagon s ocket
• Torque wrench with 5 m m Allen socket.
Necessary parts
• Lamp cathode adapter.
• Hexagon socket head screw M6 x 40.
• Flat washer.
How to ins tall the xenon lamp into the lamp house
1. Remove the UV block er and side cover of the lamp house by releasing the r etaining thumbscrews as illustrated.
Note: In case of a lam p replacement, t he UV blocker will be already removed.
102
R5905043 DP2K-12C/11CX 19/02/2018
 Loading...


