3. Physical installation
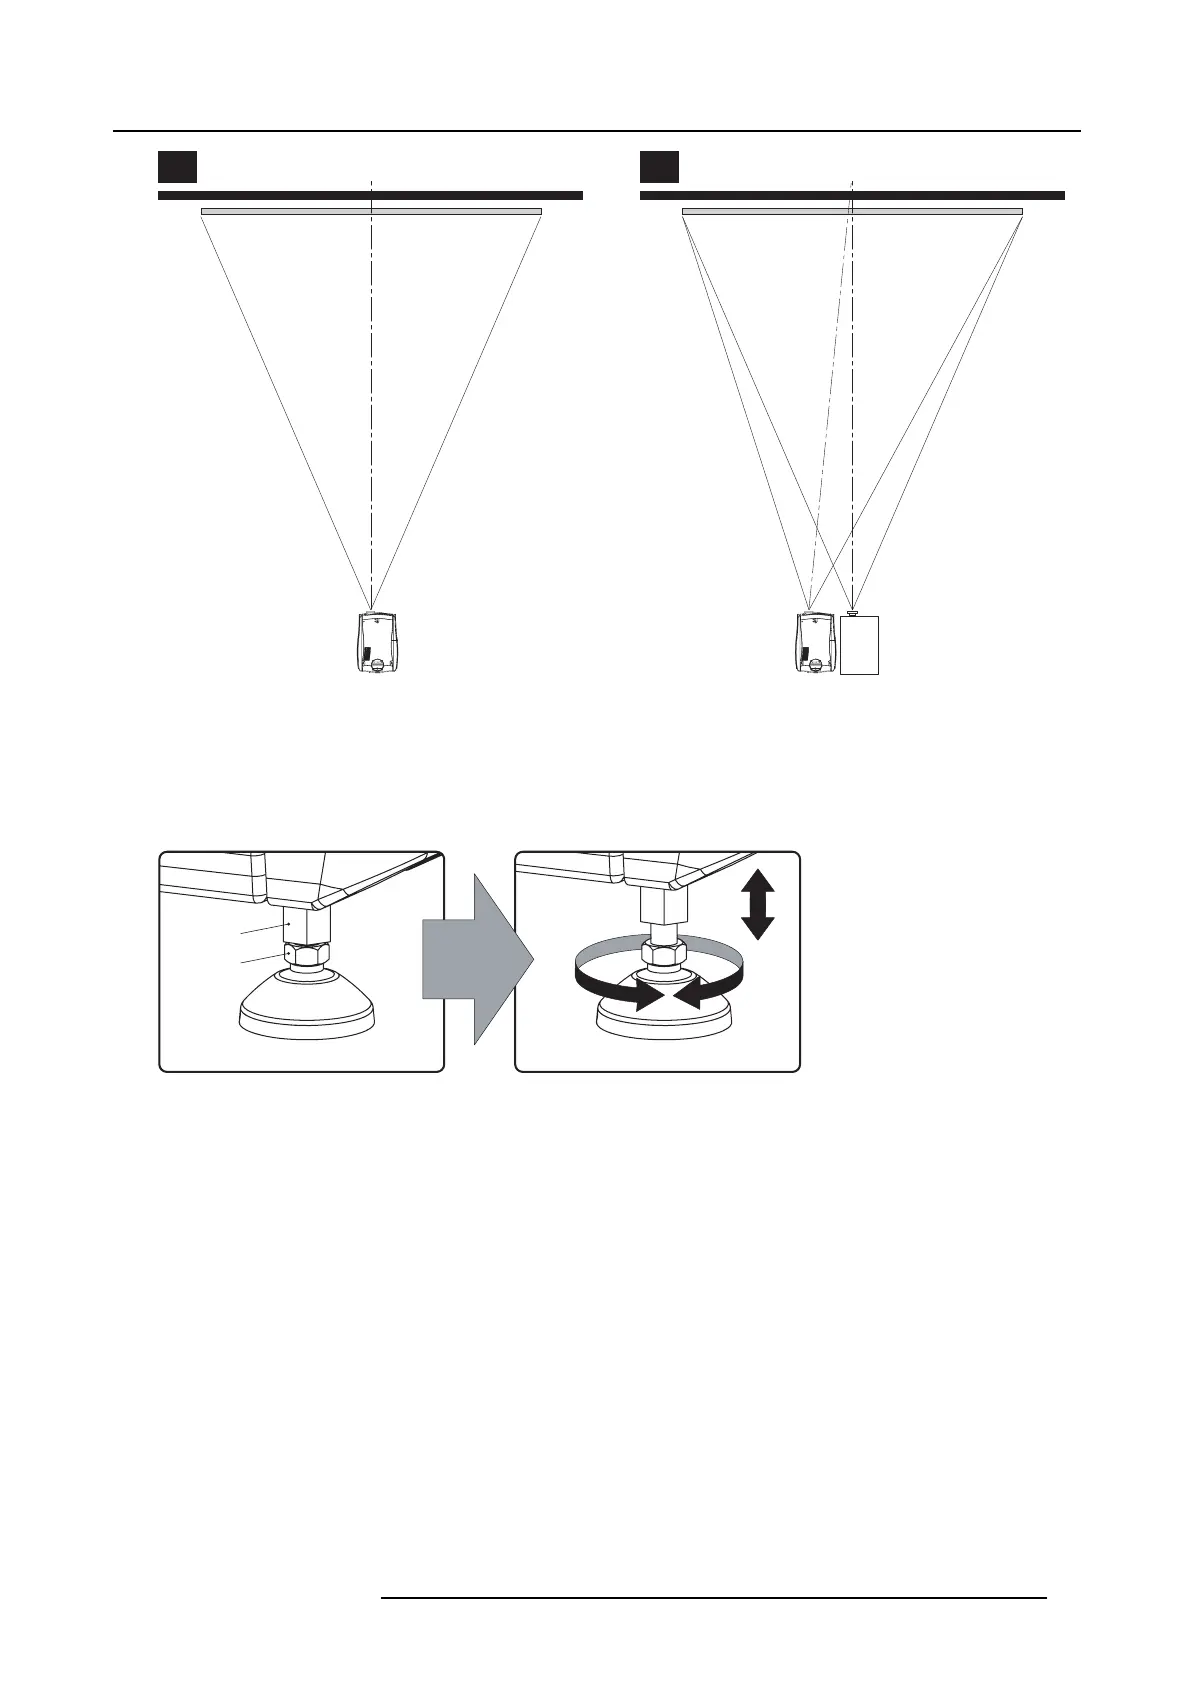
SCREEN CENTER SCREEN CENTER
OFF-CENTER
A B
Image 3-2
Projector centering
3. Proceed to leveling the projector by adjusting the feet of the projector as follows:
- Loosen the nuts (A), using a wrench of 17 mm, on the threaded rod.
- Adjust the height of the 3 legs (B) to level the projector, using a 14 mm wrench.
- Secure the leg height by tightening the nuts (A) .
Note: There must be at least 5 cm between the bottom side of the projector and the pedestal.
B
A
Image 3-3
Projector leveling
4. Later, when the projector is up-and-running, adjust precise im age geometry an d p lacement.
Projector tilting
In an ideal installation, the D P2K-20C lens surface is centered w ith and parallel to the screen. This orientation helps to ensure
optimized lens performances with minim al offset. If this position is not possible (such as when the projector is significantly higher
than the center of the screen), it is better to rely on o ffset rather than extra tilt.
1. Before adjusting tilt, mak e s ure the projector is as well-centered with the theatre screen as pos sible for your installation area.
2. Check with theatre personnel for th
e degree of s creen tilt, or m easur e this incline with a pr otractor at the screen.
3. Tilt the pro jector to closely match this sc reen tilt angle as follows:
- Loosen the nuts (A), using a wrench of 17 mm, on the threaded rod.
- Adjust the height of the legs until the projected image matches the projection port w indow and the s creen tilt.
- Secure the leg height by tightening the nuts (A) .
R59770351 DP2K-20C 02/02/2010
17
 Loading...


