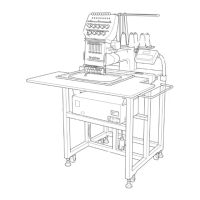
Chapter 10 Standard Adjustment
BES-940BC • BES-1240BC
241
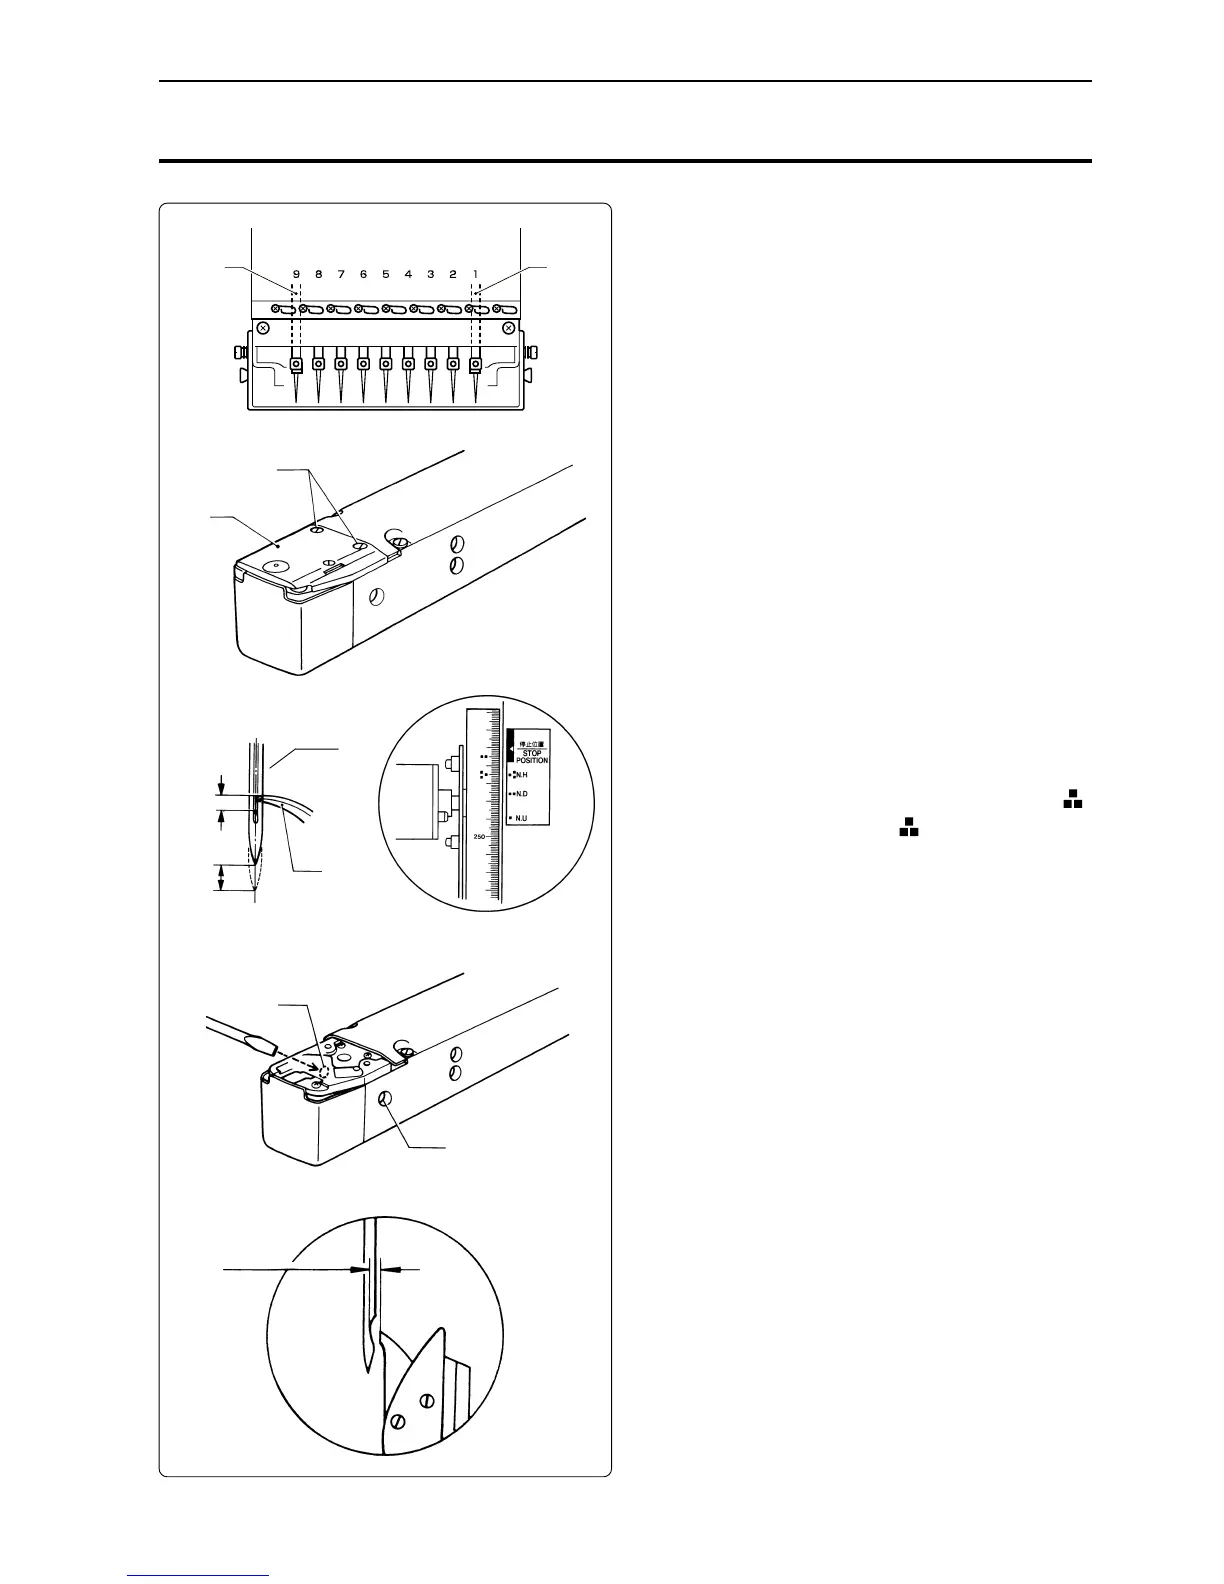
w
e
r
2mm
2mm
t
0.3~0.5mm
3.
Adjustment of Clearance Between Needle and Rotary Hook
1. Turn the power switch off.
2. Select the needle bar No. 1 q.
The illustration at the left shows the case of BES-940BC.
For BES-1240BC, the No. 12 needle becomes 9.
3. Remove two flat screws w and dismount
the needle plate e.
4. Adjust the needle r and the rotary hook's
t point so that they can put together at 2
mm above the needle bar lowest point
(180˚) where the pulley indication mark "
"
and the stop mark "NH
" are aligned.
5. Turn the rotary hook manually so that the
point comes upward.
6. Loosen the set screw u on the side of the
bed y.
7. Turn the eccentric screw i on the left side of
the bed y using a regular screwdriver and
adjust a clearance between the needle and the
rotary shaft to 0.3 ~ 0.5 mm.
Note) Check that the needle bar height is 2 mm at
this time.
8. Adjust the clearance between the needle
and the rotary hook's point to 0.3 ~ 0.5 mm
at the needle bar No. 9 o (No. 12 needle for
BES-1240BC).
Note) If the clearance between the needle and the
rotary hook's point is not within the range of
0.3 ~ 0.5 mm, adjust again as described in step
r until the clearance between the needle bar
No. 1 or No. 9 (No. 12 for BES-1240BC) and
the rotary hook's point becomes within 0.3 ~
0.5 mm.
i
u
o
q
 Loading...