SC-S30600 Series Revision B
TROUBLE SHOOTING Remedies for Print Quality Troubles 49
Confidential
2.4 Remedies for Print Quality Troubles
This section provides troubleshooting of print quality troubles classifying them by observed symptom. Before performing troubleshooting, refer to “Nozzle Check” (p248) and print
nozzle check pattern. Examine the printed pattern, and if any missing segment is found, perform the Print Head cleaning.
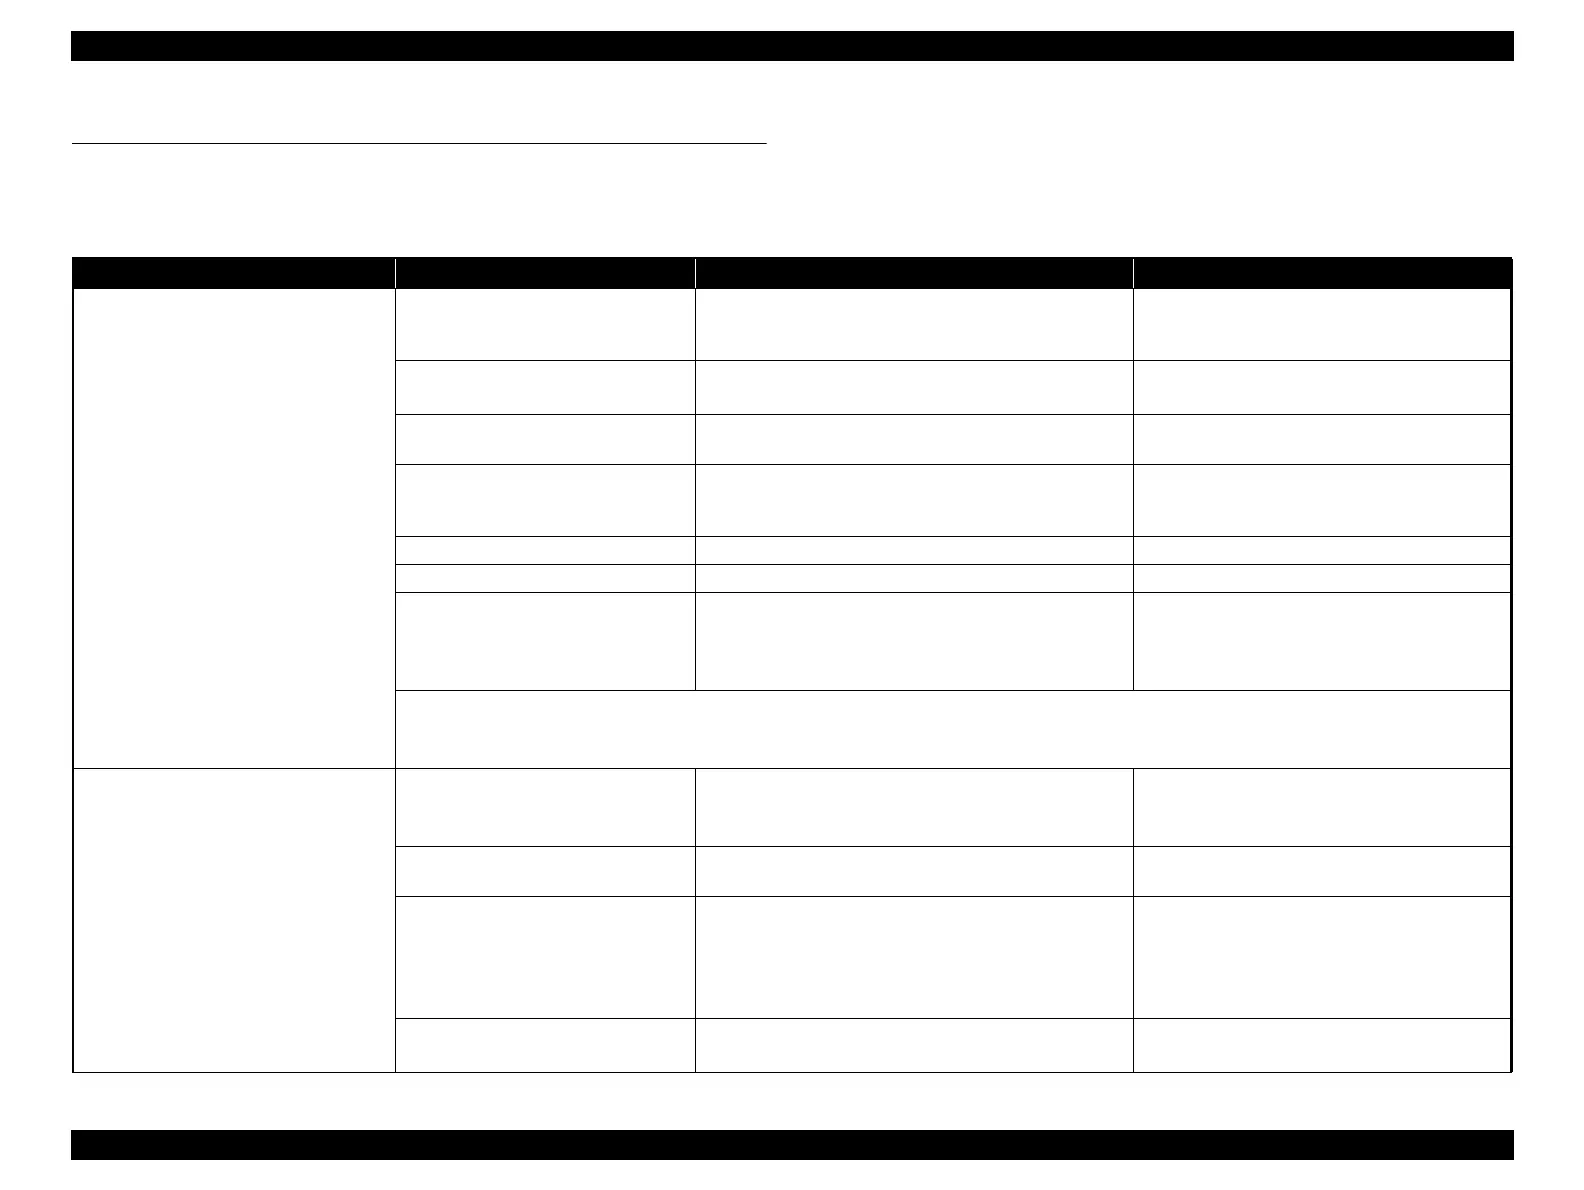
Table 2-2. Print Quality Troubles
Symptom Cause Check Item Remedy
The nozzles are still clogging after
cleaning.
The Wiper is contaminated and wiping
the Print Head cannot be performed
properly.
1. Is the Wiper or Wiper Cleaner contaminated?
2. Is the Wiper or Wiper Cleaner damaged?
1. Clean the Wiper. (Page 282)
2. Replace the Wiper and Wiper Cleaner.
The Head Cap is contaminated. Is the Cap contaminated?
1. Clean the Cap. (Page 282)
2. Replace the Cap (Pump Cap Unit). (Page 141)
There is some foreign material on the
Print Head.
Is there any foreign materials on the Print Head? Clean the Print Head. (Page 121)
There is something wrong in the pump
tube and the cleaning (suctioning of
ink) cannot be performed properly.
Is the pump tube being bent or getting caught between
surrounding parts or components?
Route the pump tube correctly.
The ink is leaking. Is there any ink leakage observed on the ink flow paths? If any leakage is found correct it.
There is air inside the ink path. Is there any air bubbles observed in the ink flow paths? Run a head cleaning. (Page 250)
The Head FFC is not connected
correctly.
Is the Head FFC connected properly without being
connected at an angle and any abnormalities such as ripped
terminal cover?
1. Reconnect the Head FFC.
2. If the trouble still occurs, the cause may be
breaking of the Head FFC. Replace the Head
FFC. (Page 123)
If any of the remedies above does not help, replace the following parts one by one.
Print Head (Page 121)
Main Board (The fuse may have blown) (Page 107)
Horizontal or vertical lines look
misaligned.
Adjustment failure of the IM (Ink
Mark) Sensor
---
Carry out the following adjustments.
Auto Bi-D Adjustment (Page 242)
IM Sensor Check & Adjustment (Page 238)
IM Sensor is out of order.
Does the IM Sensor function normally? Check it using the
Service Program.
Replace the IM Sensor. (Page 157)
The Print Head has not been adjusted
properly.
Have the following adjustments been made properly?
CR Direction Head Slant Adjustment
PF Direction Head Slant Adjustment
Carry out the adjustments correctly.
CR Direction Head Slant Adjustment (Page
251)
PF Direction Head Slant Adjustment (Page
254)
Improper PG adjustment
1. Is the paper thickness setting correct?
2. Has the PG adjustment been made properly?
1. Correct the paper thickness setting.
2. Perform the PG adjustment. (Page 243)
 Loading...