Paper Jams
229
Problem Solving
12
Important • Pulling out a tray after a paper jam without checking where the jam is located may cause the paper
to tear and leave shreds inside the machine. To prevent equipment failure, check the location of
paper jams before attempting to clear them.
• The paper jam display will not go out if paper shreds remain in the machine.
• When clearing paper jams, leave the machine's power ON. Switching the power OFF erases
information stored in the machine's memory.
• Do not touch parts inside the machine. Printing errors may result.
Paper Jam in Left Cover [A]
Follow the steps below to clear paper jams inside the machine's left cover.
Important • When removing paper, there may be an image on the machine's Transfer Belt (the black film belt)
inside the left cover. Do not touch the Transfer Belt. Image quality may be affected, or the Transfer
Belt may be damaged and need replacement.
074-101
074-102
Paper Jam in Tray 4
Check Tray 4.
Open Cover C and remove
paper.
1. Two tray module cover [C]
2. Tray 4
P.231
P.232
074-104 Paper Jam at Covers B and C
Open Cover B and Cover C,
and remove paper.
1. One tray module cover [B]
2. Two tray module cover [C]
P.231
P.231
074-105 Paper Jam at Cover B
Open Cover B and remove
paper.
One tray module cover [B] P.231
075-135 Paper Jam in Tray 5
Remove paper from Tray 5
and remove paper.
1. Left cover [A]
2. Tray 5
P.229
P.233
077-101 Paper Jam at Cover A
Open Cover A and remove
paper.
Left cover [A] P.229
077-103
077-104
077-106
Paper Jam
Open Cover A and remove
paper.
077-129 Paper Jam at Duplex Module
Open Cover A, and remove
paper.
077-900 Paper Jam at Cover A
Open Cover A and remove
paper.
077-901 Paper Jam
Open Cover A and remove
paper.
077-904 Paper Jam at Cover B
Open Cover B and remove
paper.
One tray module cover [B] P.231
077-905
077-906
Paper Jam at Cover B and C
Open Cover B and Cover C,
and remove paper.
1. One tray module cover [B]
2. Two tray module cover [C]
P.231
P.231
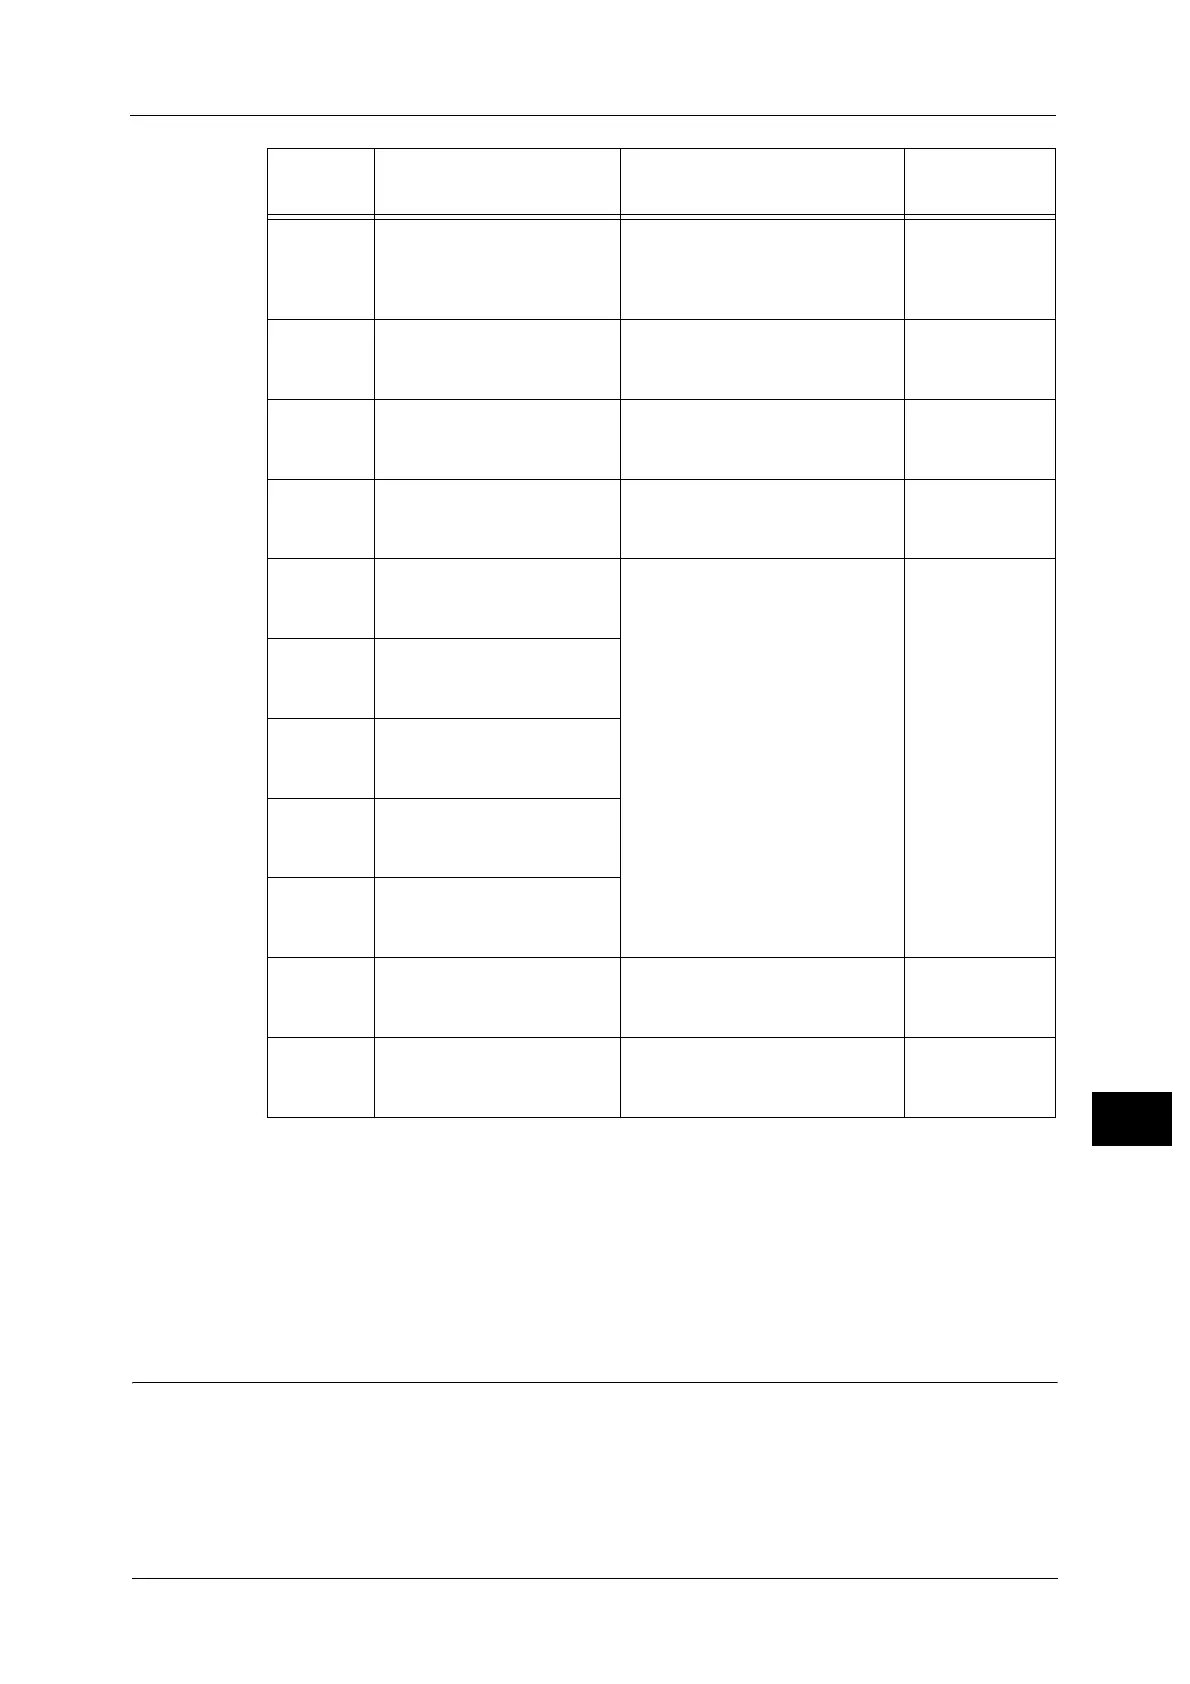
Error
Code
Message
Area to Check/
Check Procedure
See Page:
 Loading...