Scanning Procedure
101
E-mail – page 102
Save in: - Scan to Mailbox – page 107
Job Templates - Network Scanning – page 107
Save in: - Scan to FTP/SMB – page 108
Basic Scanning – page 111
Image Quality – page 114
Scan Options – page 115
Output Format – page 120
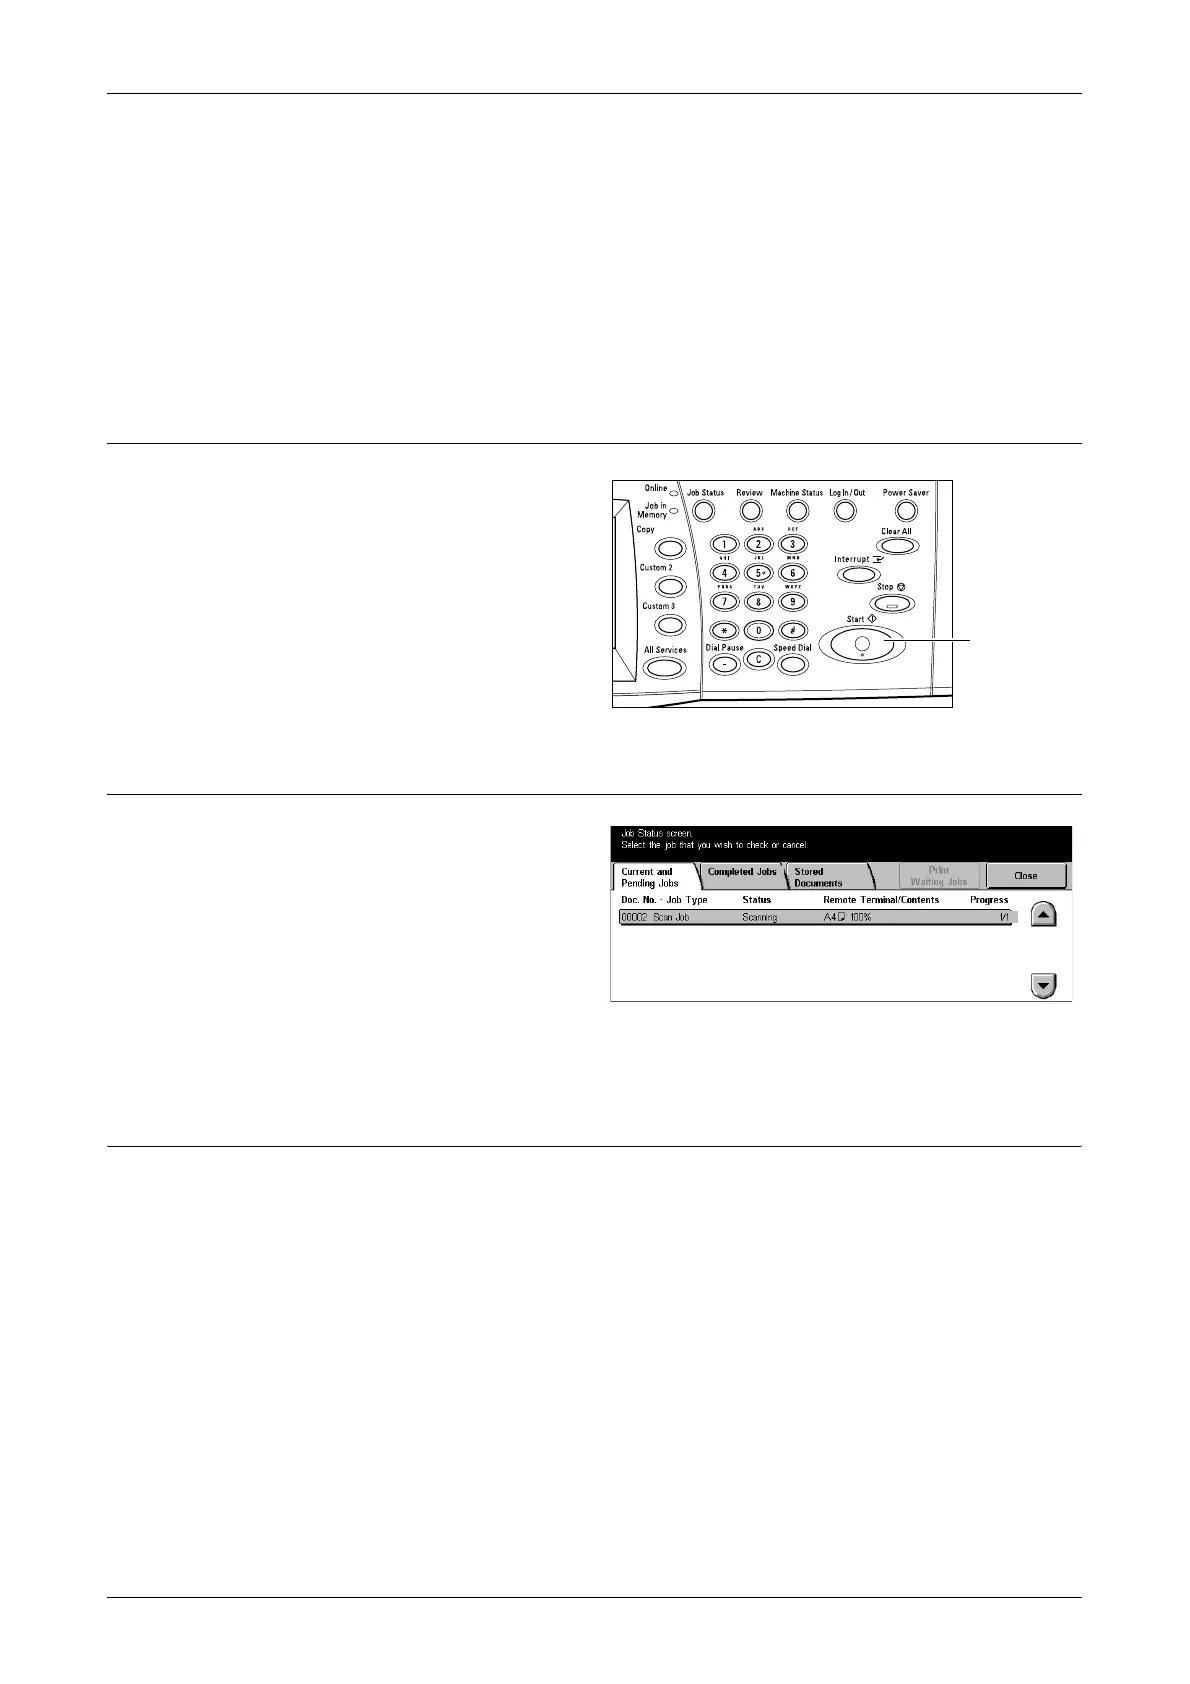
3. Start the Scan Job
1. Press the <Start> button to scan
the documents.
NOTE: If the Authentication feature
is enabled, you may be required to
enter the user ID and password (if
set up). If you need assistance,
contact the System Administrator.
4. Confirm the Scan Job in the Job Status
1. Press the <Job Status> button
on the control panel to display
the [Job Management] screen.
The queued scan job will be
displayed. If no job is displayed on
the screen, it may have already
been processed.
For more information, refer to Current and Pending Jobs in the Job Status chapter on
page 248.
5. Save the Scanned Data
The following describes one of the methods used for importing documents to a
computer. Mailbox Viewer2 allows you to easily import documents from a mailbox on
the machine to a computer. Mailbox Viewer2 is an application on the CentreWare CD-
ROM supplied with the machine. For information on how to install Mailbox Viewer2 and
other methods used for importing documents, refer to the CentreWare CD-ROM.
1. Click [Start] on the taskbar, then select [Program]>[Fuji Xerox]>[Utility]>[Mailbox
Viewer2].
2. From the list displayed, click the name of the machine, and then [Select Scanner].
3. Enter the number (001–200) of the mailbox to be accessed.
<Start>
button
 Loading...