Fax/iFax Procedure
73
If necessary, press one of the tabs and configure the fax/iFax settings. For information
on the individual tabs, refer to the following.
Basic Features - Fax/iFax – page 80
Image Quality - Fax/iFax – page 83
Scan Options - Fax/iFax – page 83
Send Options - Fax/iFax – page 86
On-hook/Others - Fax – page 95
3. Specify the Destination
The following explains how to specify a destination. The machine allows the following
dialing methods (fax numbers or e-mail addresses).
NOTE: Before sending a document, check your entries to make sure you specified
correct destinations.
• Using the keypad on the control panel
• Using the [Address Book] (refer to Address Book on page 75.)
• Using the [Speed Dial] (refer to Speed Dial on page 76.)
• (For iFax) Using the screen keyboard on the touch screen (refer to Keyboard on
page 77.)
1. Enter the destination using any
method from the above.
You can send a document to multiple
destinations in a single operation.
For more information, refer to Next
Recipient on page 75.
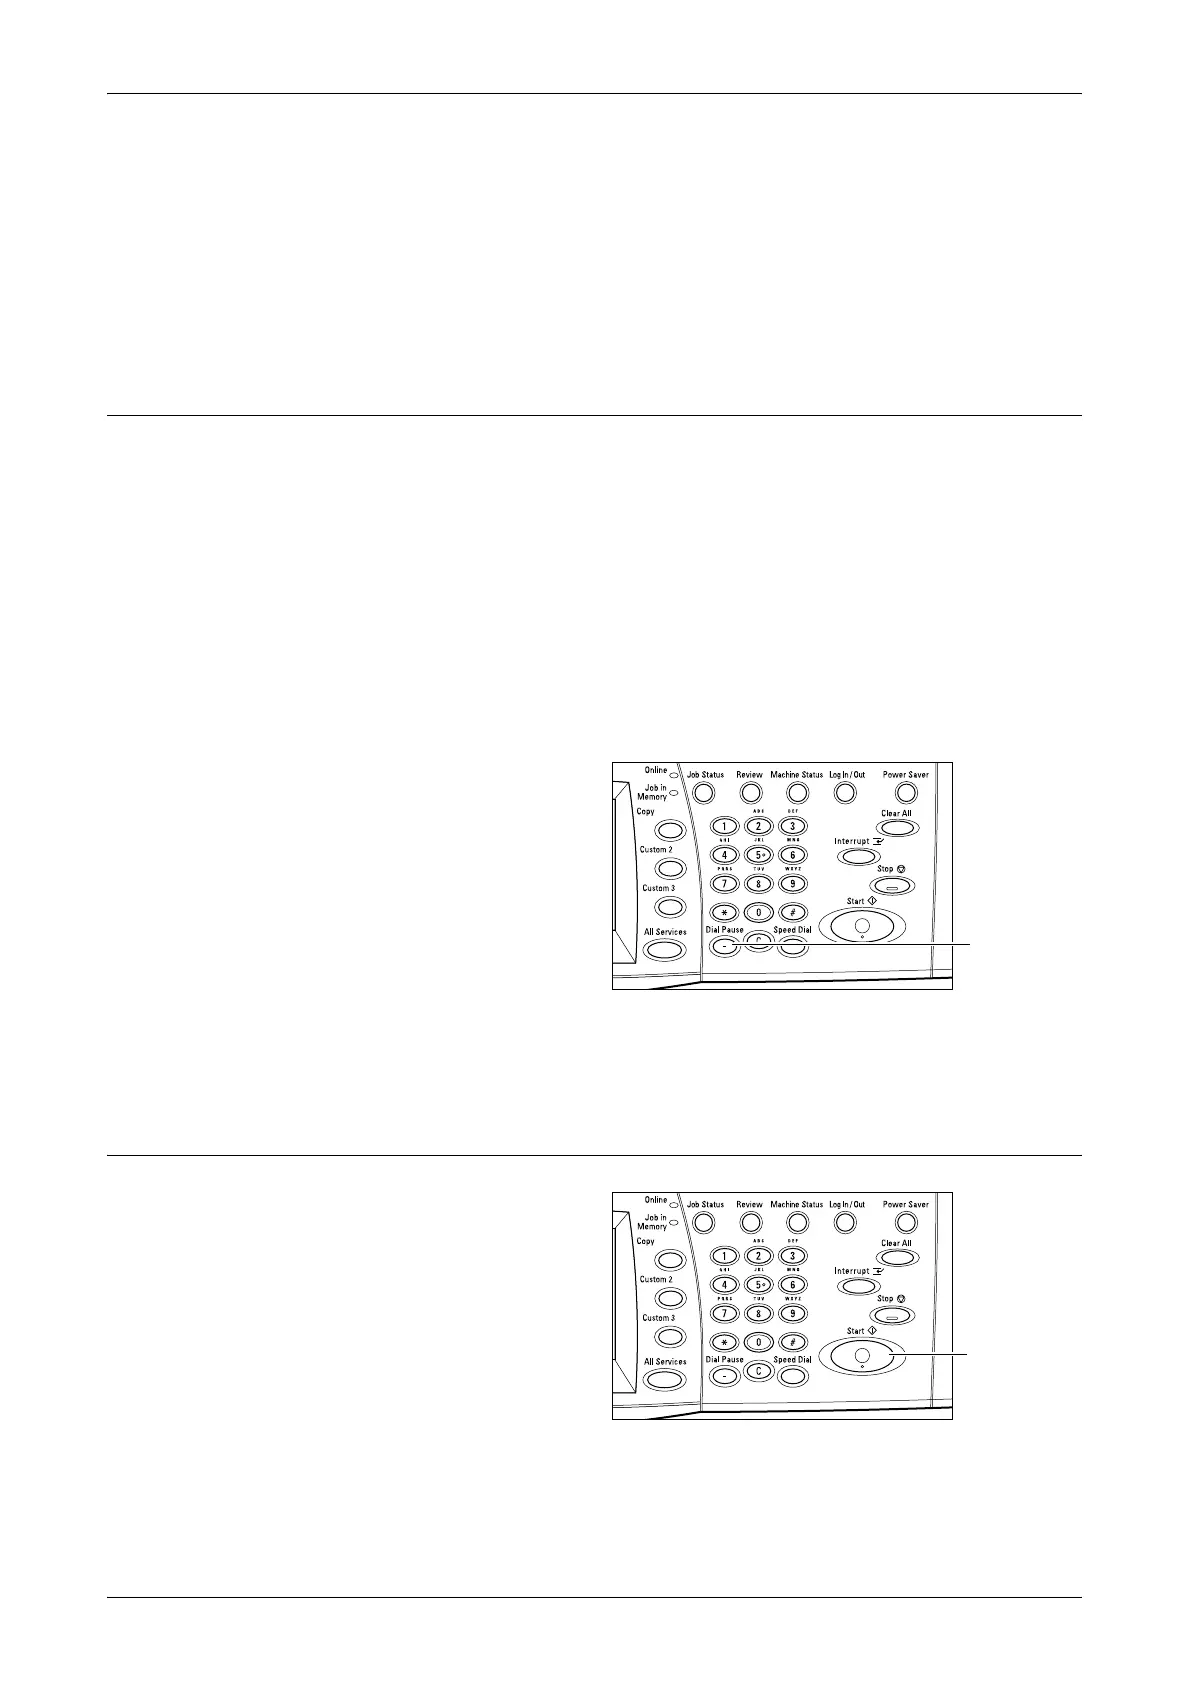
If you need to insert a pause in a fax
number, for example when using a
calling card, press the <Dial Pause>
button. When you dial manually, <Dial Pause> is not required. You can simply wait for
a voice prompt and proceed accordingly. For more information, refer to Special
Characters on page 79.
4. Start the Fax/iFax Job
1. Press the <Start> button to send
the documents.
While your fax/iFax is being
processed, if the document feeder or
document glass is ready and the
machine is equipped with the
optional hard disk, you can scan the
next document or program the next
job. While the machine is warming
up, you can also program the next
job.
<Dial Pause>
button
<Start> button
 Loading...