CUTTING UNITS
4181384 First Edition 8-25
8
Repair—AR-3
Rotary Cutting Unit
Removal and Installation
See Figures 8-3 through 8-5.
1. Park the mower safely. (See “Park Mower Safely” on
page 1-7.)
2. Remove cutter blade. (See “Cutter Blade” on
page 8-28.)
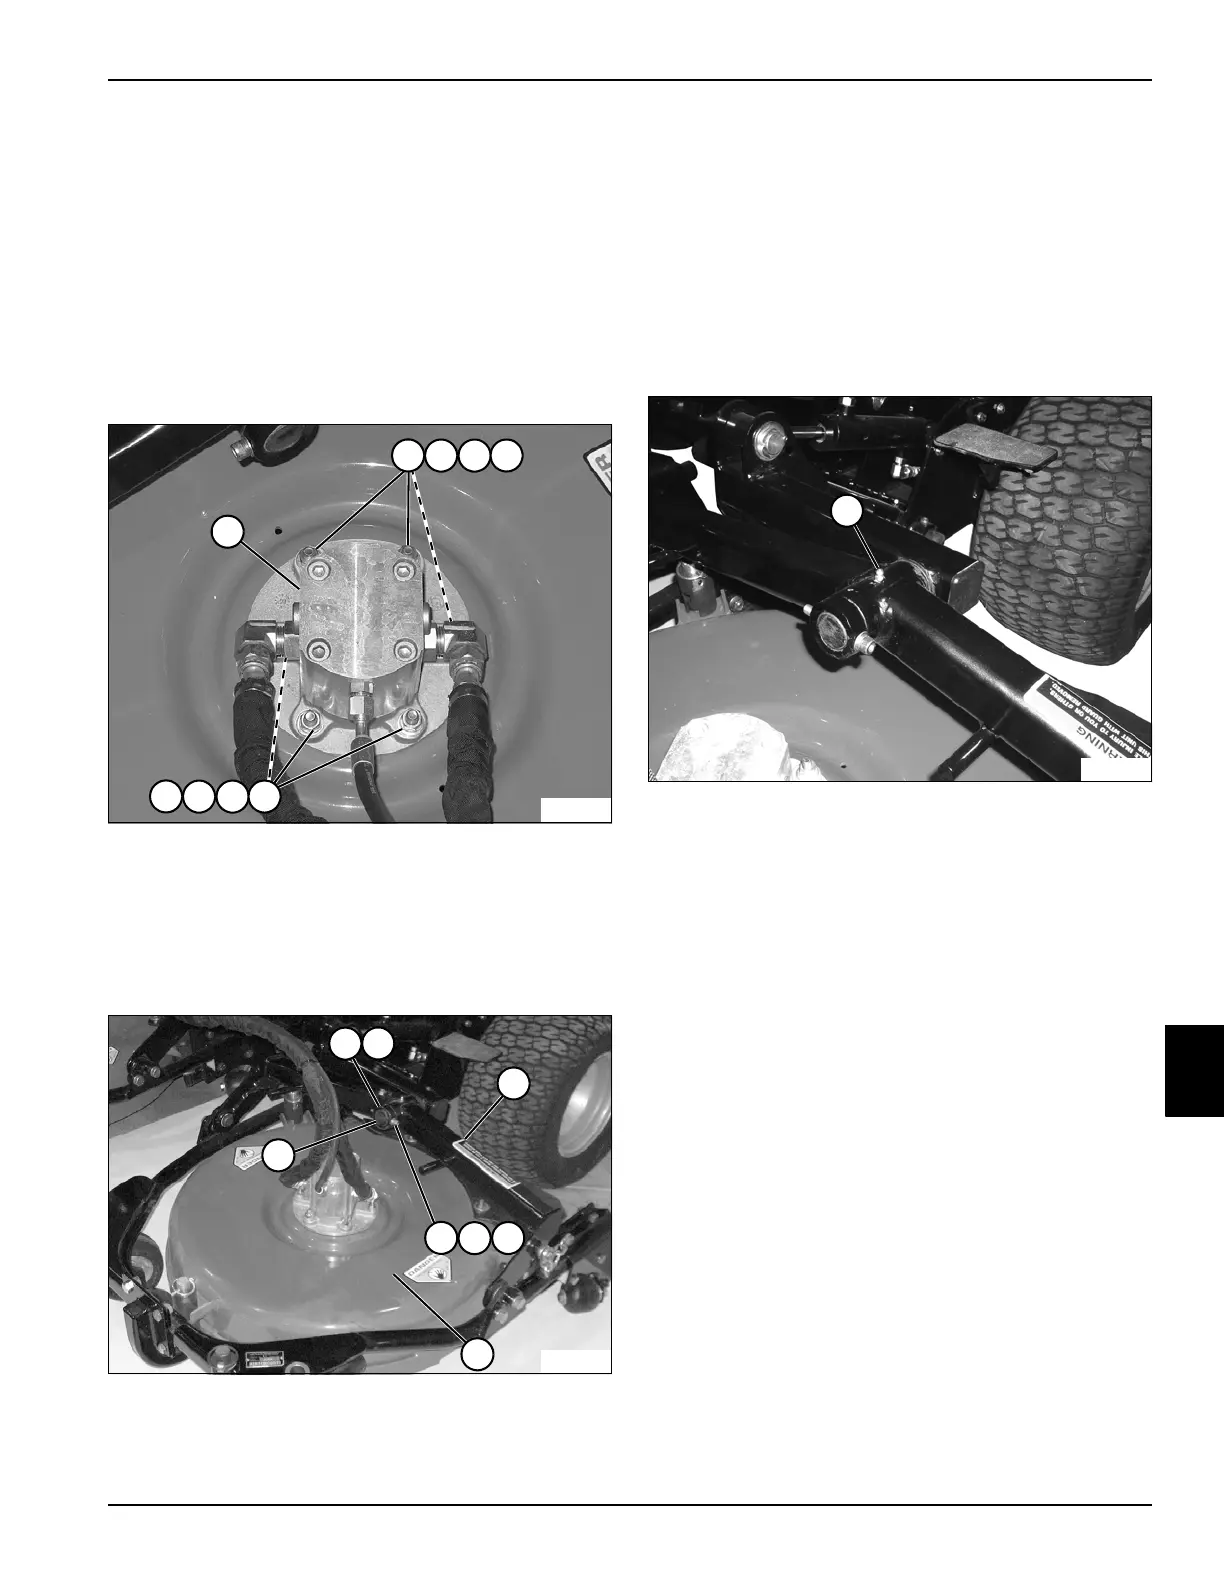
Figure 8-3
3. Remove the six nuts (2), flat washers (3), lock
washer (4), and carriage bolts (5) from the deck
motor (1).
4. Remove the deck motor (1) from the cutting unit and
move the motor aside.
Figure 8-4
5. Remove socket-head screw (9), lock washer (10),
and flat washer (11), and remove collar (6) and
washer (7) from lift arm pivot shaft (13).
6. Roll cutting unit (12) forward and slide deck yoke (8)
forward until it clears the lift arm pivot shaft (13).
Retain lift arm shaft bushings inside deck yoke (8).
Installation Notes
• Install the cutting unit by reversing the order of
removal.
Figure 8-5
• After assembly, apply grease to grease fitting (14).
(Refer to “Safety, Operation, and Maintenance
Manual” for grease specifications.)
Deck Drive Motor
Removal and Installation
See Figure 8-6.
1. Park the mower safely. (See “Park Mower Safely” on
page 1-7.)
2. Remove cutter blade. (See “Cutter Blade” on
page 8-28.)
3. Thoroughly clean the exterior of the motor, especially
the area surrounding the hydraulic hoses and fittings,
with a suitable solvent.
TN1123
1
3
2
4 5
3
2
4 5
TN1259
9
6
8
13
7
10
11
12
~
TN1331
14
~
 Loading...