9-18 4181384 First Edition
ACCESSORIES AND MISCELLANEOUS REPAIR
9
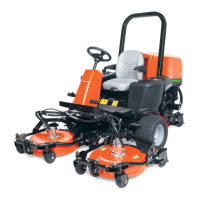
Work Light
Removal and Installation
See Figure 9-46.
1. Park the mower safely. (See “Park Mower Safely” on
page 1-7.)
2. Disconnect the battery negative (–) cables at the
battery.
Figure 9-46
3. Remove lock nut (4) and carriage bolt (2) from
bracket (3) and work light (1).
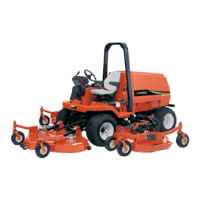
Figure 9-47
4. Disconnect wiring connector (6).
5. Remove work light (5).
Installation Notes
• Install the work light by reversing the order of
removal.
• Adjust the work lights to project the desired distance
in front of the mower before tightening the lock nuts
(4).
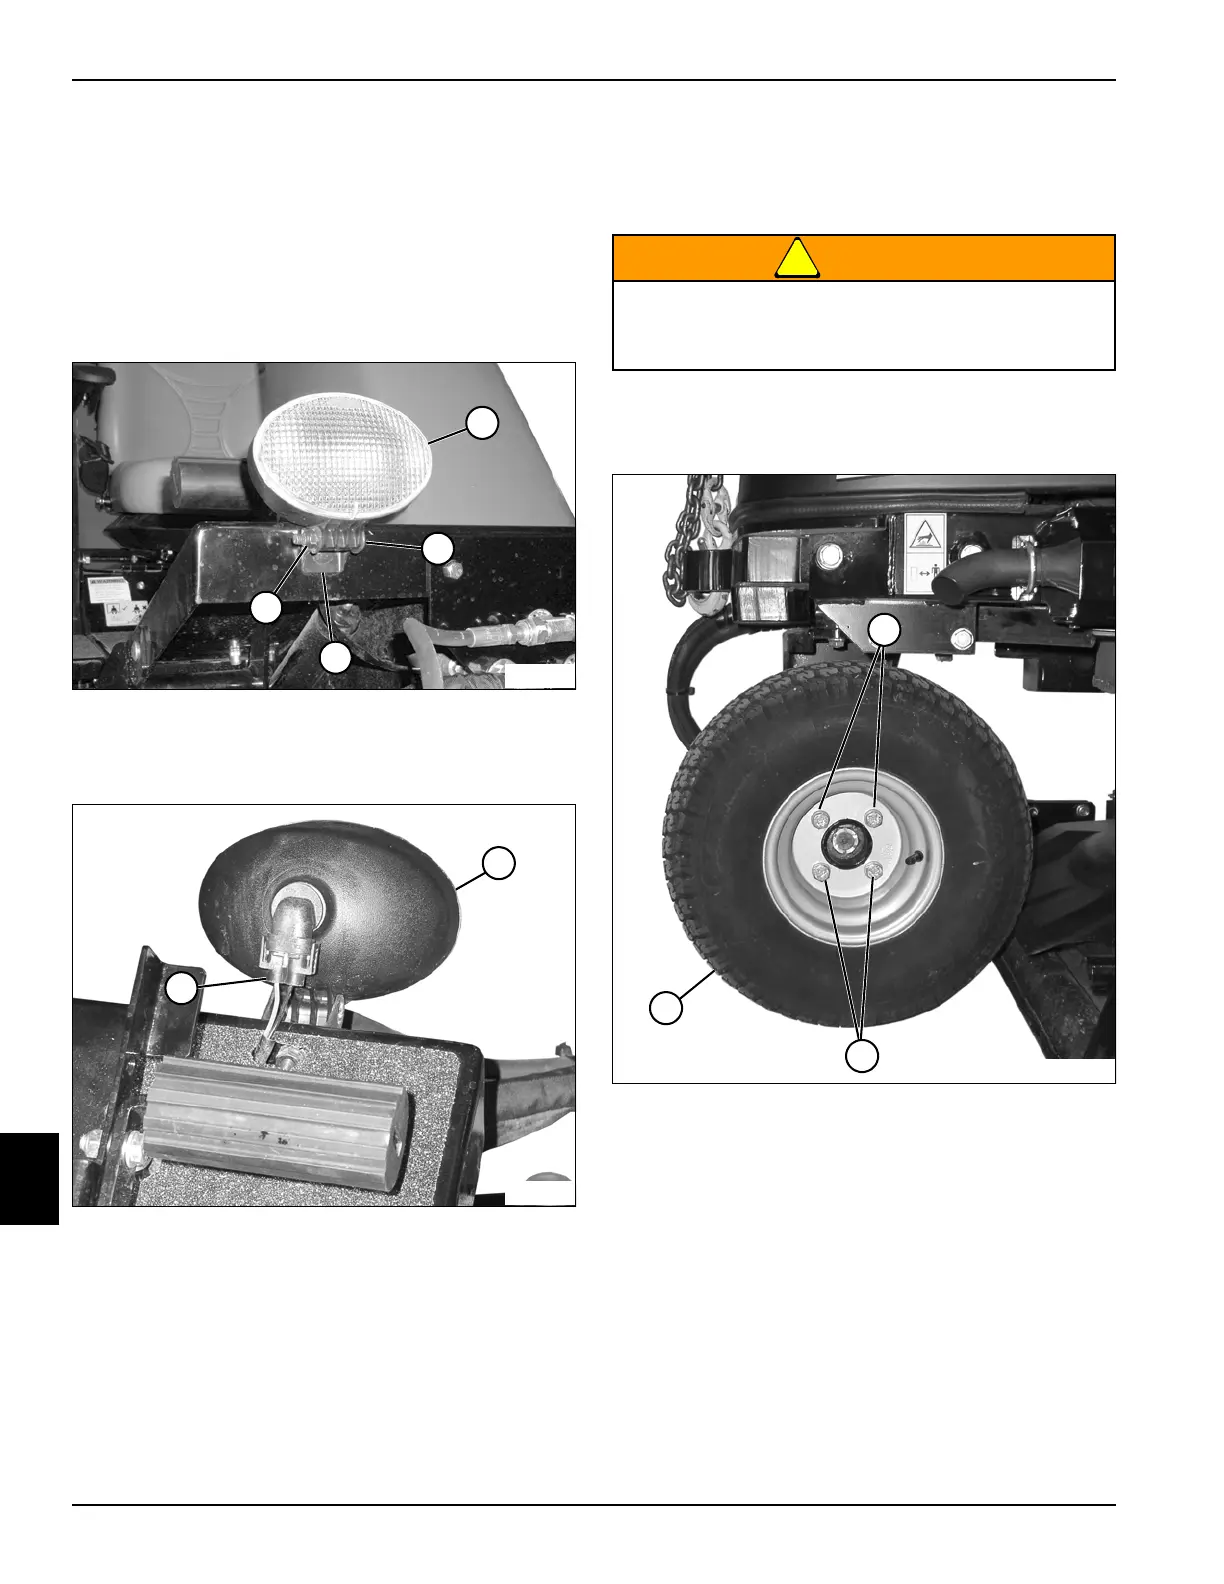
Rear Wheel
Removal and Installation
See Figure 9-48.
!
WARNING
1. Park the mower safely. (See “Park Mower Safely” on
page 1-7.)
Figure 9-48
2. Loosen but do not remove the four bolts (1).
3. Lift the rear of the mower using an suitable lifting
device.
4. Remove four bolts and wheel assembly (2).
Installation Notes
• Install the wheel assembly by reversing the order of
removal.
• Tighten bolts (1) to 85—95 lb-ft (115—128 N·m),
using an alternating pattern.
TN1087
1
2
3
4
TN1088
6
5
Prevent personal injury. Use properly rated lifting
devices. Always be sure load is balanced before
lifting.
TN1062
2
1
1
 Loading...