11.7
Section 11
Reassembly
11
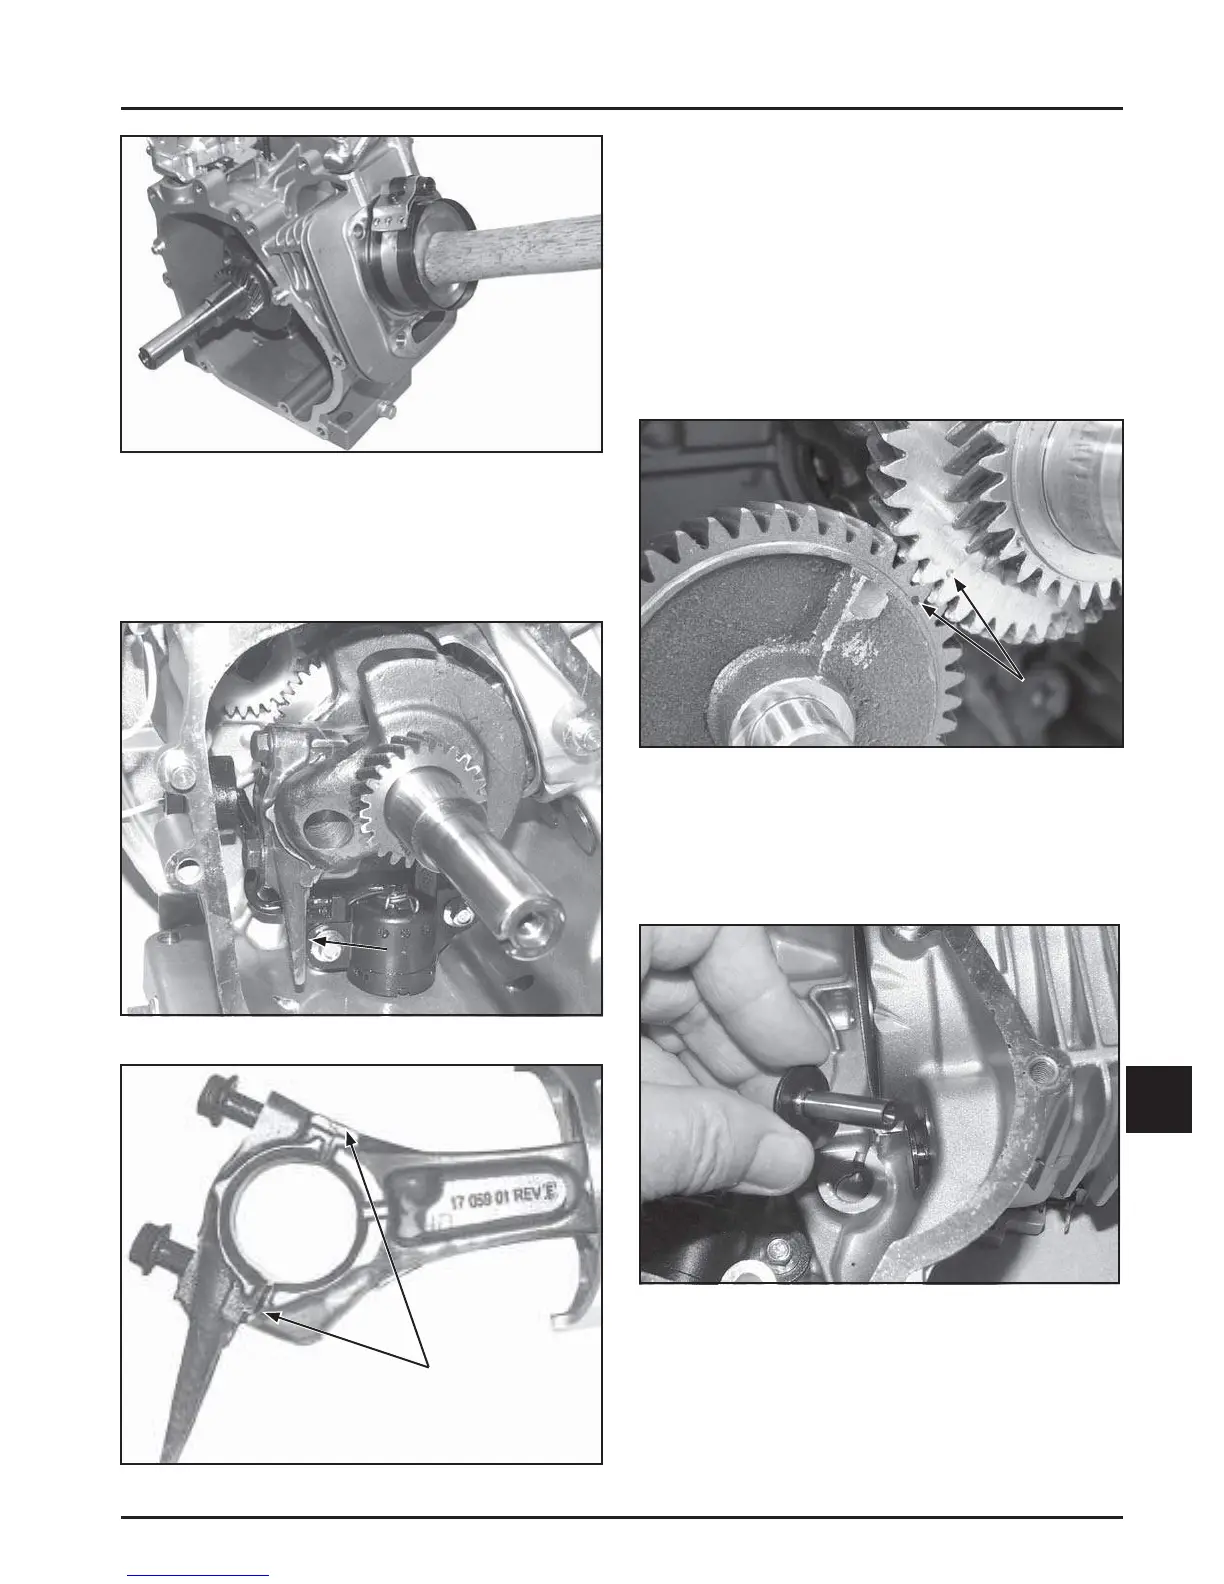
Figure 11-24. Installing Piston Using a Ring
Compressor.
6. Install the connecting rod cap to the connecting
rod so the dipper is down, and the match marks
are aligned. See Figures 11-25 and 11-26.
Figure 11-25. Rod Dipper Orientation.
Dipper
Orientation
Match Marks
7. Torque both screws in increments to:
CH270 12 N·m (106 in. lb.)
CH395, CH440 20 N·m (177 in. lb.)
Install Balance Shaft (If Equipped)
1. Position the cranksha so the timing mark on the
larger crankgear is in the 8 o'clock position.
2. Install the balance sha , aligning the timing mark
with the timing mark on the larger crankgear. See
Figure 11-27.
Figure 11-27. Aligning Timing Marks.
Install Valve Tappets and Camshaft
1. Lubricate the face and stem of each tappet with
engine oil. Install each into their respective bores.
See Figure 11-28.
Figure 11-28. Tappet Installation.
2. Lubricate the camsha bearing surfaces and
cam lobes as well as the camsha bore in the
crankcase with engine oil.
Timing
Marks
Figure 11-26. Connecting Rod Match Marks.
 Loading...


