9.2
Section 9
Disassembly
NOTE: Models with the low-profi le air cleaner do
not have the fuel shut-off valve. Instead, turn
off the fuel at the fuel supply.
Drain Oil From Crankcase
1. Remove one of the oil drain plugs and one of the
oil fi ll plugs. See Figure 9-3.
Figure 9-6. Remove CH395, CH440 Muffl er Bracket
Screw.
2. Remove the muffl er assembly from the exhaust
outlet.
3. Remove the exhaust gasket from the outlet.
Remove Air Cleaner Assembly
Remove the air cleaner components from the air
cleaner base as outlined in Section 4.
Remove the Quad-Clean
™
Base
Remove the air cleaner base from the engine as
follows:
1. Remove the hex fl ange nuts and screws securing
the carburetor shroud to the engine. See Figure
9-7.
Oil Fill Plug
Oil Drain Plug
Figure 9-3. Oil Drain Plug.
2. Allow ample time for the oil to drain from the
crankcase.
Remove Muffl er and Heat Shield
Assembly
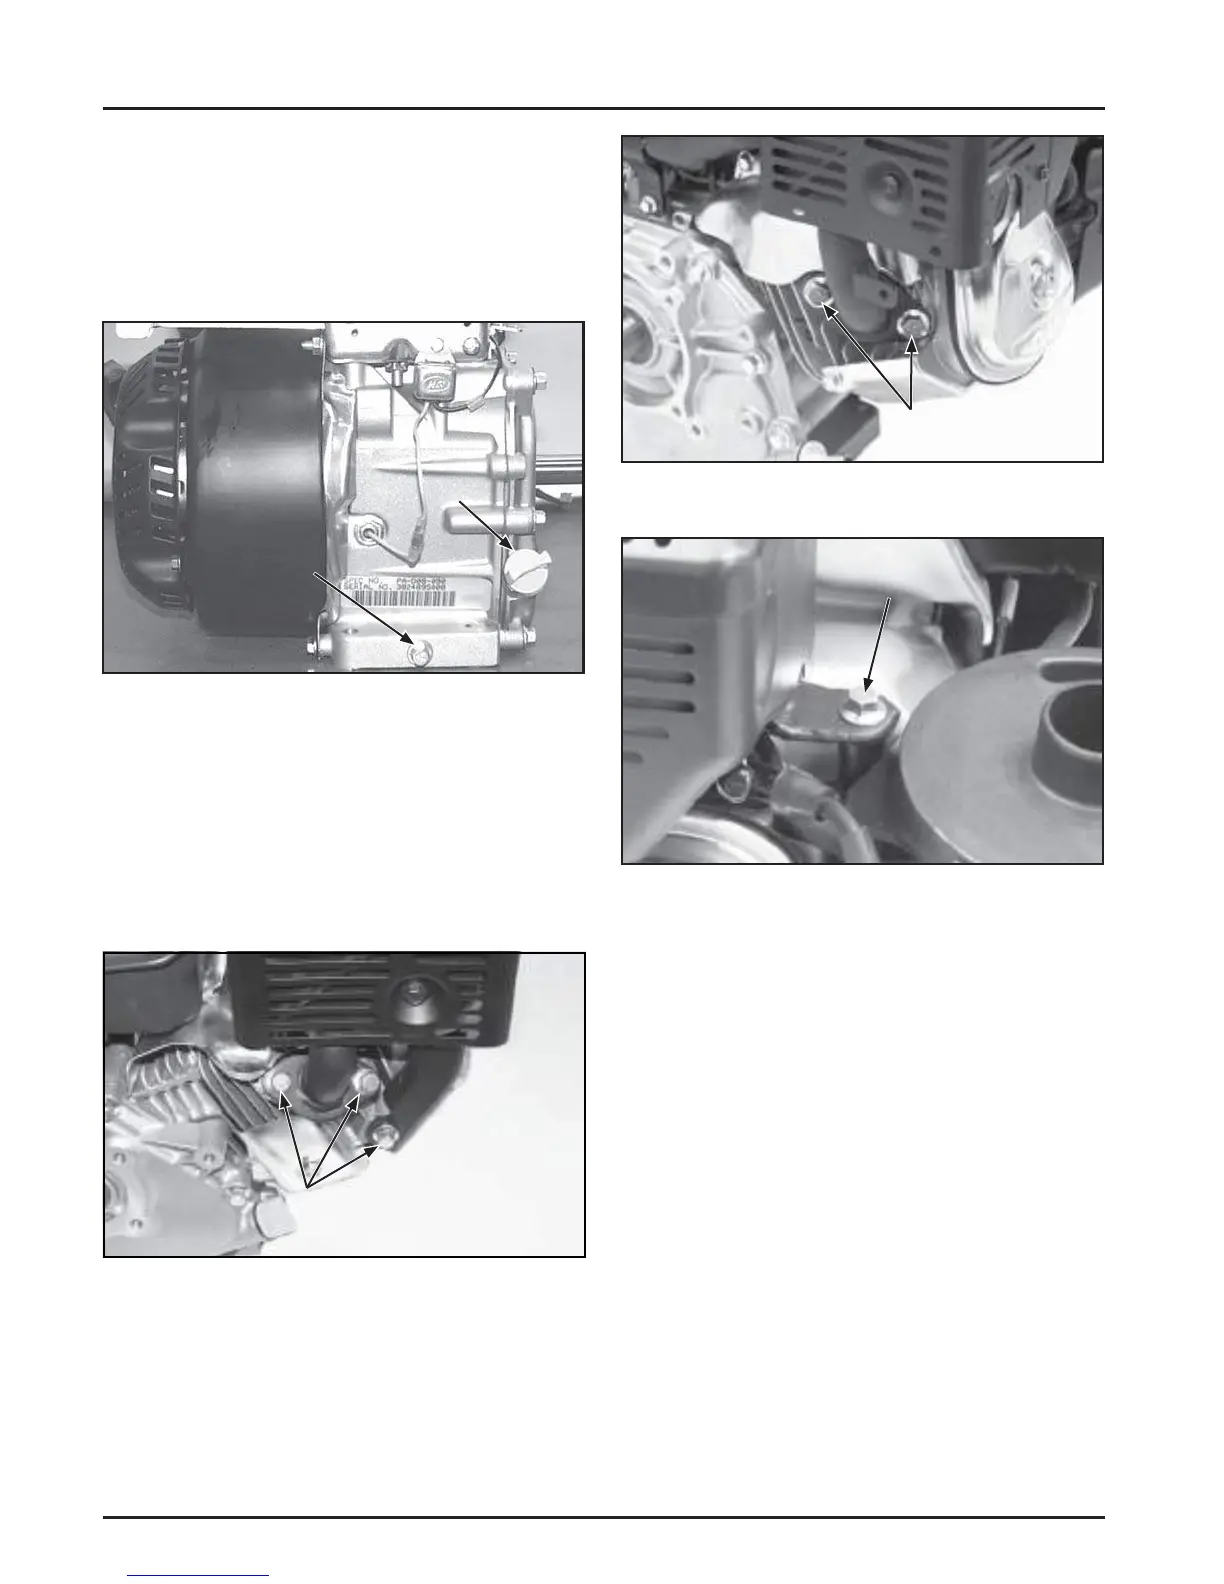
1. Remove the hex fl ange screws from the exhaust
fl ange and muffl er bracket. See Figures 9-4, 9-5,
and 9-6.
Hex
Screws
Figure 9-4. Removing CH270 Muffl er.
Figure 9-5. Removing CH395, CH440 Muffl er
Screws.
Hex Screw
Hex
Screws
 Loading...


