9.10
Section 9
Disassembly
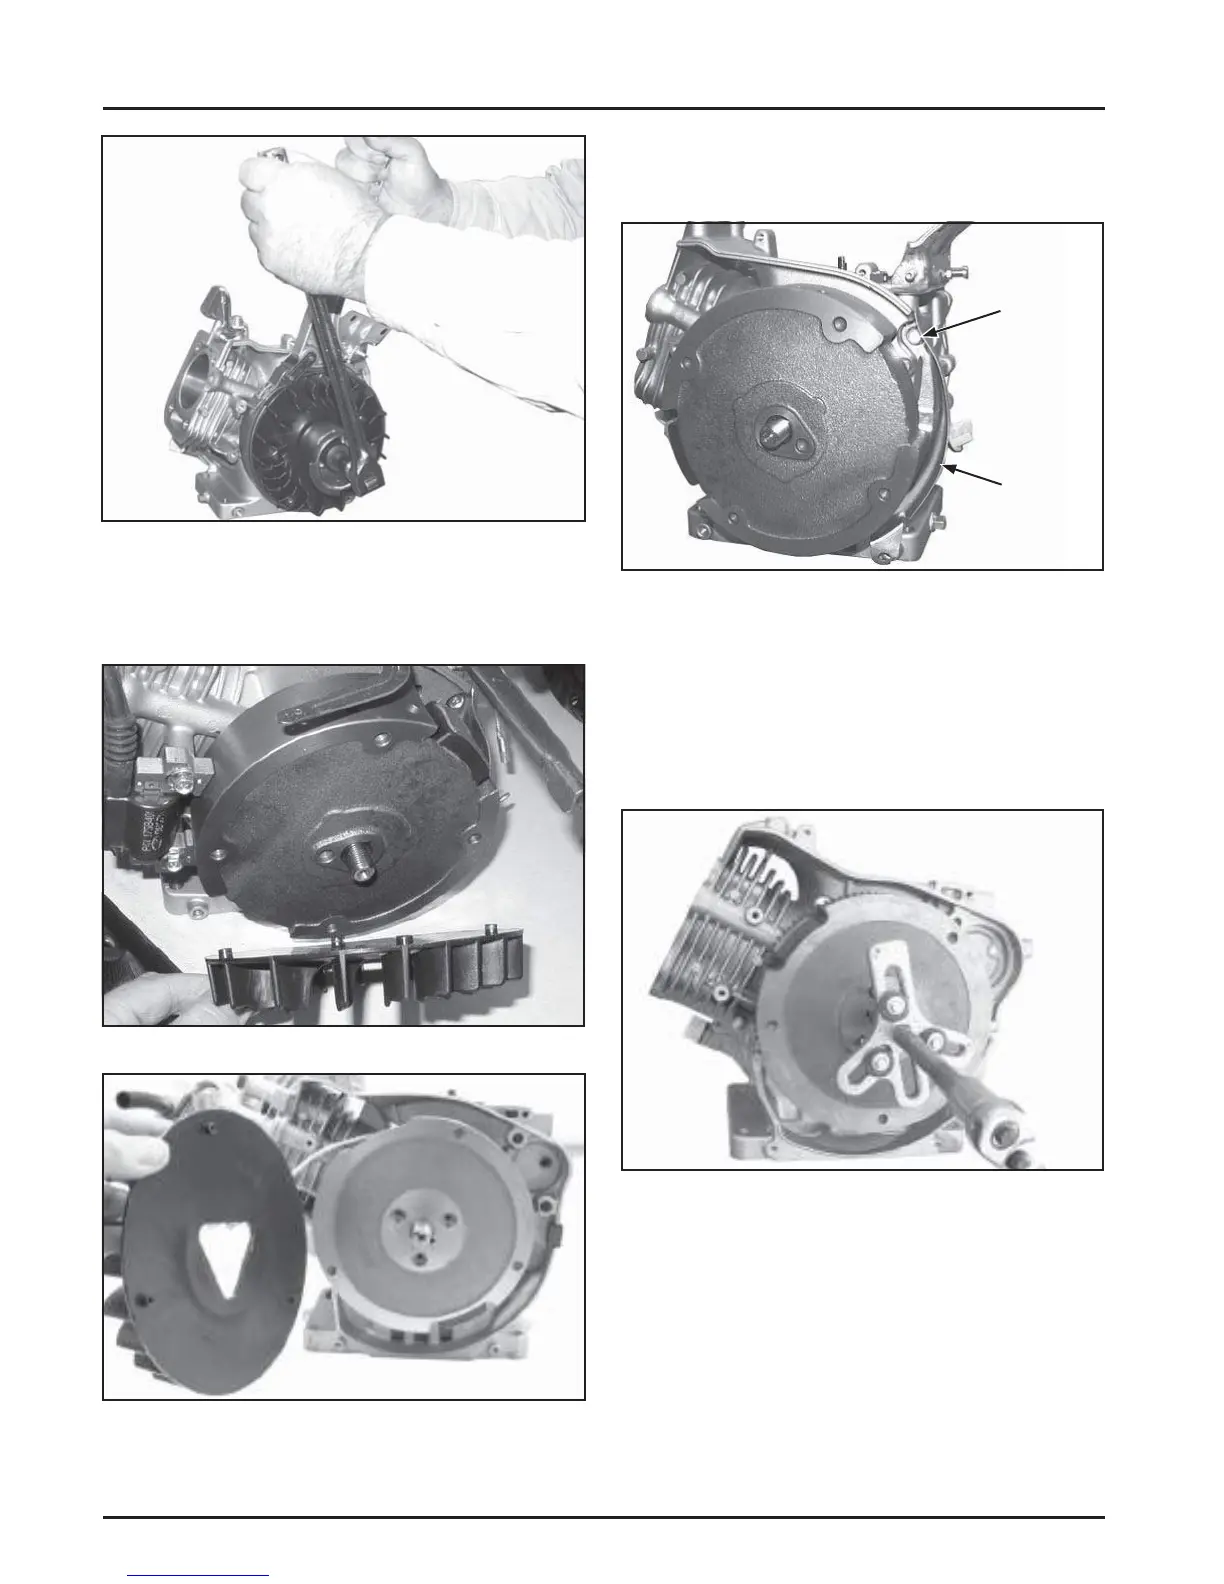
Figure 9-38. Removing Flywheel Nut Using Strap
Wrench.
2. Remove the drive cup and fan from the fl ywheel.
See Figures 9-39 and 9-40.
Figure 9-39. Remove CH270 Flywheel Fan.
Figure 9-40. Remove CH395, CH440 Flywheel Fan.
Note the Pin Pattern on the Fan.
3. Remove hex screw and shield (CH270 only) on
right side of fl ywheel (required for use of puller
in next step). See Figure 9-41.
Hex
Screw
Shield
Figure 9-41. Removing Flywheel Shield.
4. Remove the fl ywheel from the cranksha using a
suitable puller. See Figure 9-42.
NOTE: Always use a puller to remove the fl ywheel
from the cranksha . Do not strike the
fl ywheel or cranksha as these parts could
become cracked or damaged.
Figure 9-42. Using Puller to Remove Flywheel.
5. Remove the fl ywheel key from the cranksha
keyway.
Remove Stator (If Equipped)
1. Remove the screw securing the stator wire
bracket and remove the bracket. See Figure 9-43.
2. Remove the hex fl ange screws securing the stator
to the crankcase. See Figure 9-43.
 Loading...


