11.24
Section 11
Reassembly
Figure 11-91. Install Foam Element.
2. Position the air cleaner cover onto the base and
secure with the hex screw.
Prepare the Engine for Operation
The engine is now reassembled. Before starting or
operating the engine be sure to do the following:
1. Make sure all hardware is properly torqued.
2. Make sure the oil drain plugs, oil fi ll plugs and
Oil Sentry
TM
wire lead bushing are tightened
securely.
3. Fill the crankcase with the correct oil. Refer to
the oil recommendations and procedures in the
General Information and Lubrication System
sections.
Testing the Engine
It is recommended that the engine be operated on a
test stand or bench prior to installation on a piece of
equipment.
1. Set the engine up on a test stand. Check gas
and oil levels. Start the engine and run for 5-10
minutes between idle and midrange. Adjust the
carburetor se ings as required. Low idle speed
should be set to 1800 RPM (± 150) or application
specifi cations. See Figure 11-92.
Element
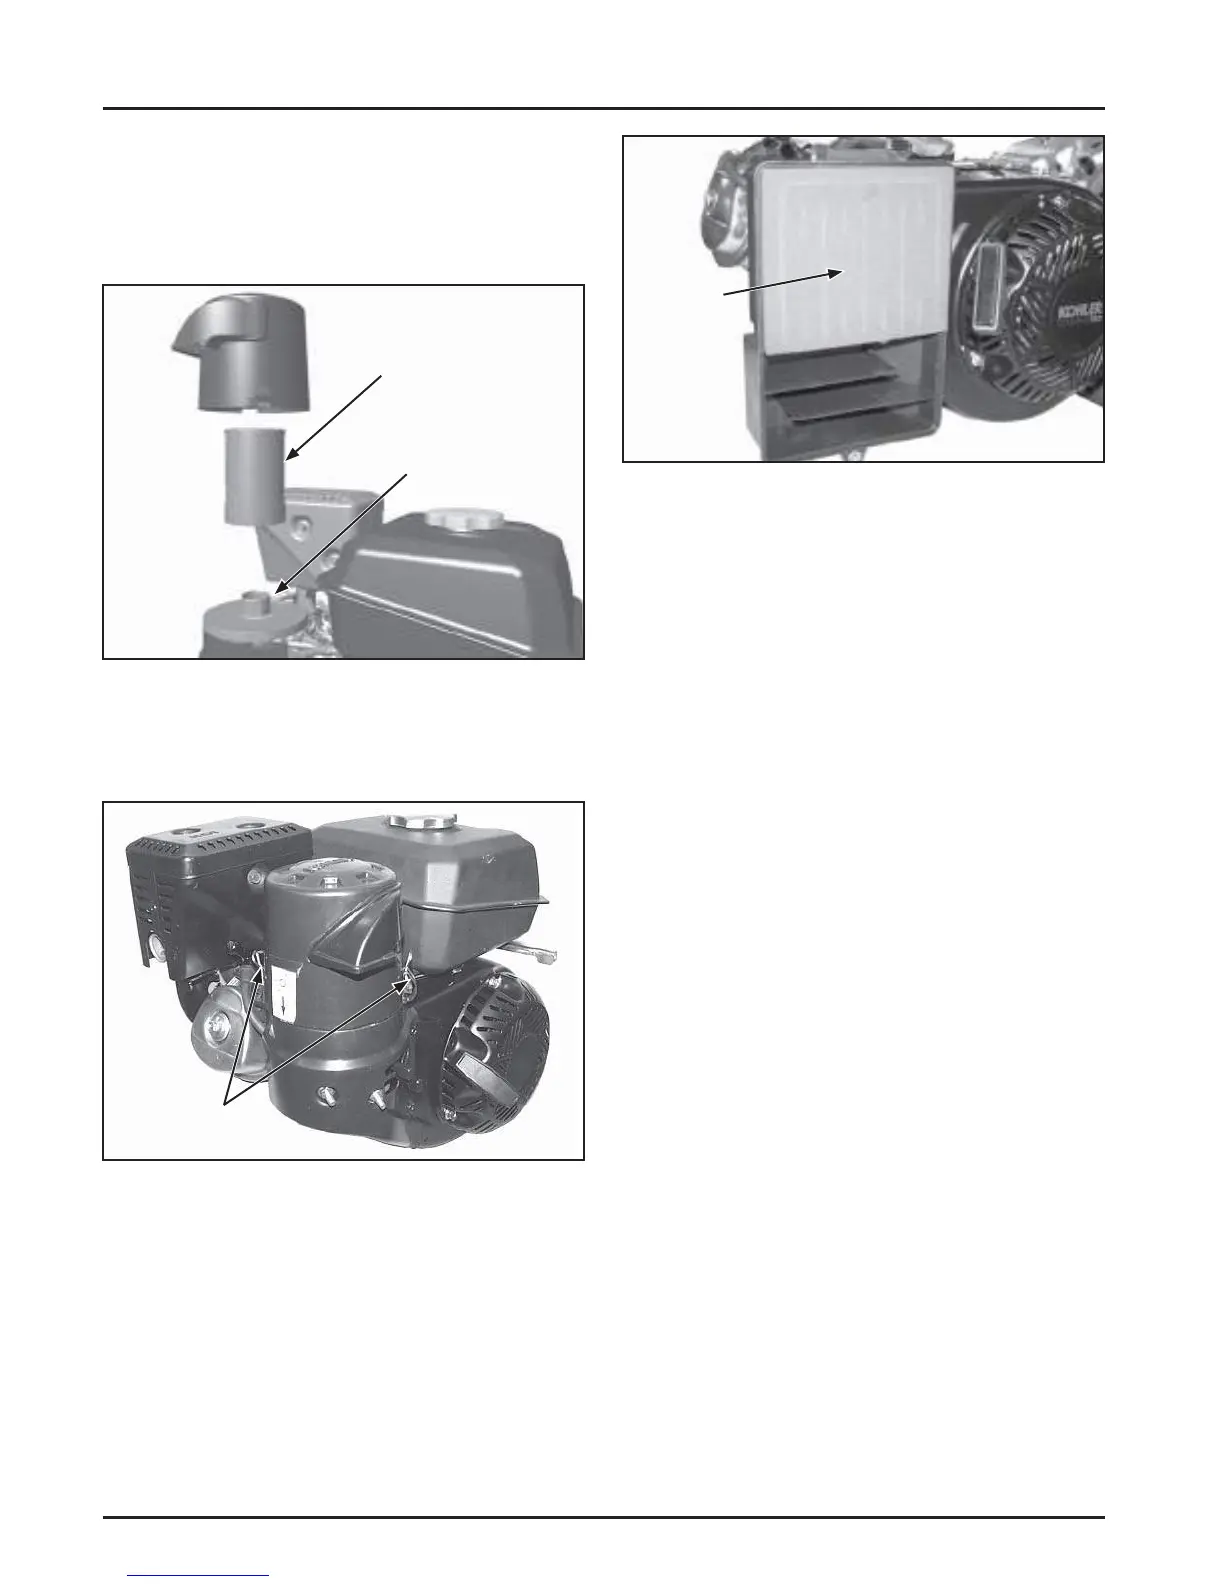
Install Air Cleaner Element and Cover
Install the Quad-Clean
™
Air Cleaner
1. Place the air cleaner element with precleaner onto
the boss on the air cleaner base. See Figure 11-89.
Figure 11-89. Installing Air Cleaner Element.
2. Position the air cleaner cover as required for
seasonal operation and engage both cover clips to
secure it to the base. See Figure 11-90.
Air
Cleaner
Base
Element
Figure 11-90. Install Air Cleaner Cover.
Install the Low-Profi le Air Cleaner
1. Place the foam element in the air cleaner base. See
Figure 11-91.
Cover
Clips
 Loading...


