USB BOOT CLIENT
Logicube Falcon
®
-Neo User’s Manual 135
4. Turn the Falcon-NEO on. After the Falcon-NEO boots up, you should see additional drives appear
on the Source position depending on the Imaging mode chosen.
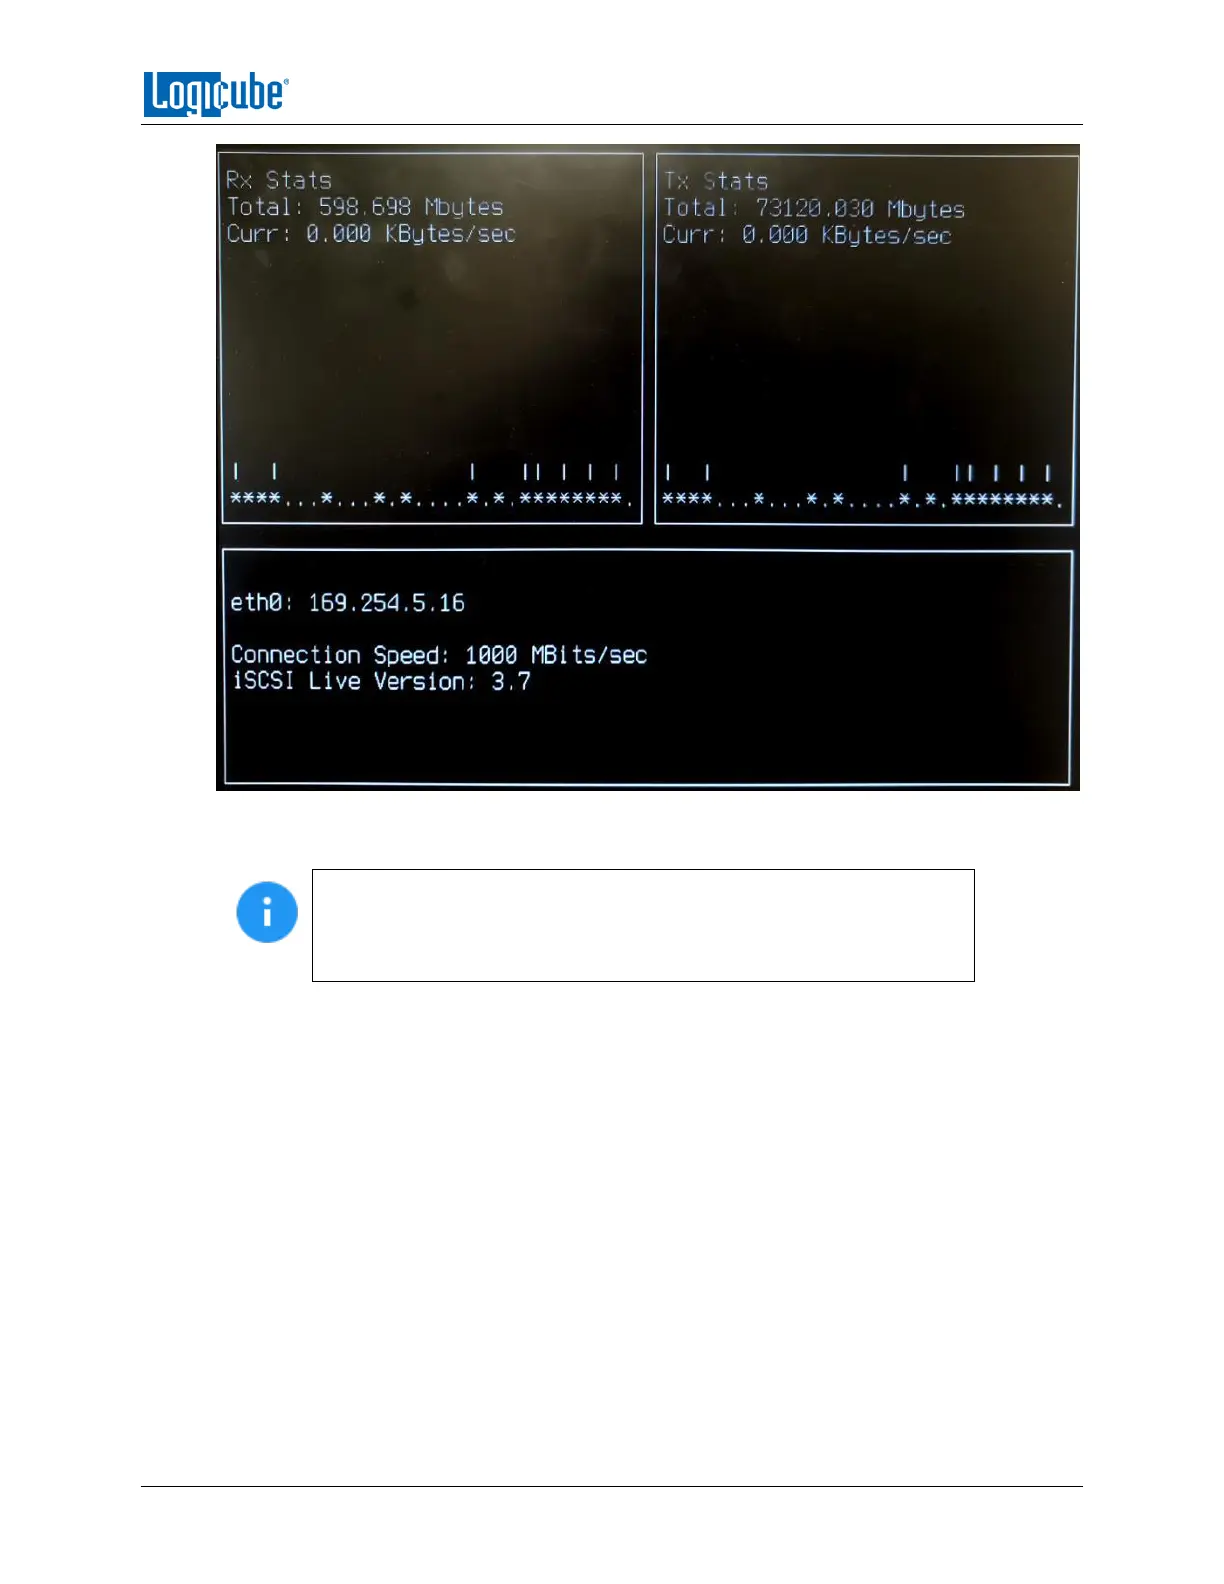
The Logicube device will show the last two segments of the IP address.
For example, I:5.16. The connected drive will show as SDA. If there are
any additional connected drives, they will show as SDB, SDC, etc. For
example, if there is one drive connected, it will show as: I:5.16/SDA.
From here you can image using the Falcon-NEO using the normal imaging steps. When using the USB
Boot Client, imaging speeds may vary depending on network performance.
 Loading...