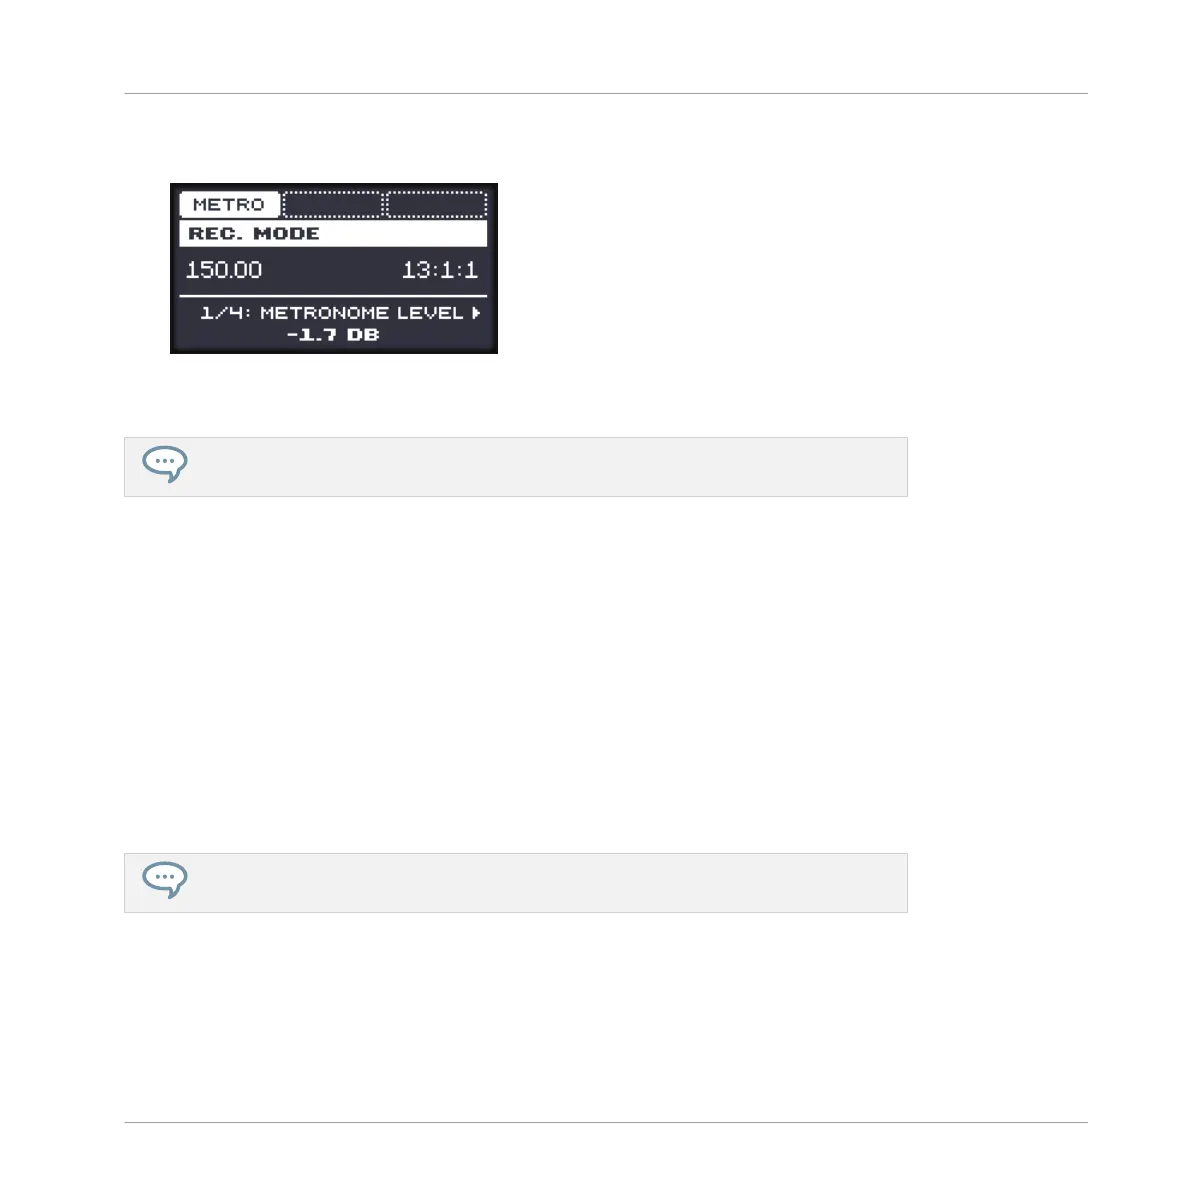
2. Press the Left Arrow button repeatedly until METRONOME LEVEL appears on the display
and turn the Control encoder to adjust the metronome volume.
3. Press the Left/Right Arrow button to select TIME on the display and turn the Control en-
coder to select a time signature.
While adjusting the metronome settings you can enable/disable the metronome via F1
(METRO). This is strictly equivalent to pressing SHIFT + PLAY as mentioned above.
7.2.4 Recording with Count-in
Count-in allows you to start the metronome before the sequencer and recording begins. This is
very handy if you want to start recording a Pattern exactly on the downbeat.
When start recording with a Count-in, the following happens:
▪ The playhead jumps to the beginning of the Loop Range.
▪ You hear the metronome alone during the count-in phase (1, 2 or 4 bars).
▪ After the count-in phase, the recording starts in Overdub mode (see ↑7.2.1, Recording
Your Patterns Live). The metronome turns off if it was off before the Count-in, otherwise it
stays on.
You can adjust the metronome’s volume, time signature, and downbeat/upbeat sounds.
See section ↑7.2.3, Using the Metronome for more information.
If the current Loop Range does not start at the beginning of a bar (i.e. on a downbeat), the
count-in phase will start with a downbeat, count the selected duration (1, 2 or 4 bars), and
then add the offset between the beginning of the bar in which the beginning of the Loop
Range is placed and the actual beginning of the Loop Range:
Working with Patterns
Recording Patterns in Real Time
MASCHINE MIKRO - Manual - 333

 Loading...