Chapter 3 Installation and Connection
9
Please Read
First
3
Installati on and Connect ion
This chapter explains how to install and connect the DS-L4 and a microscope camera.
3.1
Installing the DS-L4
Cautions on installation
When you install the DS-L4, allow at least 10 cm between it and other objects for adequate heat dissipation.
3.1.1
Connecting the DS-L4 to the Cradle
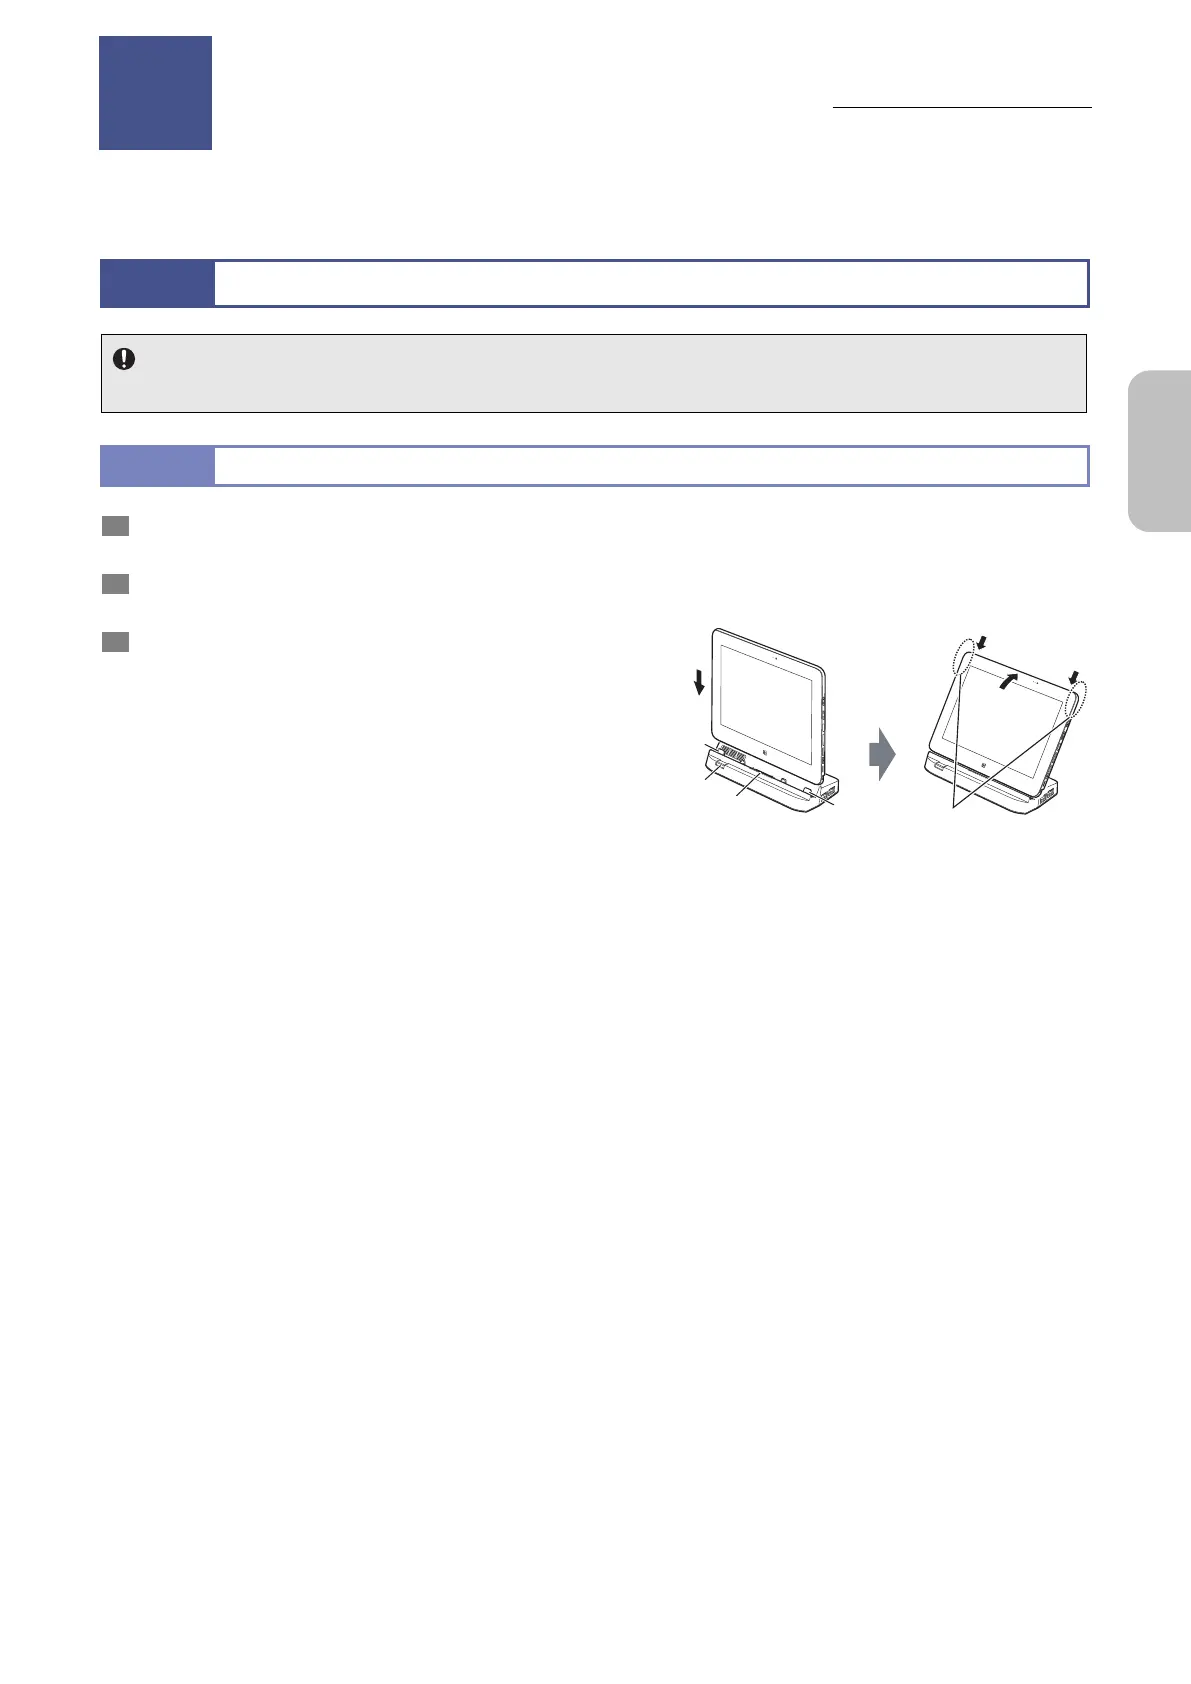
1 Make sure that no peripheral devices are connected to
the connectors on the tablet.
2 Make sure that the Unlock button of the cradle is
pressed (red mark is visible).
3 Connect the tablet to the cradle.
1 Place the tablet squarely on the cradle, aligning
the two projections of the cradle with their
corresponding holes.
2 Incline the tablet towards the cradle slightly.
3 Holding the tablet's top corners, push the tablet
forward until you hear a click.
Make sure that the tablet and cradle are connected securely
(the tablet is inclined at the angle of the cradle front panel).
Place the cradle on a stable, horizontal surface. If you place
the cradle on an unstable surface, such as a sofa, the tablet
might incline or fall down.
Do not place any objects around the cradle. Objects around
the cradle might prevent the tablet from being set correctly.
Connecting the DS-L4 to the cradle
Installation and Connection
Chapter
3
Hold these parts firmly
with your hands.
Main
connector
Projection
Projection
Unlock
button
 Loading...