3 Select Online from the Controller Menu. Or, click the Go Online Button ( ) in the toolbar.
4 Select Synchronization from the Controller Menu.
5 In the Synchronization Window
, clear the selections of the following check boxes.
Do not transfer the following. (All items are not synchronized.)
• CJ-series Special Unit parameters and EtherCAT slave backup parameters
• Slave Terminal Unit operation settings and NX Unit application data
6 Click the Transfer from Controller Button.
An execution confirmation dialog box is displayed.
7 Click the
Yes Button.
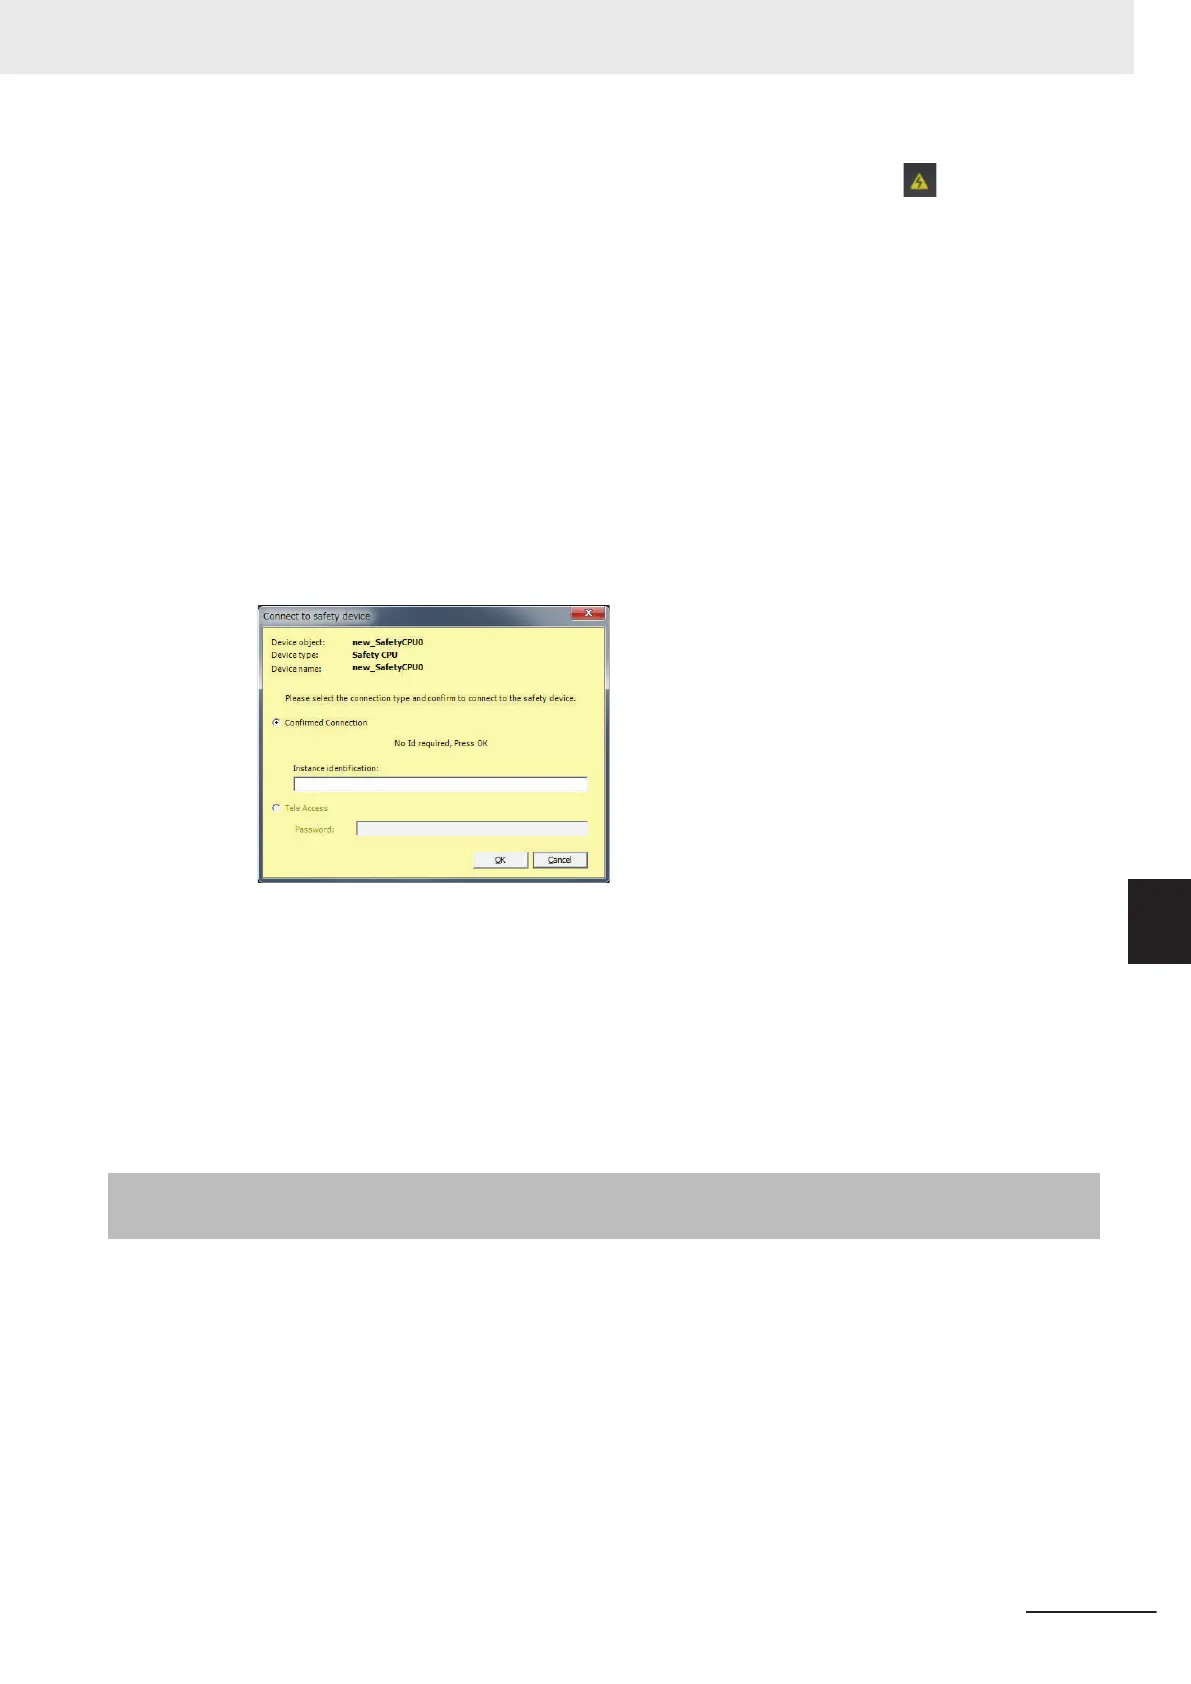
The following Connect to safety device Dialog Box is displayed.
Note You do not need to enter anything in the Instance identification Box.
8 Click the OK Button.
A password confirmation dialog box is displayed.
9 Enter the password, and click the OK Button.
The settings of all the Units that are connected to the EtherCAT Coupler Unit are transferred to
the Sysmac Studio.
7-11-3
Uploading Data for a Connection to a Communications Coupler
Unit
If the Sysmac Studio is connected to the USB port on the Communications Coupler Unit, use the fol-
lowing procedure to upload data from the Safety CPU Unit
.
1 Right-click the Communications Coupler Unit on the Slave Terminal Tab Page, and select
CouplerConnection (USB) – Online from the menu.
The Sysmac Studio goes online with the Slave Terminal.
Note
If you are using a new project and there is no EtherCAT Coupler Unit in the EtherCAT Slave Termi-
nal Tab Page, add an EtherCA
T Coupler Unit and set the node address.
2 Right-click the Communications Coupler Unit on the Slave Terminal Tab Page, and select
Transfer from Coupler
from the menu.
7 Checking Operation and Actual Operation
7 - 61
NX-series Safety Control Unit User's Manual (Z930)
7-11 Uploading Configuration Information and Safety Application Data
7
7-11-3 Uploading Data for a Connection to a Communications Coupler Unit

 Loading...