109
4.11.5 How to install
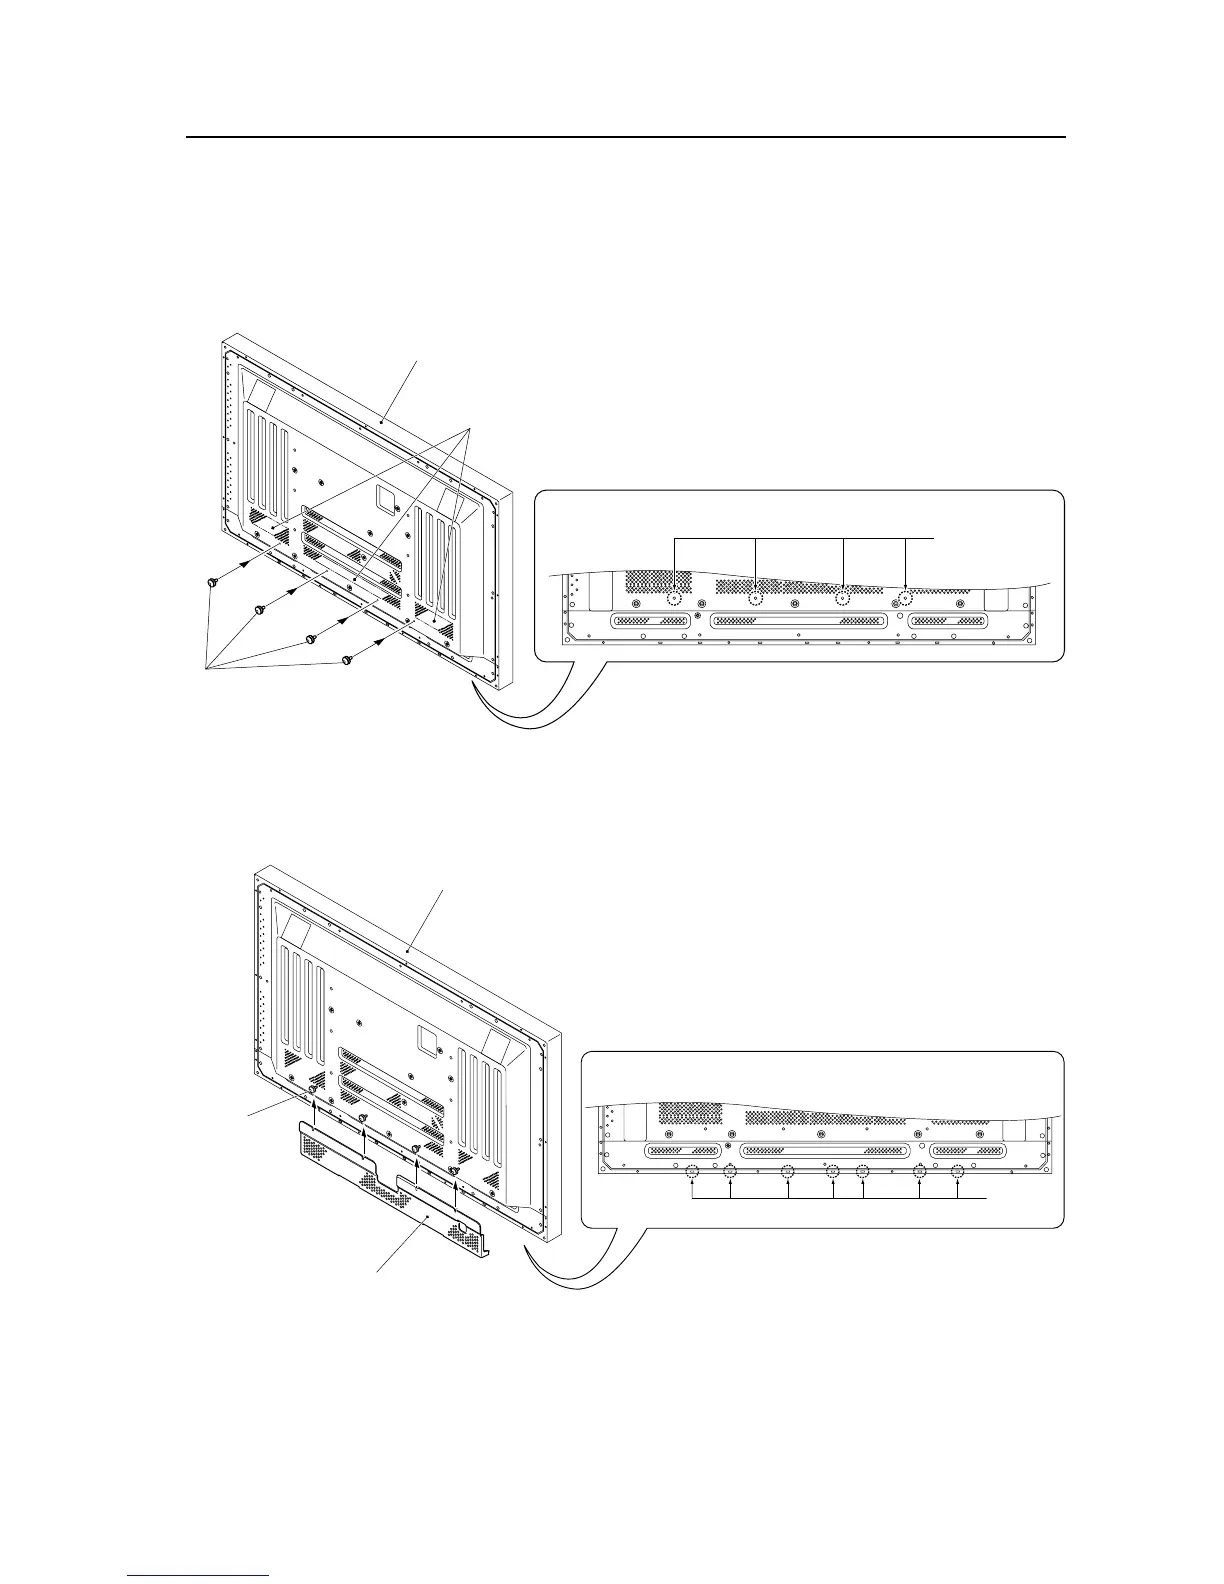
1 Insert the included clips in the four corresponding holes in the rear of the plasma display housing. Be sure to insert
the clip all the way to the bottom. (Note! Once inserted, these clips cannot be removed. Additionally, make sure the
clips are not inserted in the ventilation holes.)
2 Connect the cables.
3 After the cables are in place, attach the cable cover.
First slide the cable cover onto the rear case, then snap the notches onto the stems of the four clips.
4 Carefully arrange the cables, then snap the cable cover shut into the seven square holes at the bottom of the rear
panel.
Cable Cover: PDA-P01
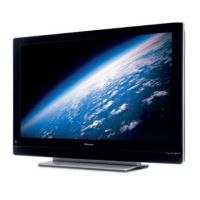
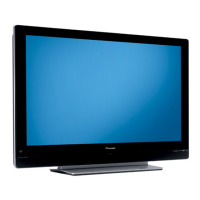
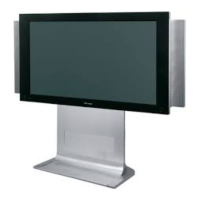
Plasma display
Ventilation holes
Clips
Only four clip holes are arranged along this line.
Holes for attach-
ing the clips
Plasma display
Cable cover
Clips attached
to the plasma
display
Seven square holes are evenly spaced in a line at the bottom of the
rear panel.
Square
holes
[503CMX/503MXE : 433CMX/433MXE]
 Loading...