FUEL SYSTEM/CARBURETION
4.14
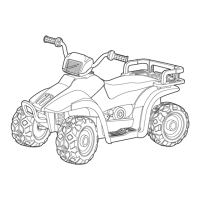
CARBURETOR ASSEMBLY
1. Inspect the diaphragm (A) for holes,
deterioration, or damage. Make sure the
diaphragm is pliable but not swollen. The
diaphragmshouldfit properlyinthecarburetor
body. Replace diaphragm assembly if
diaphragm is damaged.
2. Replacepartsinproperorder . Thespringseat
washer (B) is stepped and must be placed on
TOP of “E” Clip (C). Spacer washer (D) must
be installed below the E-Clip. Refer to parts
manual for more information.
3. Be sure the tab (E) on outer edge of
diaphragm is positioned properly in the
carburetor body.
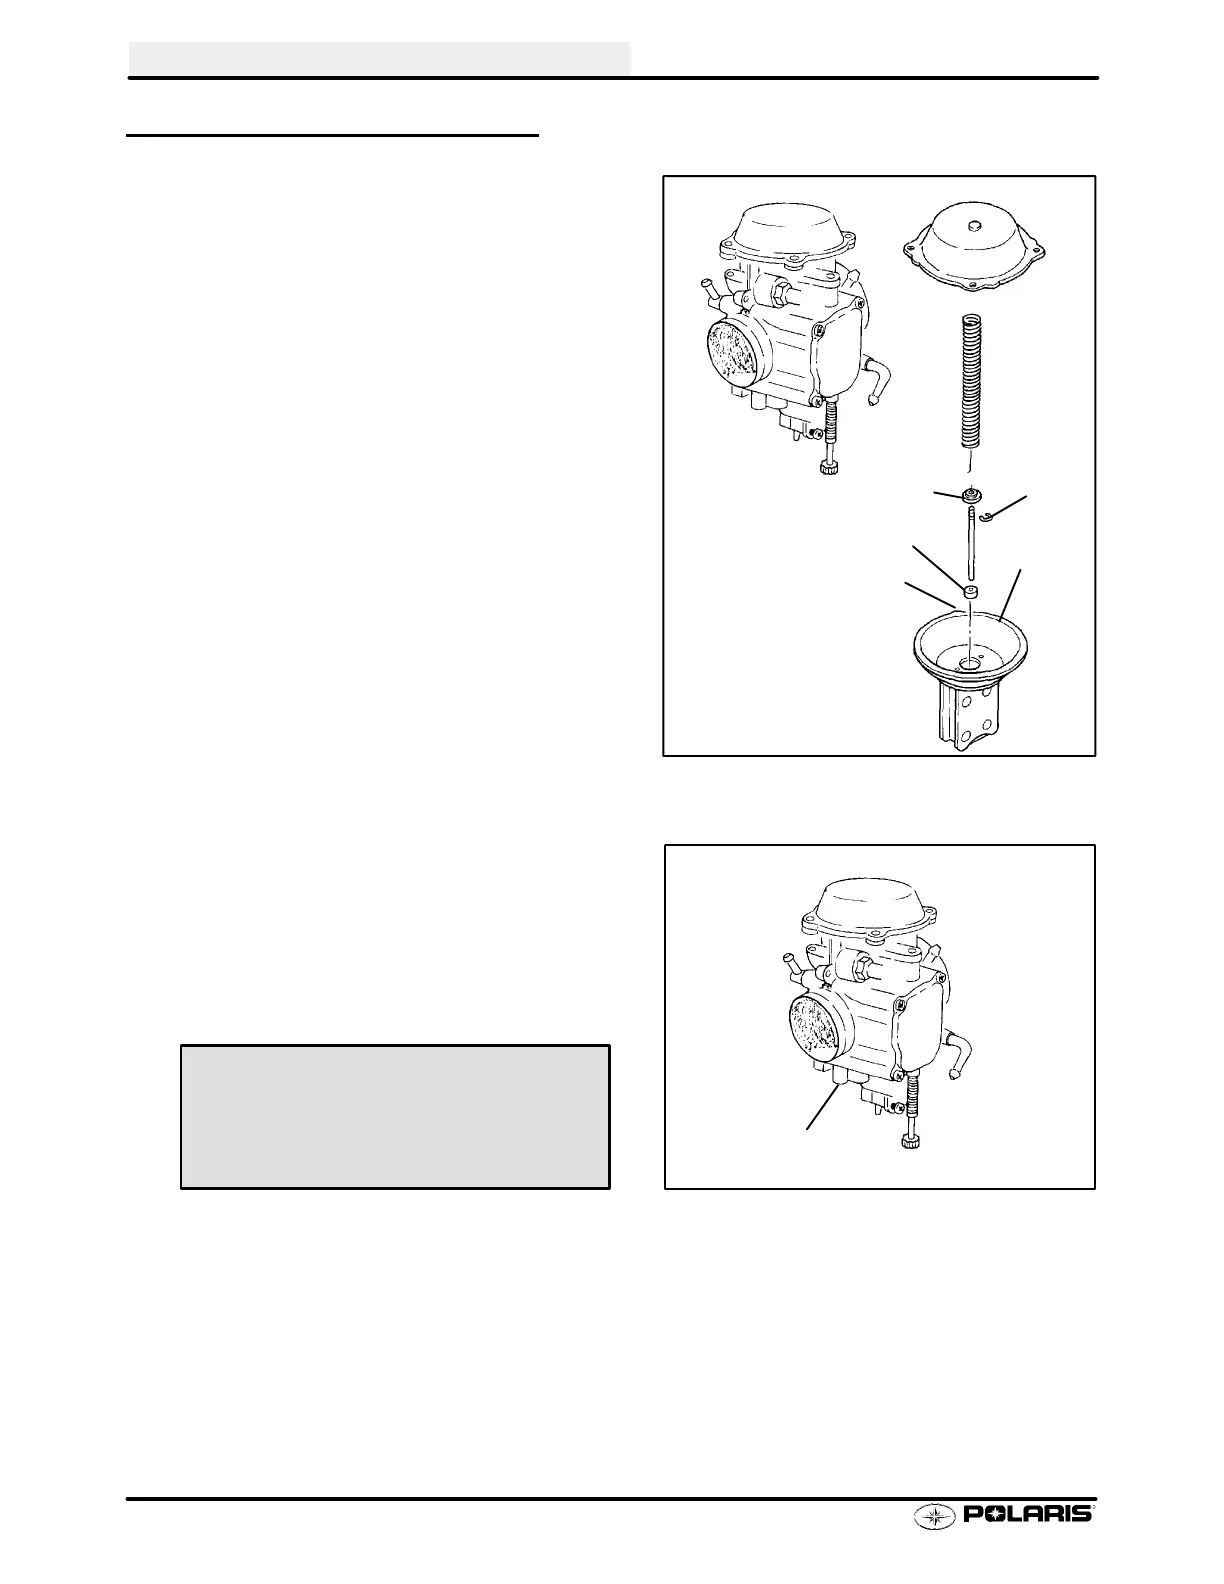
4. Install the pilot mixture screw, spring, washer, and
O-ringasanassembly. LubricatetheO-Ringwithoilor
light grease before installation. CAUTION: Do not
damage the O-ring during installation. Turn the screw
in until it lightly contacts the seat. Back out the
specified number of turns. NOTE: The final pilot (idle)
mixture must be adjusted with the engine running.
Refer to Page 2.14.
E
D
C
A
B
Pilot Screw
Pilot Mixture Screw Base Setting
(Turns Out)
Refer to General / Specifications
Chapter 1

 Loading...