DNA is an enhanced alternative software to Device Search. Either of these
programs may be used. Both are supplied on the included CD.
Click the icon.
Select the unit requiring IP assignment.
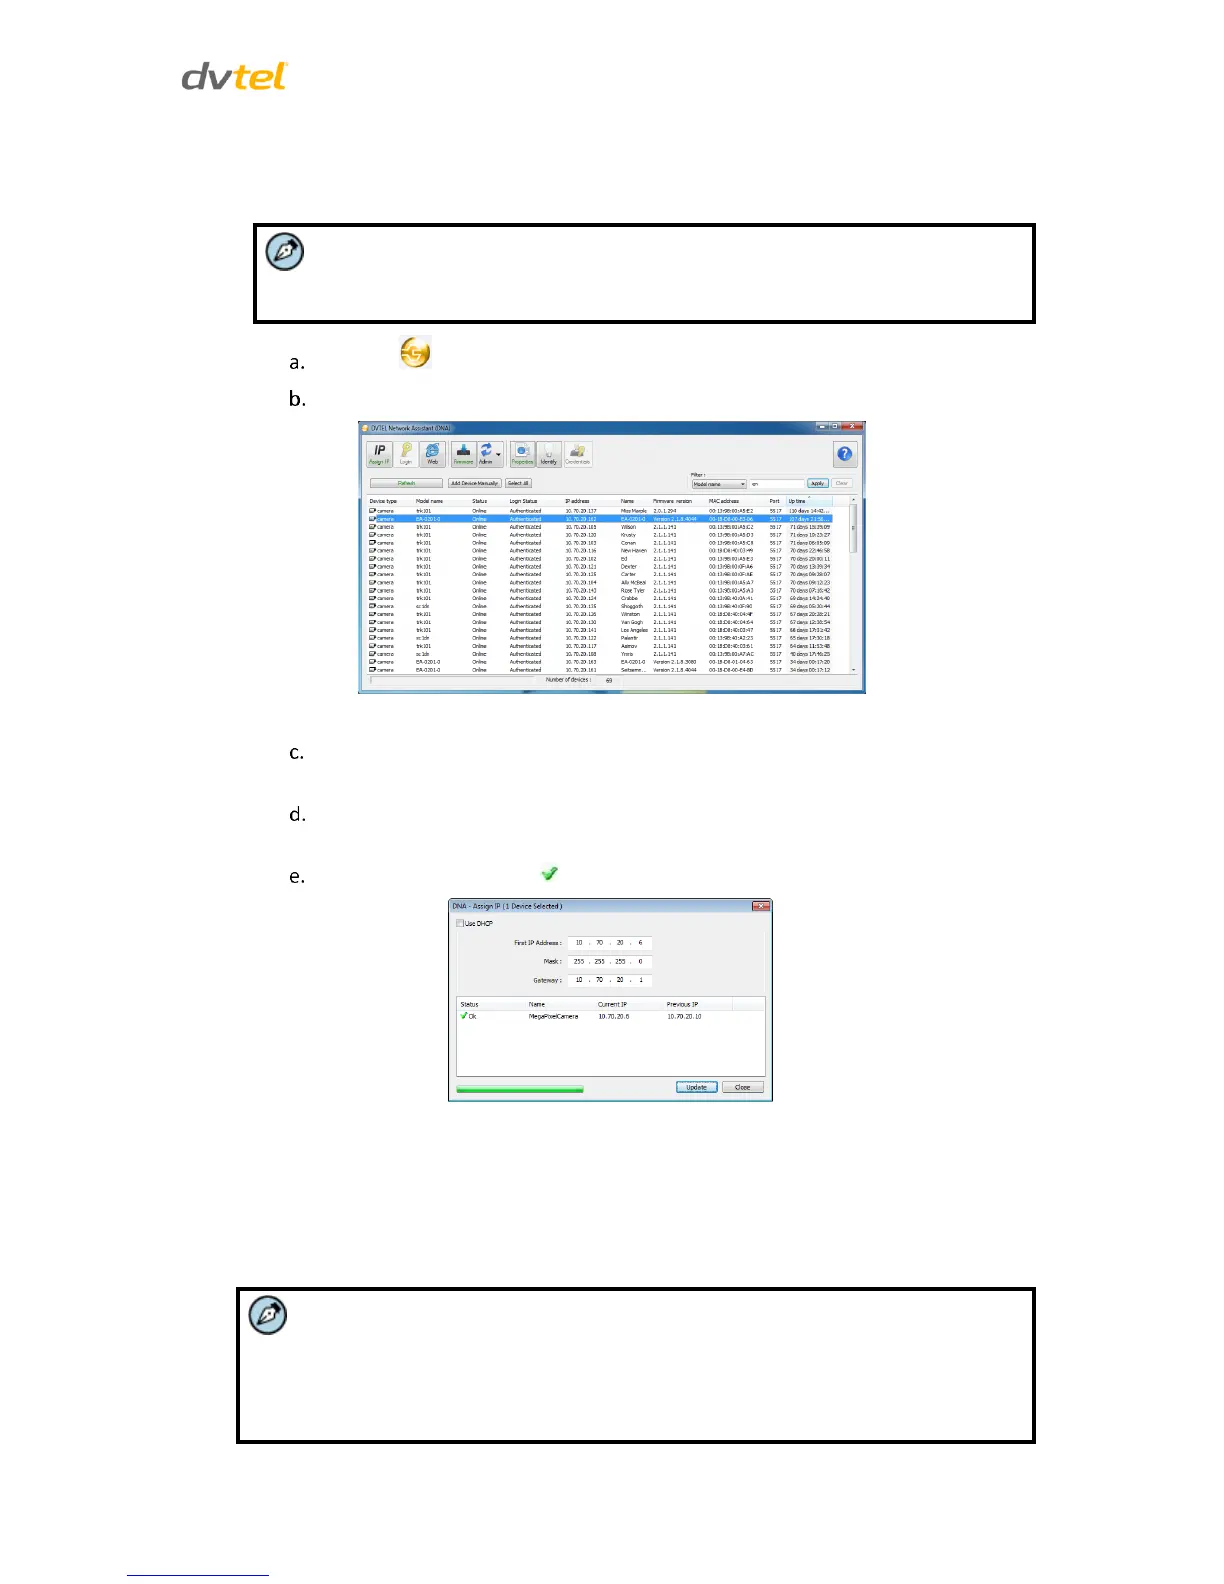
Figure 6: Discovered IP Devices
Right-click on the mouse and select the assigned IP or press the Assign IP button to
open the DNA Assign IP screen
In the dialog box that is displayed, enter values for the IP Address, Gateway and
Netmask.
Click Update and wait for OK status to be displayed.
Figure 7: Assign IP Dialog Box
From the Latitude Sidebar, run the Unified Configurator by selecting Applications > Device
Configuration Tool. Then click DVTEL HD Series on the Unified Configurator screen.
5. Disconnect the Ethernet cable. The camera is ready for deployment in a site installation
(mounting).
1. The camera can be connected to a PC for bench installation via an Ethernet
cross-cable.
2. The camera default IP Address is automatically set by the DHCP server. If using
Latitude, the Address must be set manually.
 Loading...