Using the DNA Utility to Search and Access the Camera
39
7. Right-click the camera whose network property is to be changed. From the menu that
opens, select Network Setup. The Network Setup dialog is displayed.
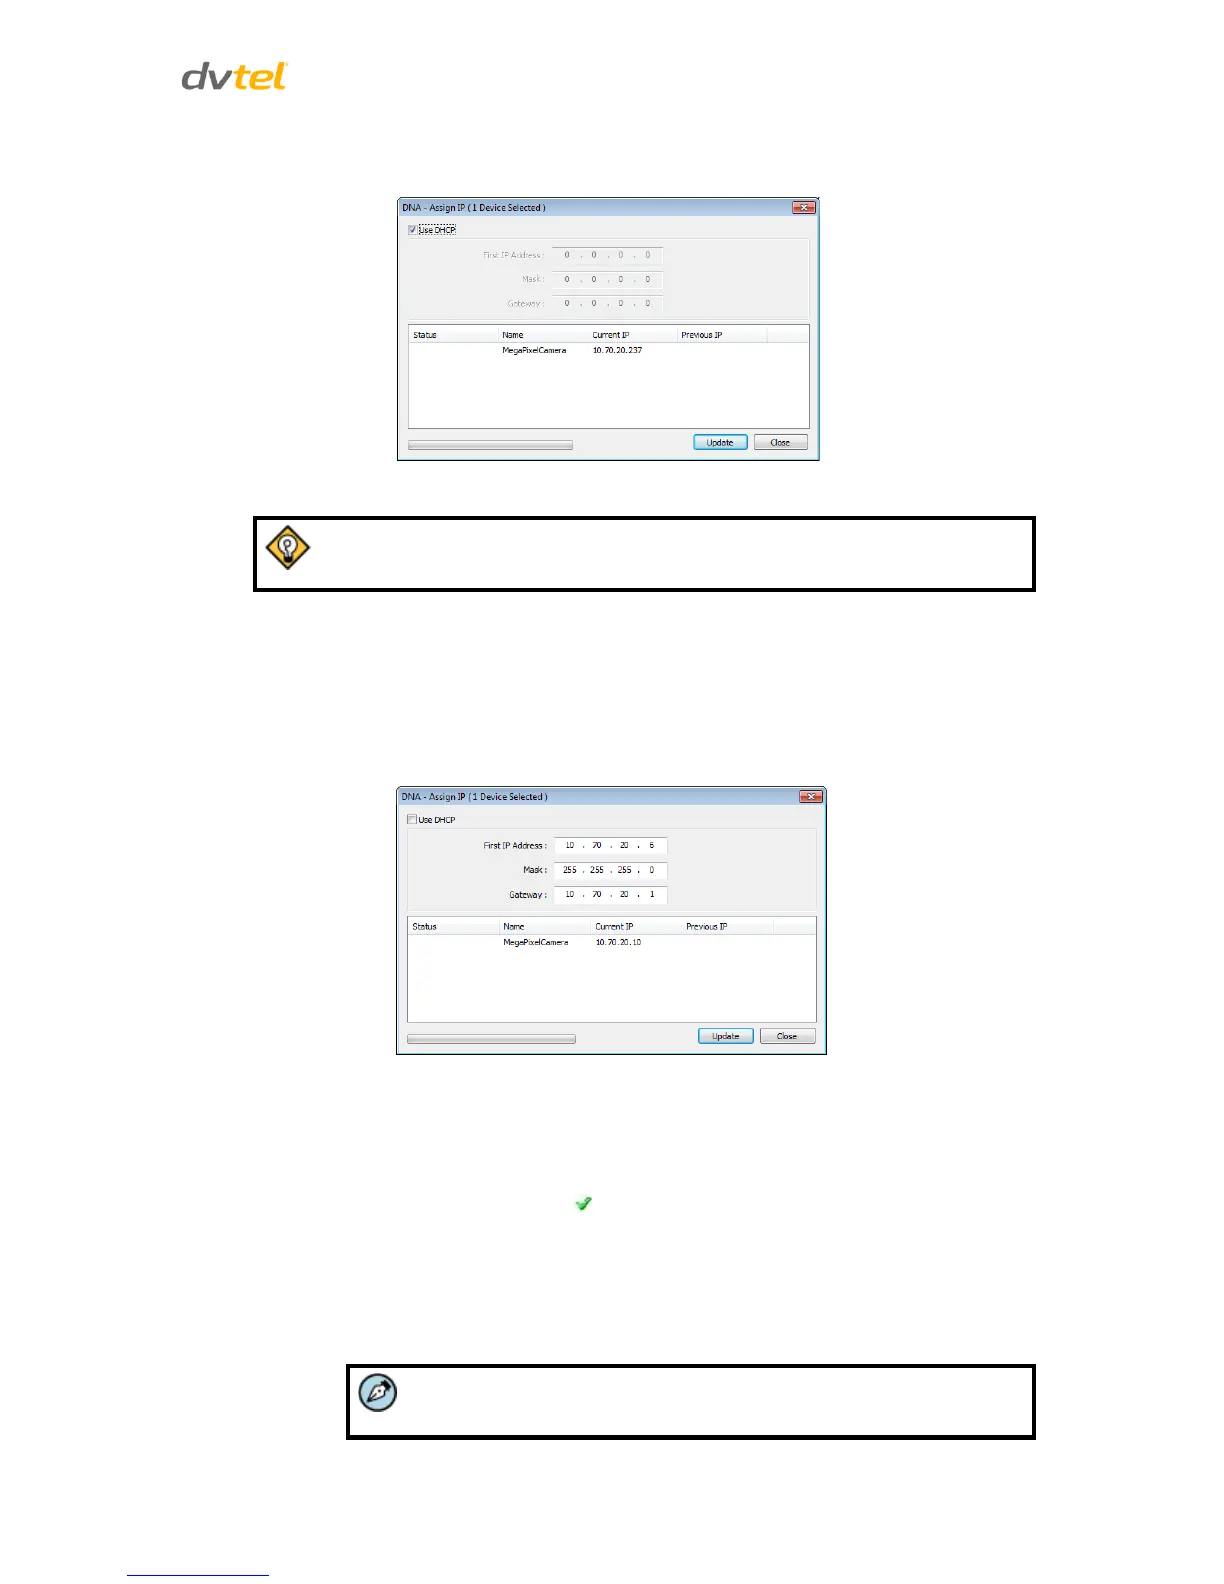
Figure 21: DNA Assign IP – Use DHCP Dialog Box
8. To access DNA, do one of the following:
a) For DHCP (not supported by Latitude):
i. Select Use DHCP. Do not use for Latitude.
ii. Click Update and wait for status.
b) For Static IP (recommended for Latitude users):
Figure 22: DNA Assign IP – Static IP Dialog Box
i. Do not select the Use DHCP checkbox. This is recommended for security
purposes and for and Latitude users. In the IP Address, Gateway, and Netmask,
enter the respective LAN/VLAN (optional DNS) values.
ii. Click Update and wait for OK status to be displayed.
9. Right-click and select Browse to directly access the camera via a web browser. The default
web browser opens and requests access to the camera IP address.
10. When the web browser contacts the camera IP, do the following:
a) Login using the default user name Admin and password 1234.
 Loading...