Registering Addresses and Users for Facsimile/Scanner Functions
214
7
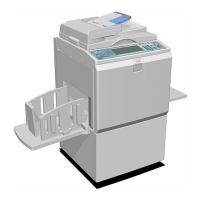
L Press [End].
M Press the {OK} key.
N Press the {User Tools/Counter} key.
Note
! To delete a name entirely, see "Deleting a Registered Name".
Reference
p.143 “Deleting a Registered Name”
Using NCP to Connect
Note
! To register a shared folder configured in Windows, see "Using SMB to Connect".
! To register a folder in an FTP server, see "Using FTP to Connect".
Reference
p.190 “Using SMB to Connect”
p.203 “Using FTP to Connect”
Registering an NCP folder
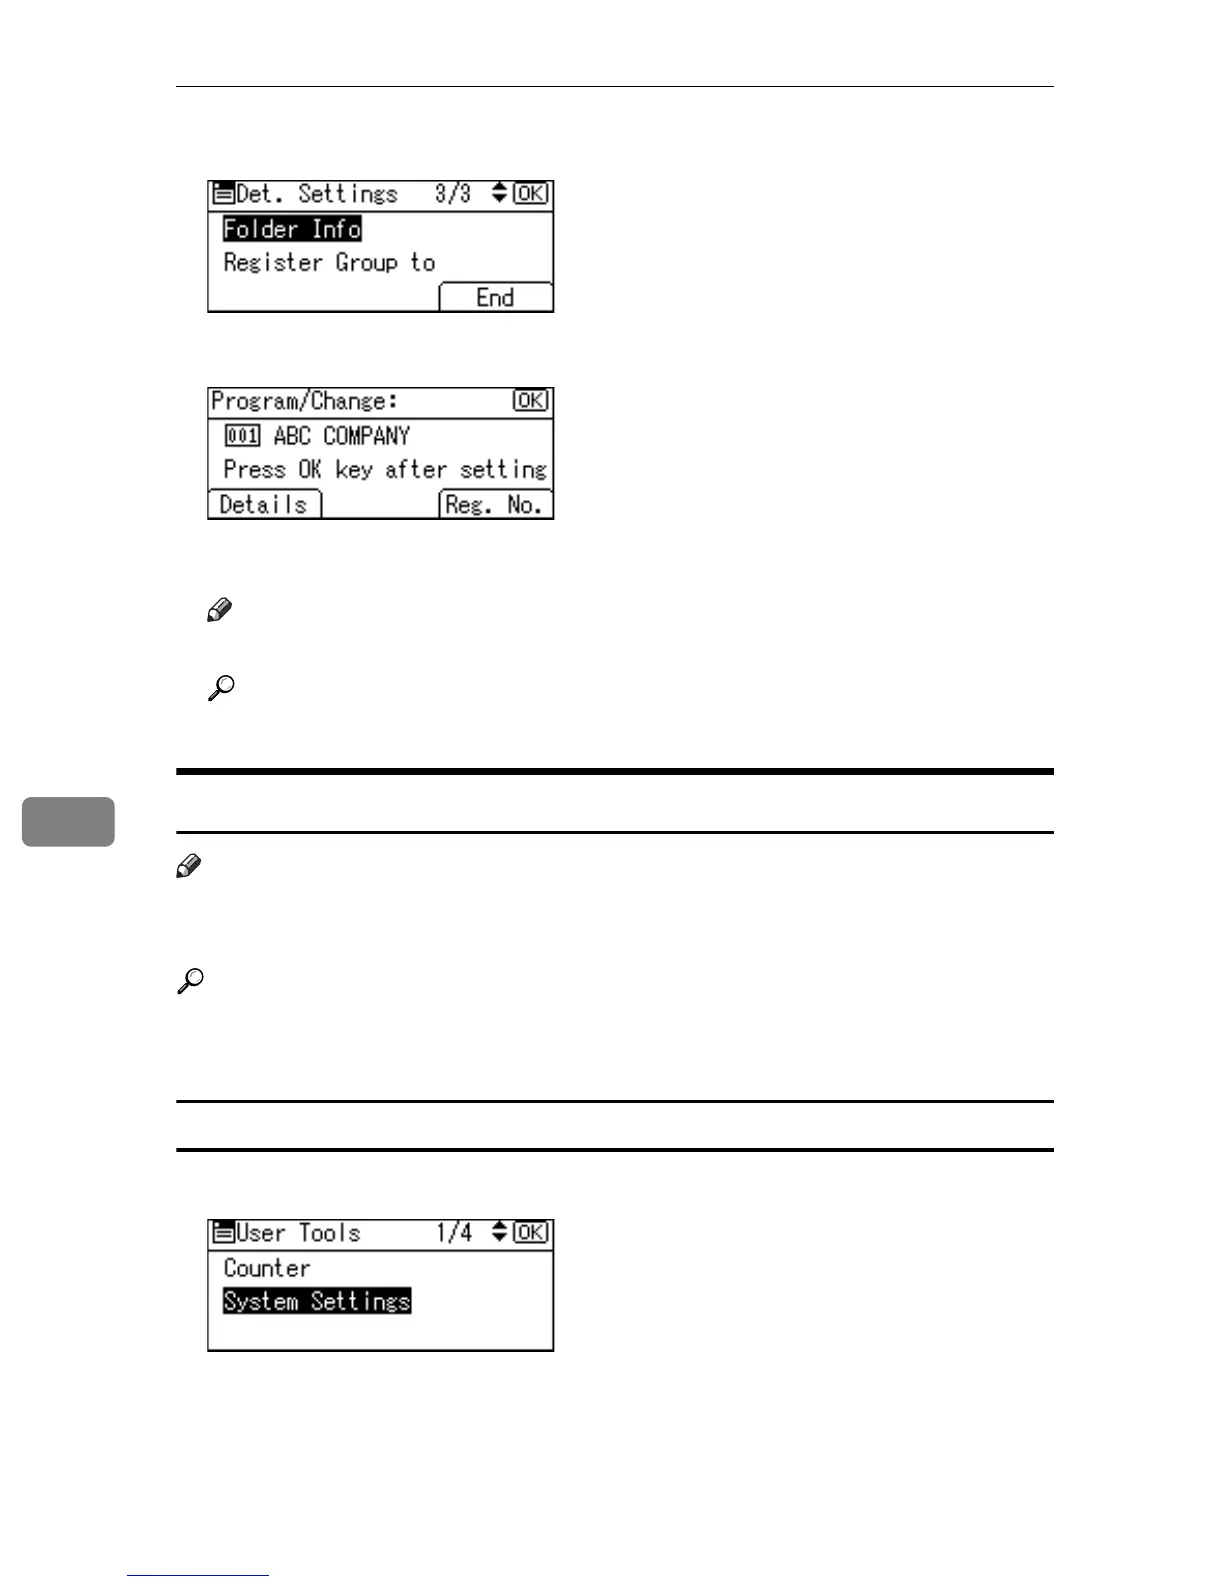
A Select [System Settings] using {U} or {T}, and then press the {OK} key.
 Loading...