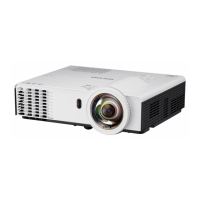
Positioning the Projector
When positioning the projector, place it so that the projector's lens faces the screen. Make sure the
projector and the screen are parallel to each other.
Adjust the distance between the projector and the screen according to the size of the projected image.
For details, see page 28 "Relationship Between the Projection Distance and the Screen Size".
Projection Mode
• If a projector is incorrectly installed on a wall or ceiling, it may fall down and cause an injury.
Contact your sales or service representative if you want to install a projector on a wall or
ceiling.
• Use brackets that are strong enough to support the projector. The projector weighs about
3.1 kg (6.9 lb.).
• The projector must be installed in a location that is sturdy enough to support the full weight
of the projector and brackets.
You can position the projector in one of four ways.
Select the setting according to the position of the projector in [Projection Mode] under [Default Settings
2]. For details, see page 89 "Default Settings 2 Menu".
1. Standard
The projector is placed in front of a screen onto which the images are projected.
Positioning the Projector
27
 Loading...