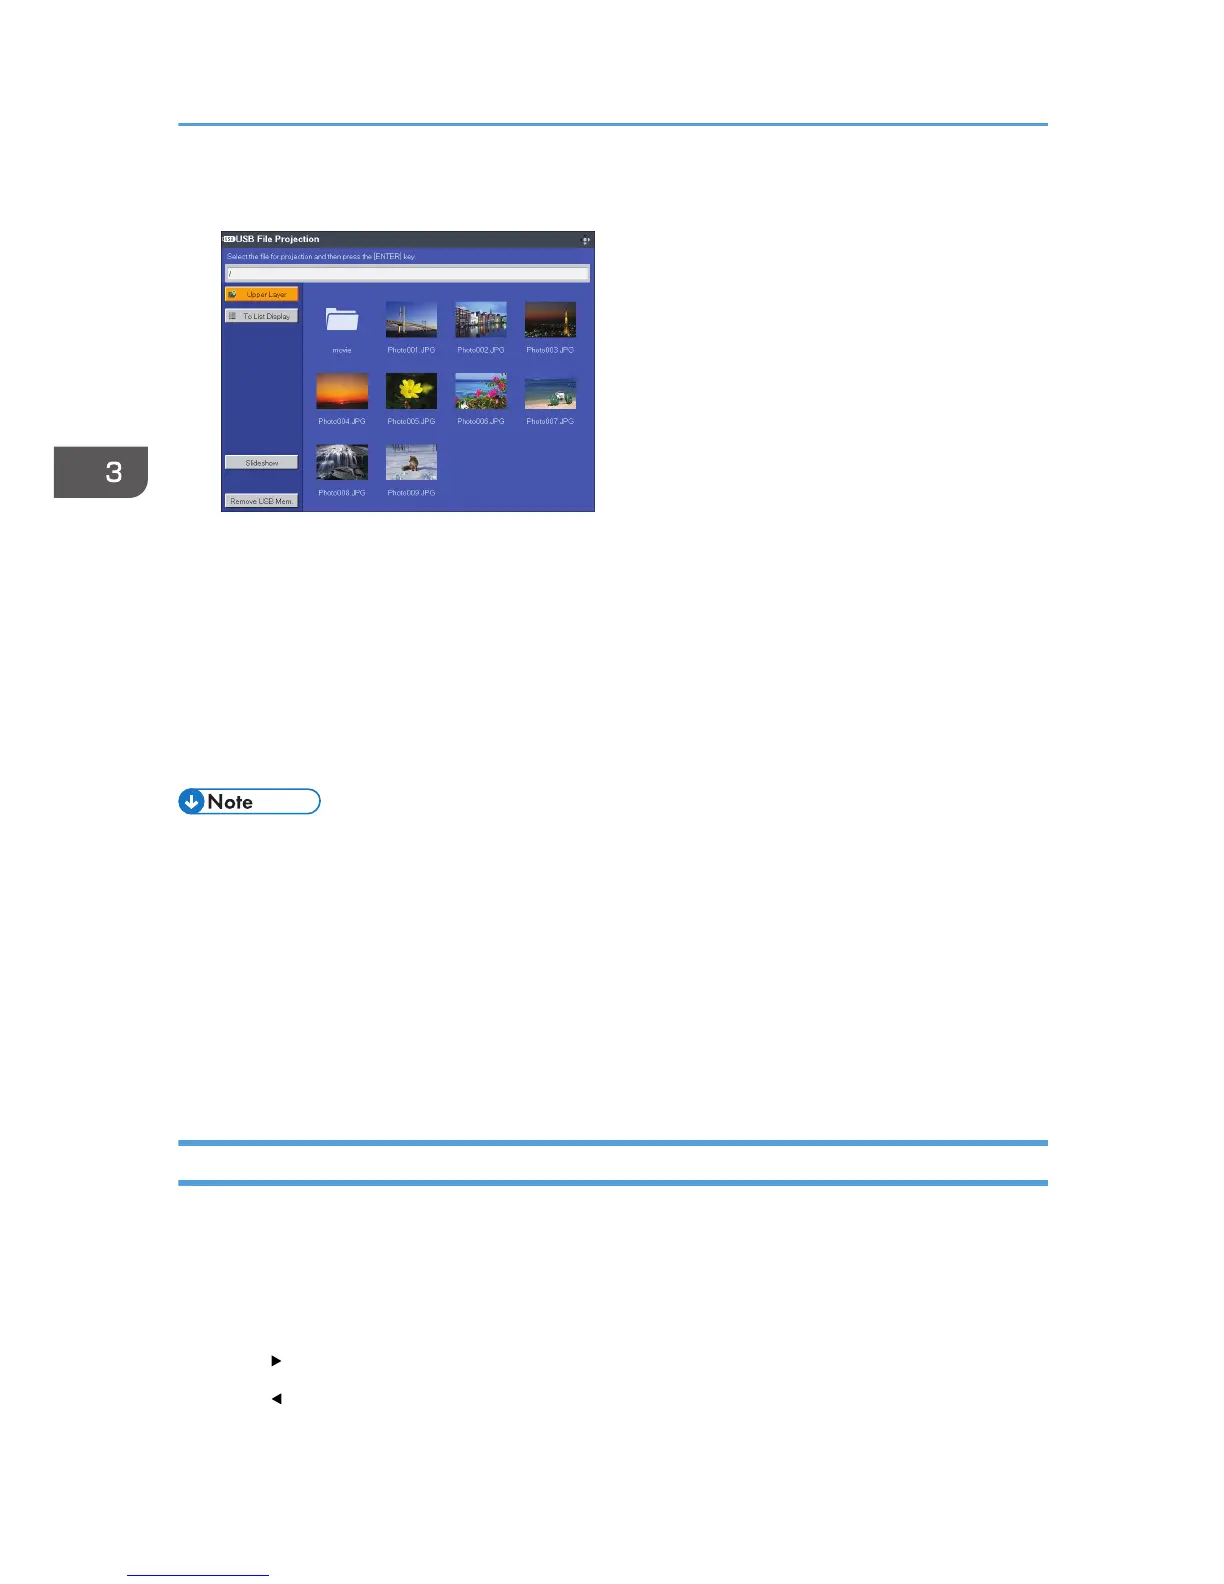
2. Select the file, [Slideshow], or folder, and then press the [Enter] button.
• When a file is selected
If you select a JPEG file, its image is projected. If you select an MPEG file, the video plays.
• When [Slideshow] is selected
A slide show starts with the files in the current folder.
• When a folder is selected
The file list within the folder is displayed. Repeat Step 2 until the file you want to project is
displayed.
• You can also control the projected images using the control panel on the projector.
• Images are displayed in the numerical and alphabetical order of their file name headers.
• You can specify the slide show switching interval for still images in [Display Interval (sec.)] under
[USB Settings].
• If a video file is in a folder that has been selected for a slide show, the entire video plays. When the
video finishes, the next file is displayed.
• You can switch the display format of the file list. Select [To Thumbnail] to switch to thumbnail
display, or select [To List Display] to switch to file name list display.
Controlling the Projected Image
Use the remote control to control a projected still image or video.
How to control a still image
• [Enter] button: Starts the slide show from the projected image. Stops the slide show that is in
progress.
• [ ] button: Displays the next image.
• [ ] button: Displays the previous image.
3. Projecting Images from a USB Memory Device or Digital Camera
54
 Loading...