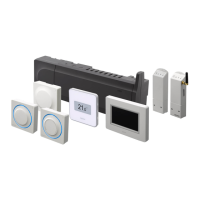
7 Install Uponor Smatrix Wave timer
The following timer can be connected to the system:
• Uponor Smatrix Wave Timer I-163
NOTE!
Only one timer per controller can be
registered.
NOTE!
A timer can only be registered to one Smatrix
Wave controller.
7.1 Placement of timer
Refer to the installation preparation guidelines, see
section 4.2 Prepare for installation.
7.2 Label timer
Label the timer, where suitable, with the system channel
number they are registered to, #01. For installations
with several systems, add the ID of the controller, for
example, 1.01 or 2.01.
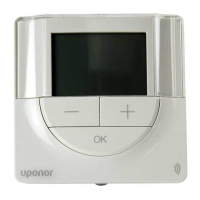
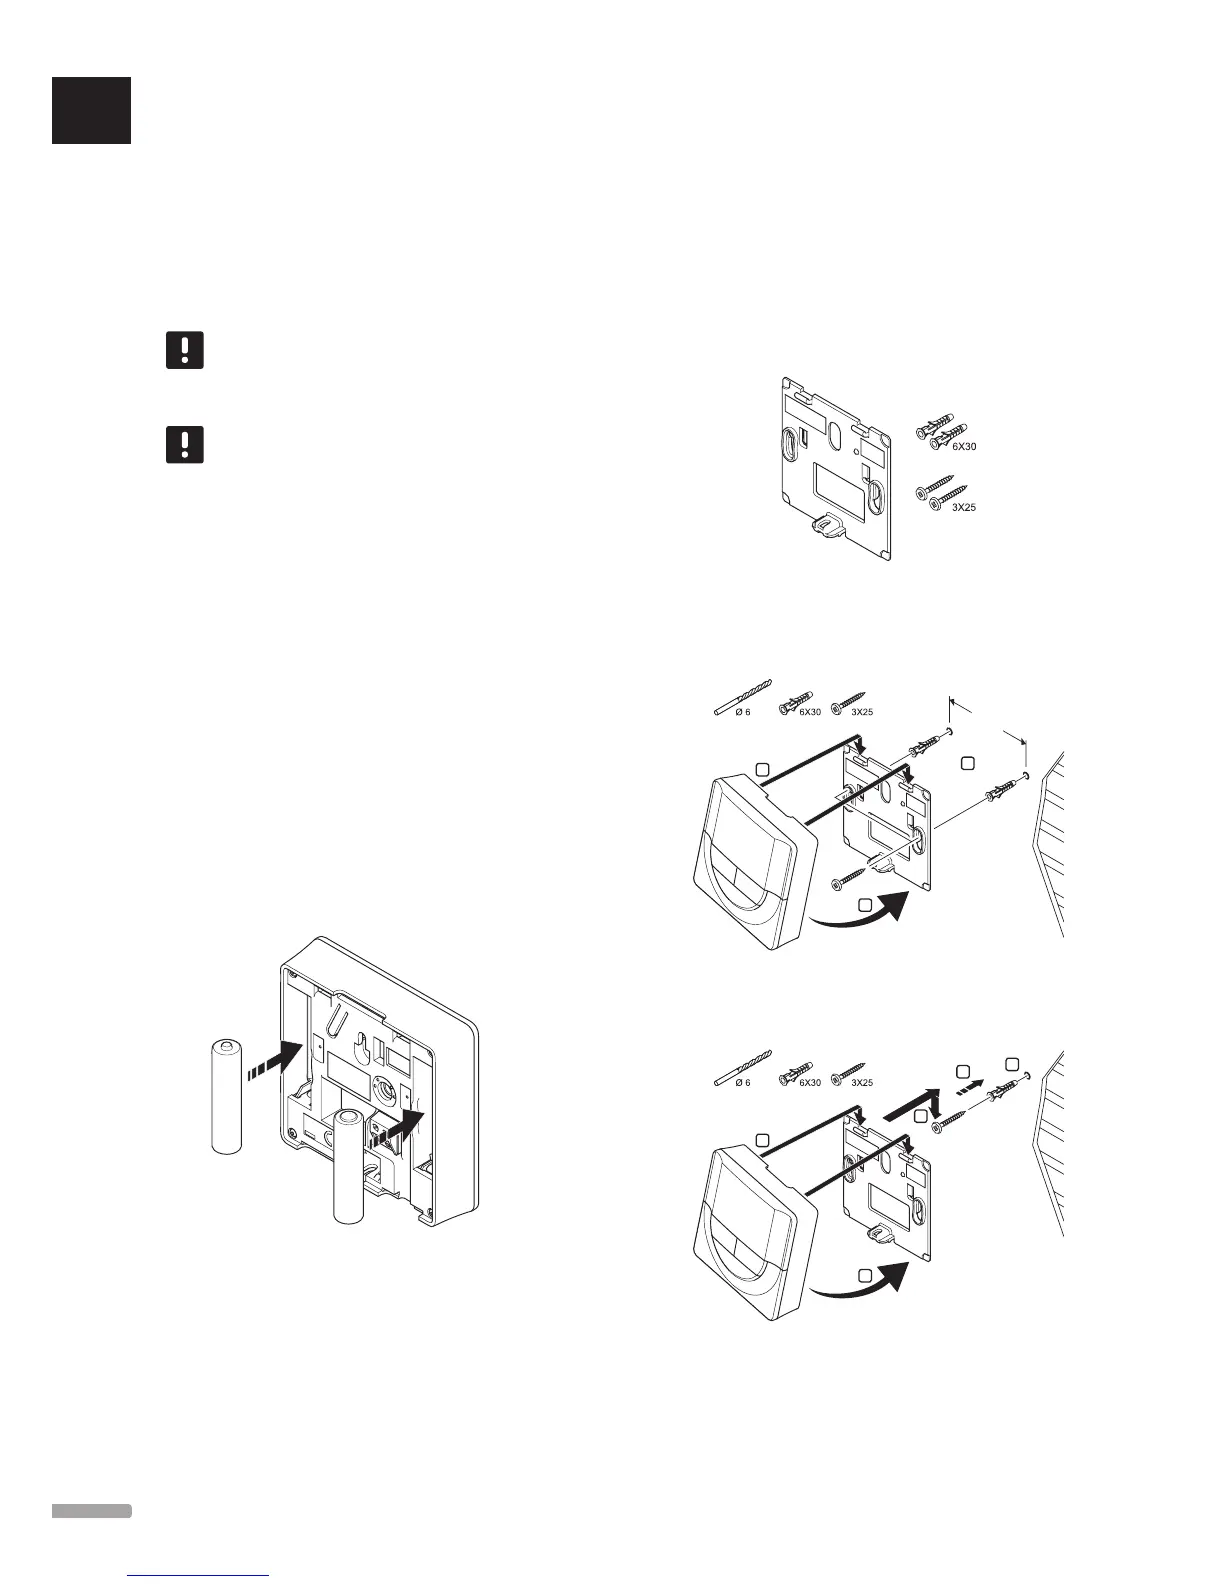
7.3 Insert batteries
The timer use two alkaline 1.5 V AAA batteries which
provides about 2 years of battery life, as long as it is
positioned within radio range of the controller. Ensure
that the batteries are correctly inserted in the timers.
The illustration below shows where to insert them.
7.4 Attach a timer to the wall
The timers are delivered in kits including screws, wall
plugs, and a wall bracket, presenting several options of
attaching the timer to the wall.
Using wall bracket (recommended)
The illustration below shows timer mounting hole
positions and how to attach it to the wall using a wall
bracket.
2
1
3
60 mm
Screw and wall plug
The illustration below shows how to attach it to the wall
using one screw and wall plug.
3
1
5
2
4
UK
CZ
DE
DK
EE
ES
FI
FR
HR
HU
IT
LT
LV
NL
NO
PL
PT
RO
RU
SE
SK
44
UPONOR SMATRIX WAVE/WAVE PLUS · INSTALLATION AND OPERATION MANUAL

 Loading...