Scanning
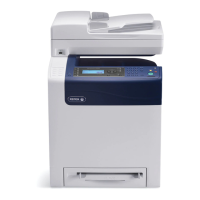
WorkCentre 6505 Color Laser Multifunction Printer
User Guide
113
Scanning to a Folder on a Computer with a USB
Connection
Note: You must install Express Scan Manager on your computer and create a scan destination
before you can use this feature. For more information on Express Scan Manager, see Setting Up
Scanning with USB on page 53.
If your computer is connected to the printer with a USB cable:
1. Load the original document on the document glass or in the document feeder.
2. On the control panel, press the Scan button.
3. Press the Up Arrow or Down Arrow button to select Scan to Computer (USB), then press the OK
button.
4. Press the Up Arrow or Down Arrow button to select the options you want to change. For details,
see Adjusting Scan Settings on page 120.
5. Press the Start button to begin the scan.
A Xerox
®
WorkCentre 6505 (USB) scanner dialog box opens on your computer, where you select
which application to launch to manage the scanned file.
6. Select WorkCentre 6505 Express Scan Manager, then click OK.
Note: You can select the Always use this program for this action check box to make this program
the default setting.
The printer scans your documents to the output destination specified in Express Scan Manager.
 Loading...

