5-79
E
POWR
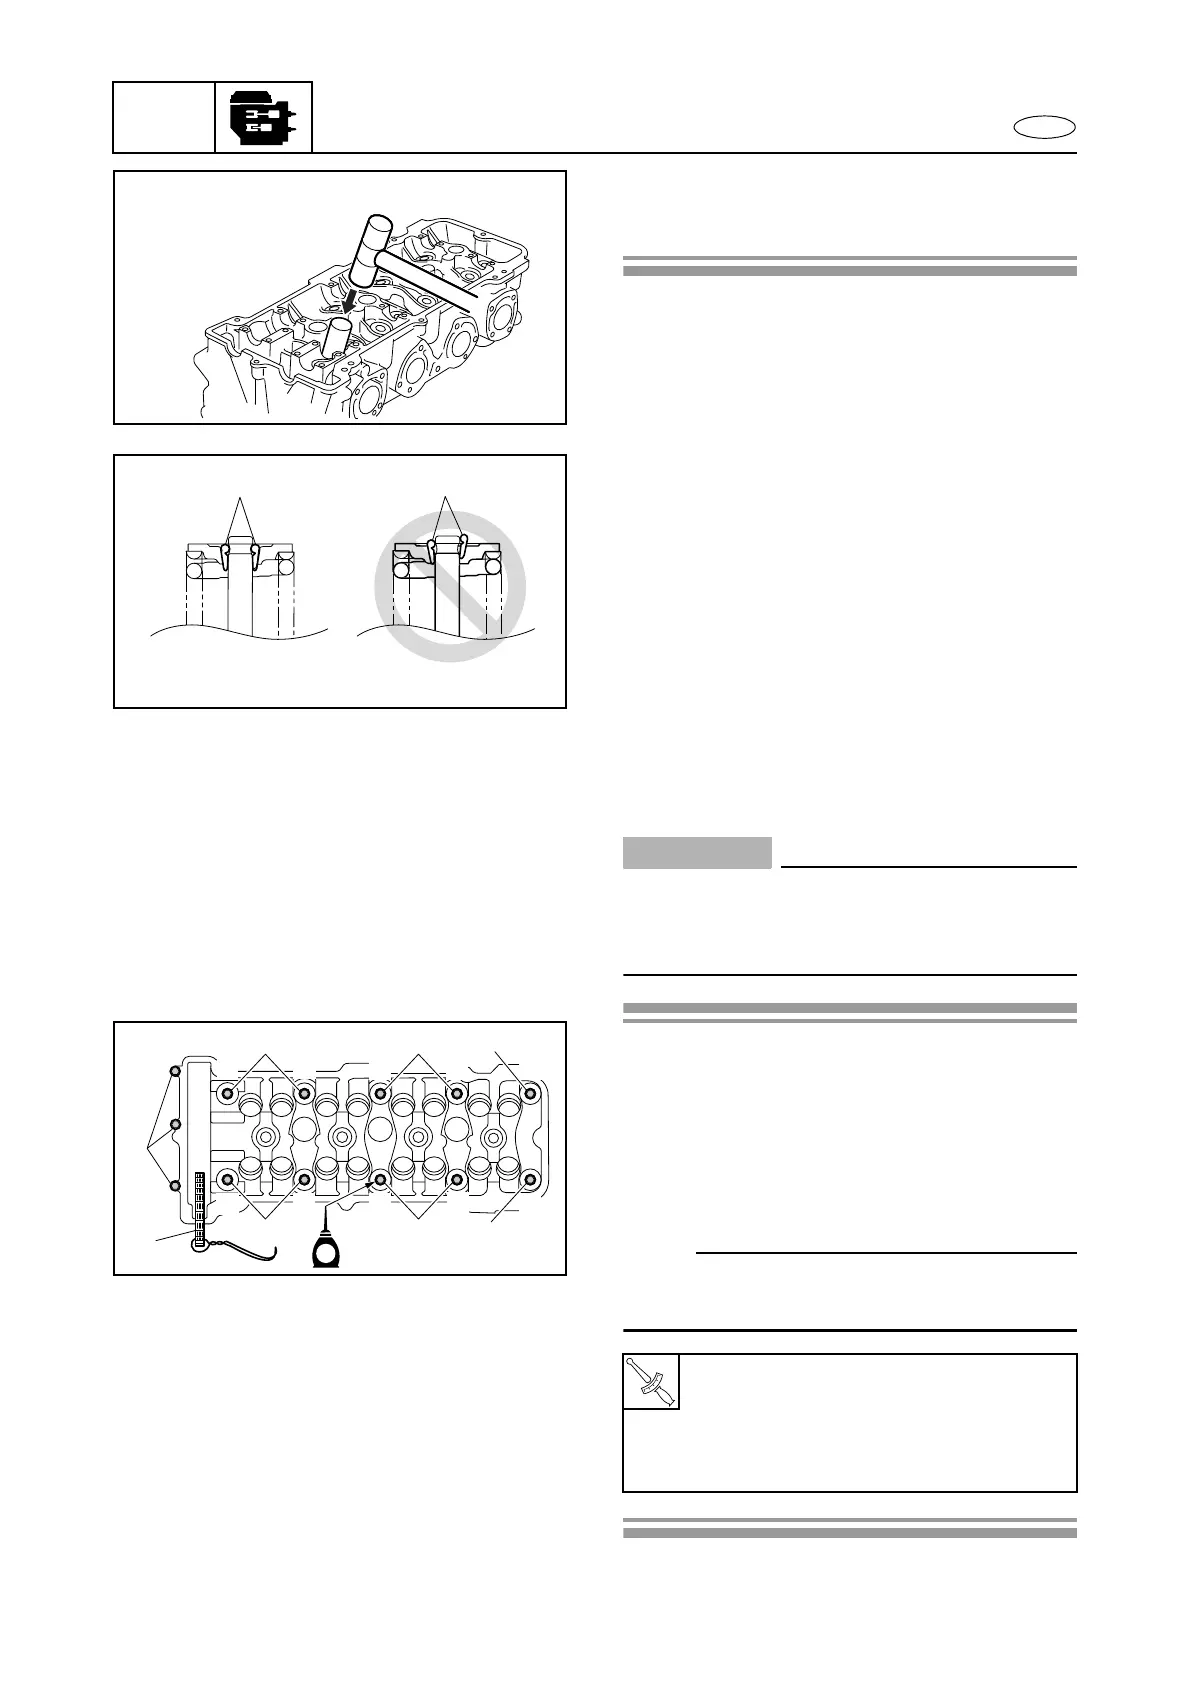
4. Lightly tap the upper spring seat with a
plastic hammer to set the valve cotters 6
securely.
6
6
Cylinder head installation
1. Install:
• Cylinder head
CAUTION:
Do not reuse the cylinder head bolts 1 and
the cylinder head gasket, always replace
them with new ones.
Installation steps:
1. Pass the timing chain 1 through the tim-
ing chain cavity.
2. Apply engine oil to the cylinder head bolts.
3. Tighten the cylinder head bolts 2 and 3
to the specified torques in the sequence
shown.
NOTE:
Use a commercially available angle gauge to
tighten the bolts to the specified angle.
T
R
.
.
Cylinder head bolt (M12 × 140 mm) 2:
1st: 48 N·m (4.8 kgf·m, 35.4 ft·lb)
2nd: 90°
Cylinder head bolt (M6 × 55 mm) 3:
10 N·m (1.0 kgf·m, 7.4 ft·lb)
2
9 5
7
3
4
0
81
6
222
2
1
22
3
E
Cylinder head
 Loading...