E
ELEC
– +
1
2
3
4
5
6
7
8
9
7-20
4. Check the oil pressure switch continuity.
NOTE:
Use a commercially available vacuum/pres-
sure pump gauge and meter.
Oil pressure switch continuity:
Pressure
Terminal thread 1 –
Body 2
Below 128–166 kPa
(1.28–1.66 kgf/cm
2
,
18.2–23.6 psi)
Continuity
Above 128–166 kPa
(1.28–1.66 kgf/cm
2
,
18.2–23.6 psi)
No continuity
Thermoswitch
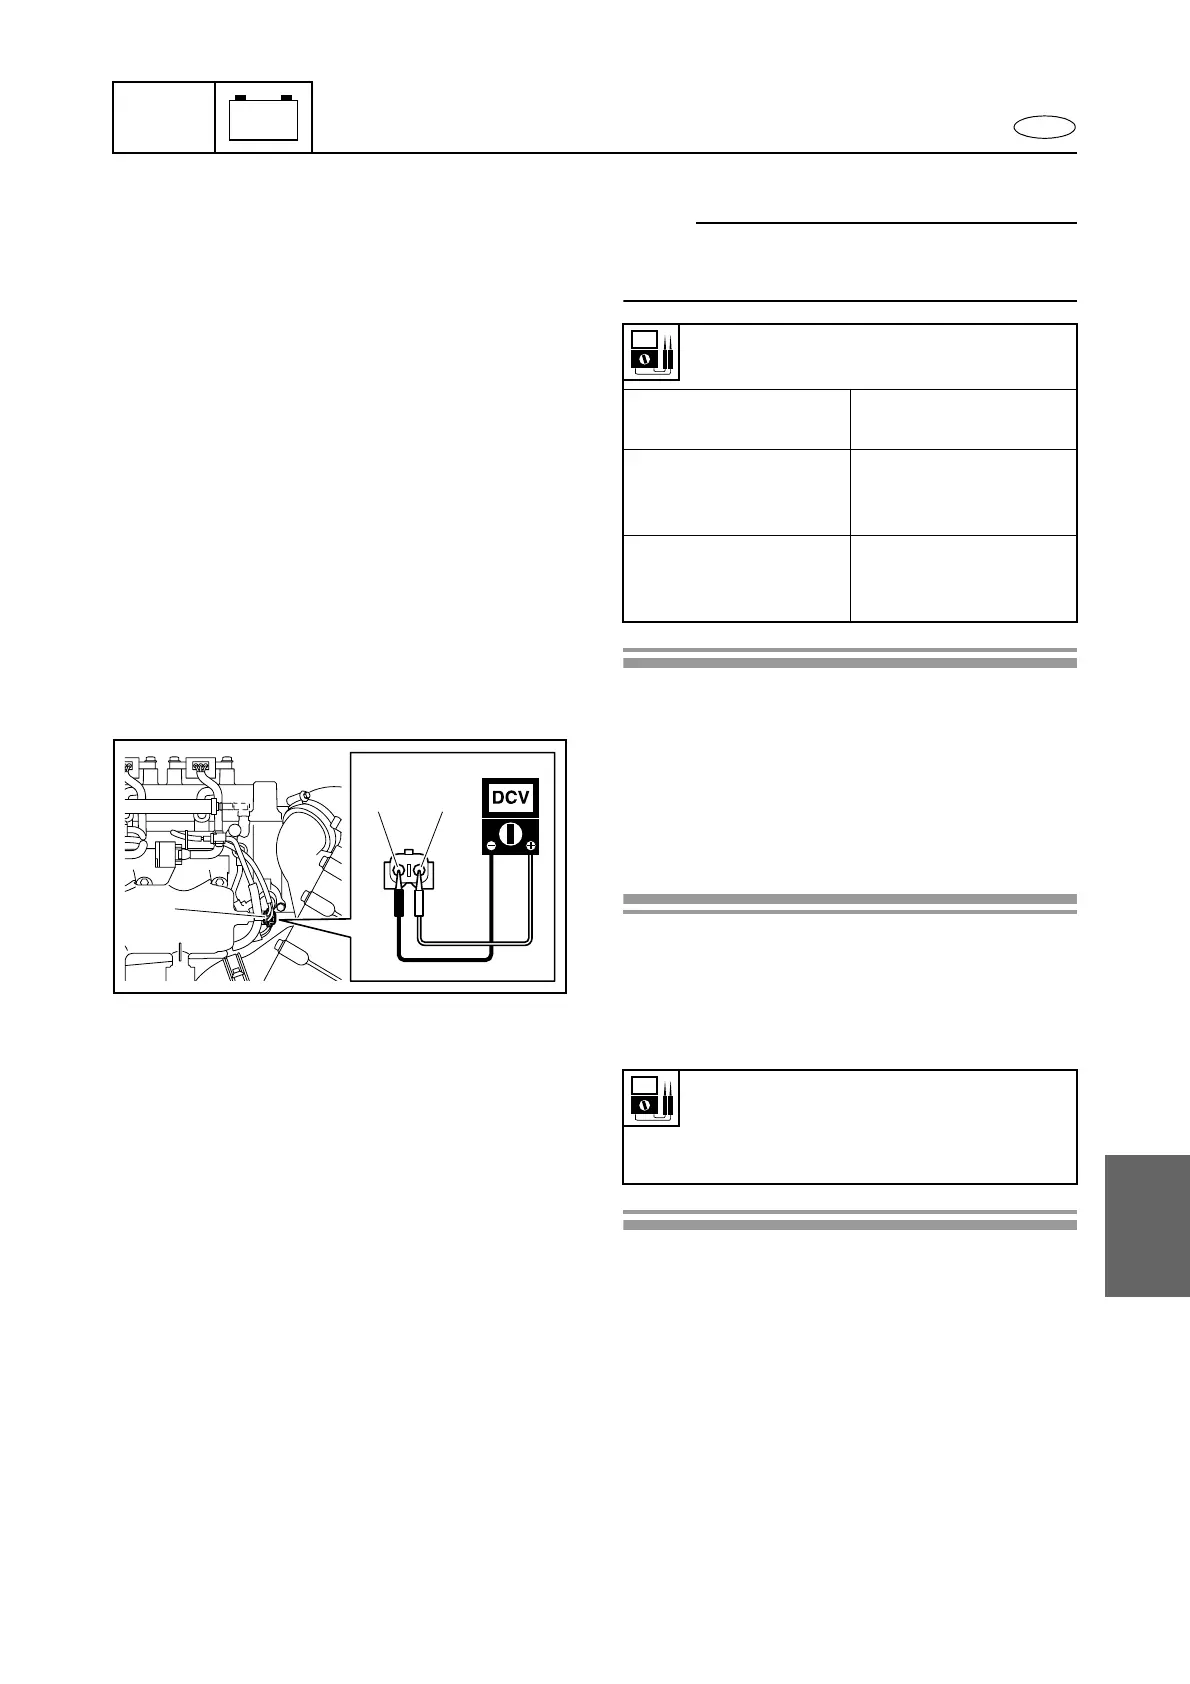
1. Measure:
• Thermoswitch input voltage
Out of specification → Check the wiring
harness.
Measurement steps:
1. Disconnect the thermoswitch coupler 1.
2. Push the unlock button, and then measure
the input voltage at the thermoswitch cou-
pler terminals (wiring harness end).
Thermoswitch input voltage (reference
data):
Pink (P) – Black/orange (B/O)
11.0–12.0 V
1
PB/O
Control system
 Loading...