Administrator’s Guide for SIP-T2 Series/T19(P) E2/T4 Series/CP860 IP Phones
138
To register an account via phone user interface:
1. Press Menu->Settings->Advanced Settings (default password: admin)
->Accounts.
2. Select the desired account and then press the Enter soft key.
3. Select Enabled from the Active Line field.
4. Enter the desired value in Label, Display Name, Register Name, User Name,
Password and SIP Server1/2 fields respectively. Contact your system administrator
for more information.
5. If you use outbound proxy servers, do the following:
1) Select Enabled from the Outbound Status field.
2) Enter the desired IP address or domain name in the Outbound Proxy1/2 field.
3) Enter the desired interval in the Proxy Fallback Interval field.
6. Press the Save soft key to accept the change or the Back soft key to cancel.
Display contact photo allows the IP phone to present the contact avatar when it
receives an incoming call, dials an outgoing call or engages in a call. Display contact
photo feature is only applicable to SIP-T48G/T46G/T29G IP phones.
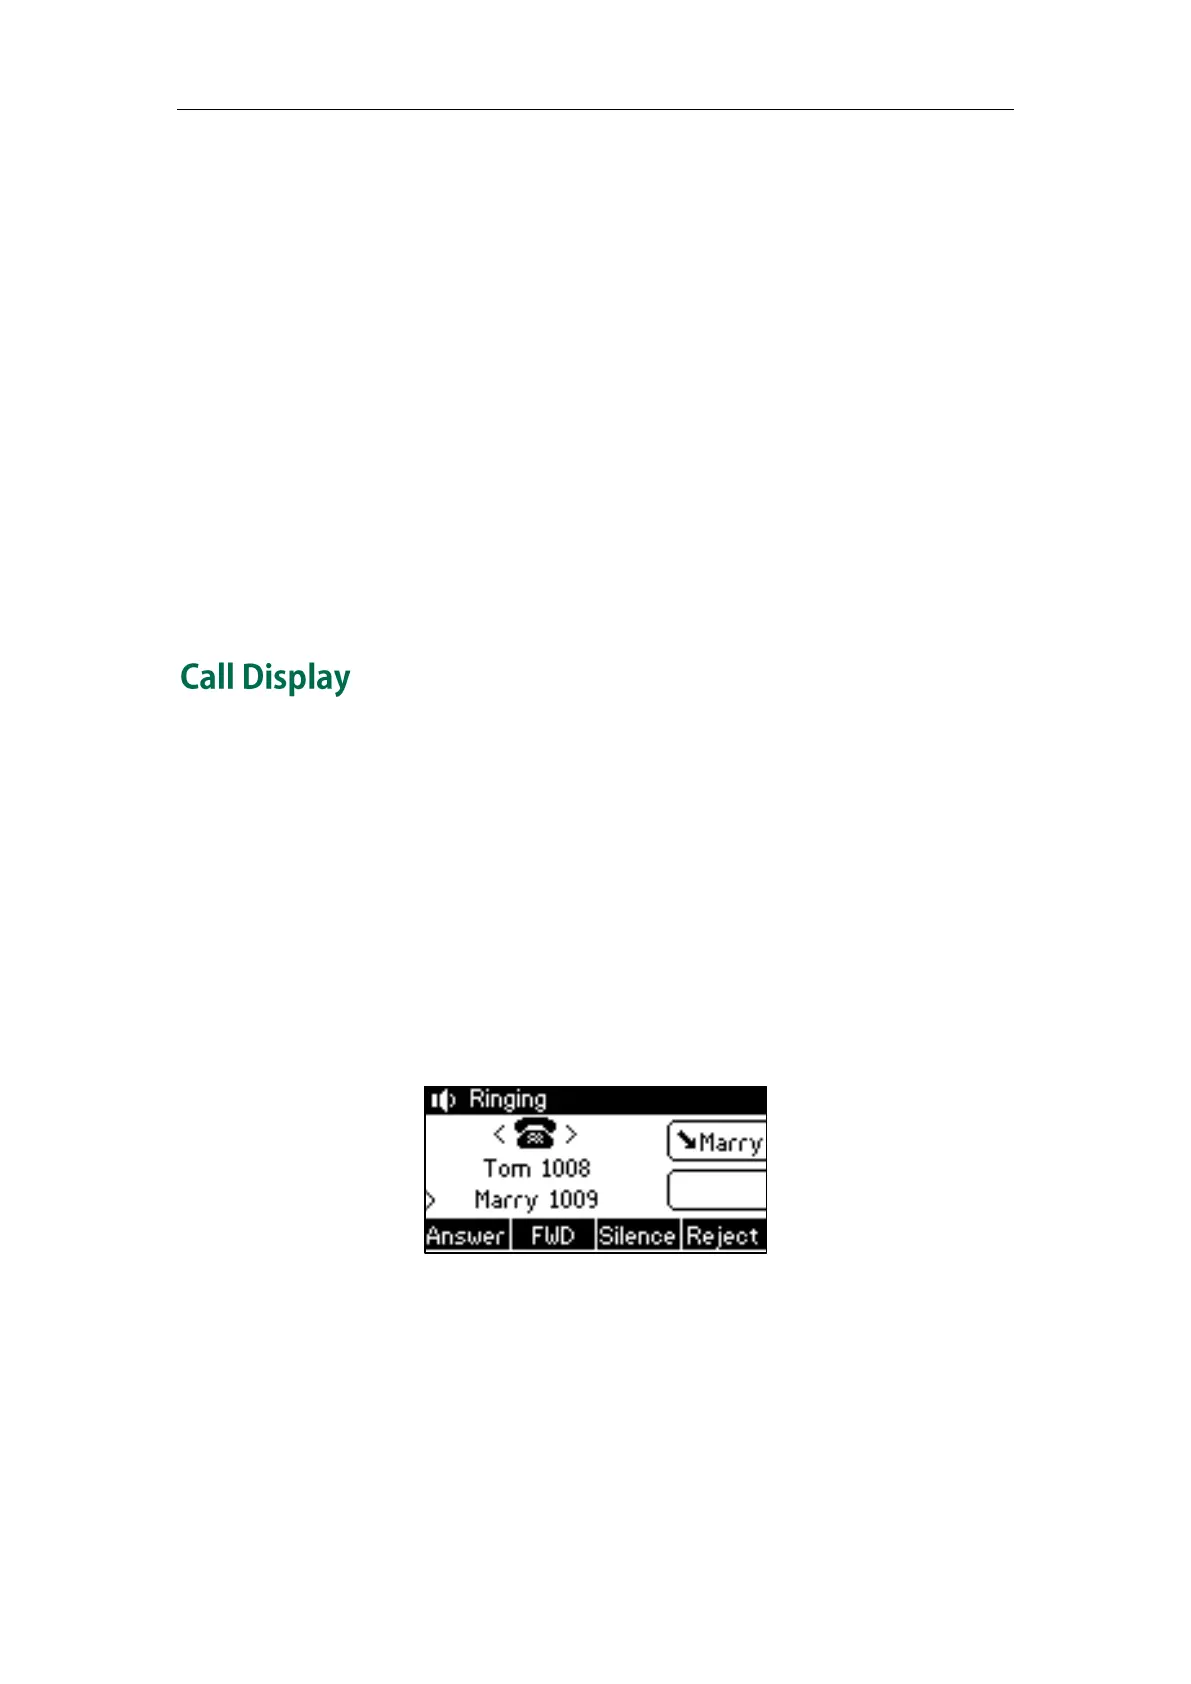
Display called party information allows the IP phone to present the callee identity in
addition to the presentation of caller identity when it receives an incoming call.
The following figure shows an example of screen display when Display Called Party
Information feature is enabled on the phone.
The following shows an incoming call from Tom (phone number: 1008) to Marry (phone
number: 1009).
For SIP-T42G/T41P/T40P/T27P/T23P/T23G/T21(P) E2/T19(P) E2 and CP860 IP phones:
 Loading...