Getting Started
19
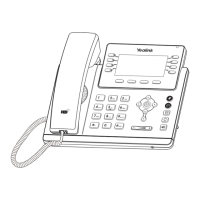
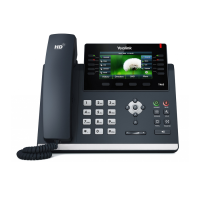
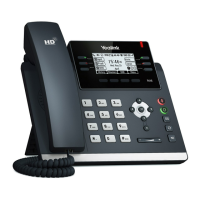
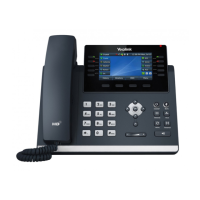
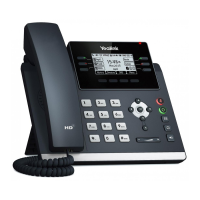
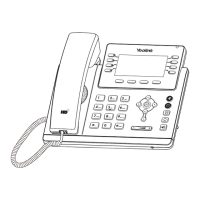
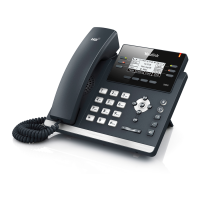
This chapter provides basic information and installation instructions of
SIP-T48G/T46G/T42G/T41P/T40P/T29G/T27P/T23P/T23G/T21(P) E2/T19(P) E2/CP860 IP
phones.
This chapter provides the following sections:
Connecting the IP Phones
Initialization Process Overview
Verifying Startup
Reading Icons
Configuration Methods
Obtaining Configuration Files and Resource Files
Keep User Personalized Settings
Provisioning Server
Configuring Basic Network Parameters
Upgrading Firmware
This section introduces how to install
SIP-T48G/T46G/T42G/T41P/T40P/T29G/T27P/T23P/T23G/T21(P) E2/T19(P) E2/CP860 IP
phones with components in packaging contents.
1. Attach the stand and the optional wall mount bracket (not applicable to CP860 IP
phones)
2. Connect the handset and optional headset (not applicable to CP860 IP phones)
3. Connect the network and power
4. Connect the optional extension microphones kit (only applicable to CP860 IP
phones)
5. Connect the optional USB flash drive (only applicable to CP860 IP phones)
6. Connect the optional PC or mobile device (only applicable to CP860 IP phones)
Note
The optional accessories are not included in packaging contents. You need to purchase
them separately if required.
 Loading...